


















 InvisBrace
A workflow
Every output
InvisBrace connects the entire lingual orthodontic process — from scan data, treatment setup, bracket placement to trays, indirect bonding samples, cast trees and reattachment jigs.
From scan and setup to bracket placement and trays
A controlled sequence of operations, keeping data, reference axes and bracket positions throughout from planning to production.
Mesh & Trim
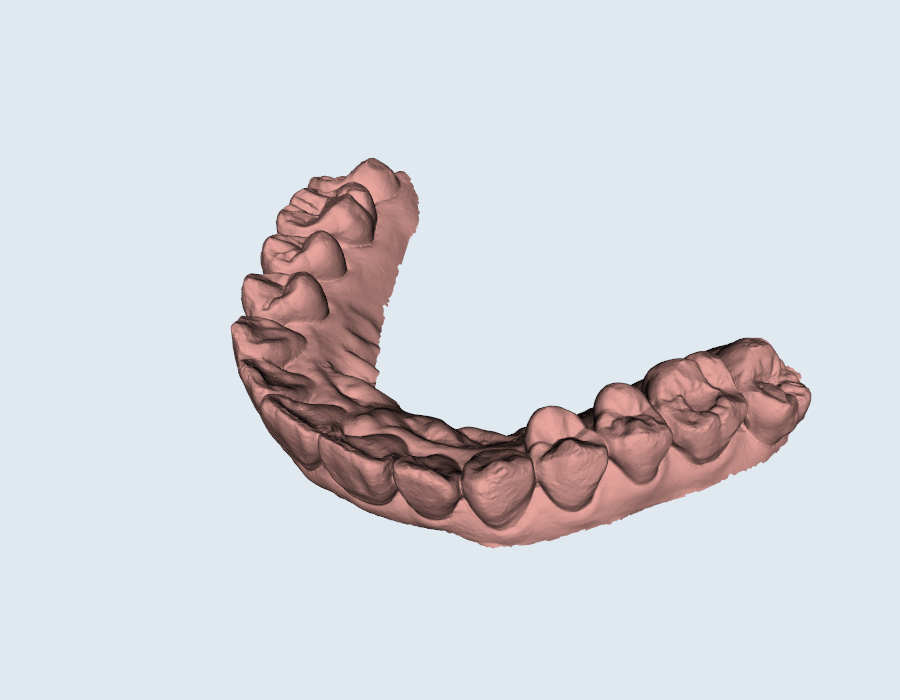
Import STL/PLY/OBJ, streamline scans and control gingival contours right on the actual case.

Separate teeth
Segmentation around tooth necks, contact areas and gingival crevices with visual inspection tools.
Setup & reference axis
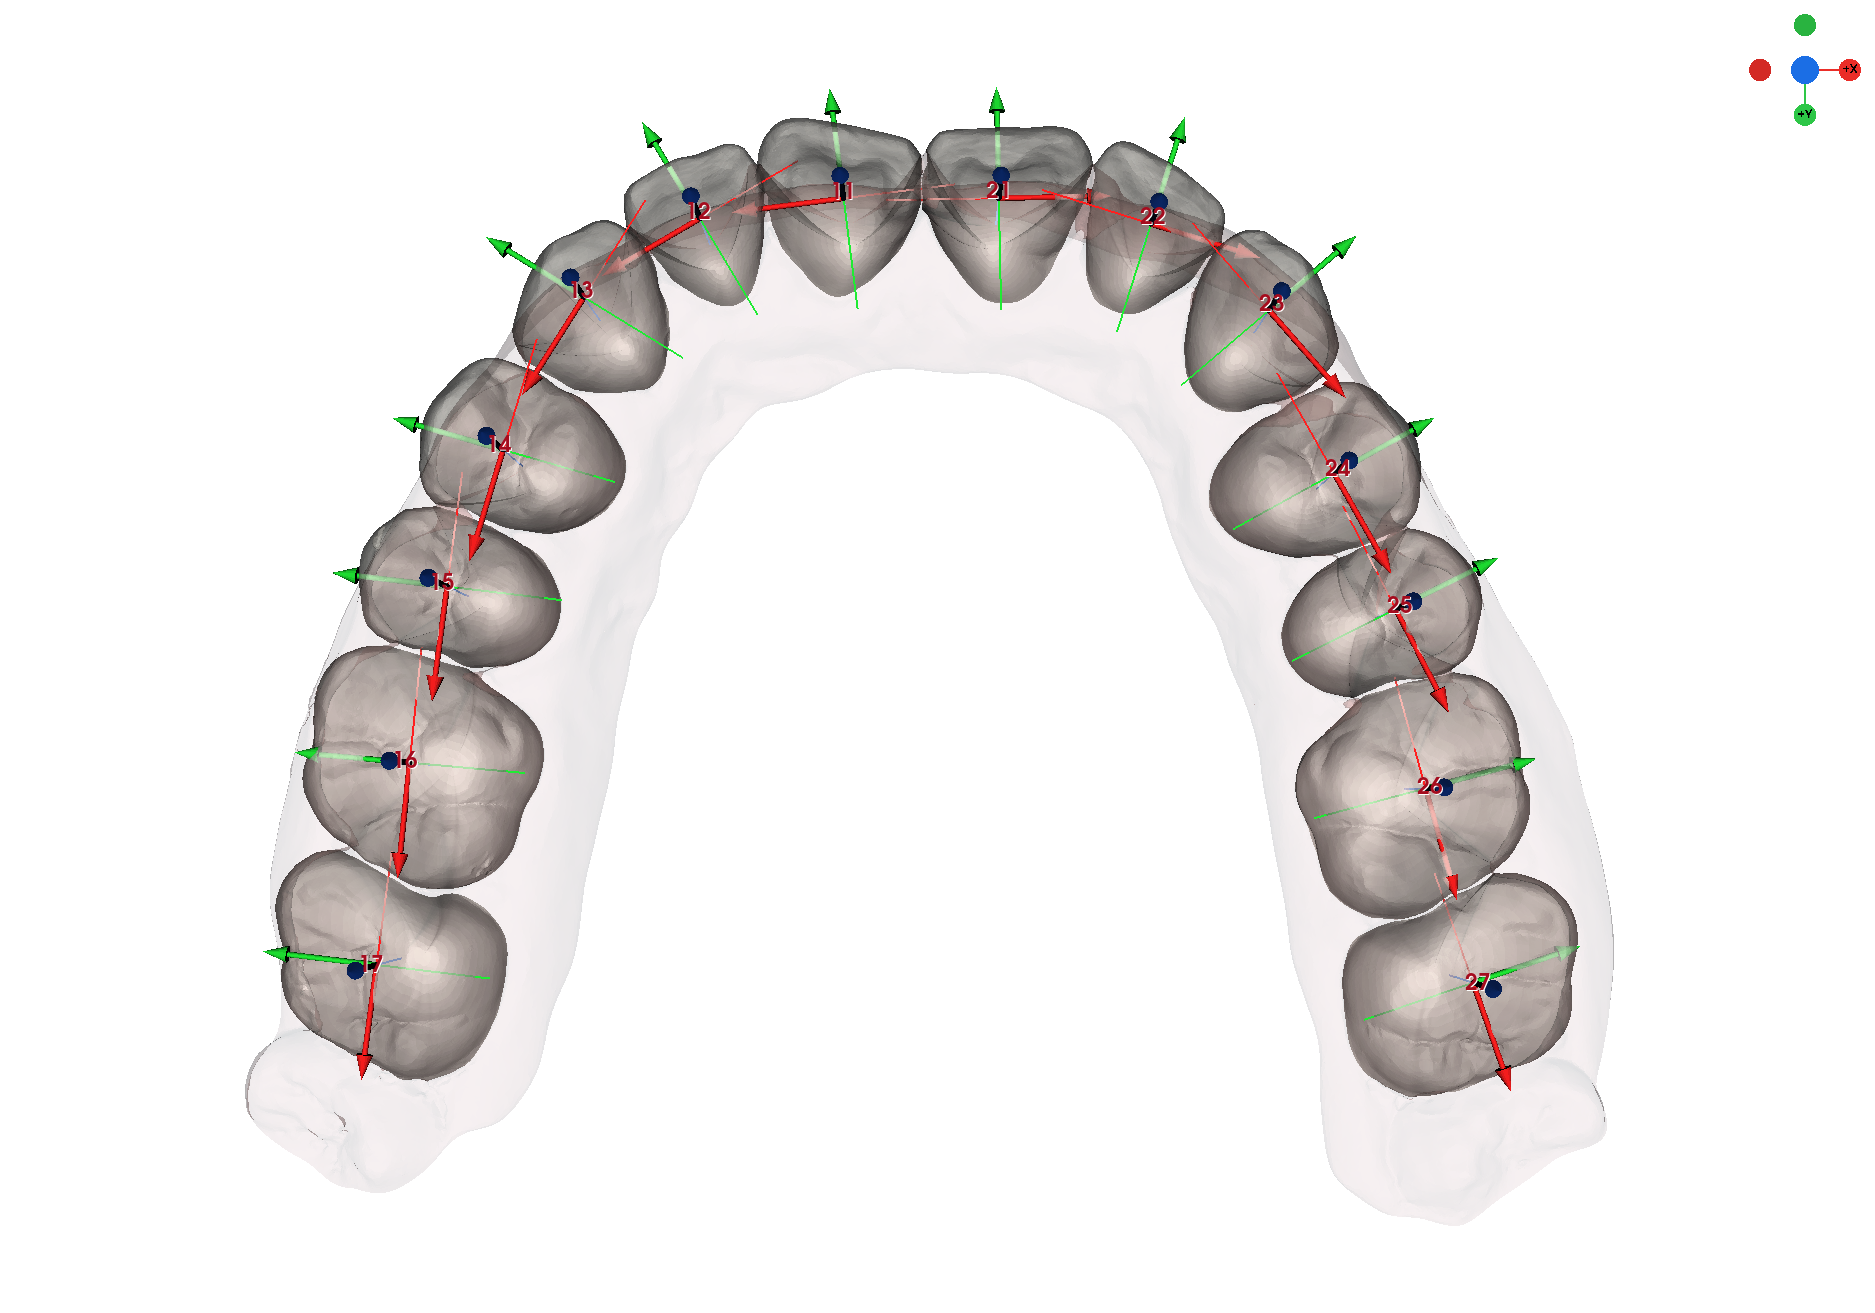
Controls alignment, rotation, torque, occlusal plane and axial direction throughout the arc.

Bracket & Archwire
Evaluate slots, bracket positions and wire continuity before production.
Enter mesh
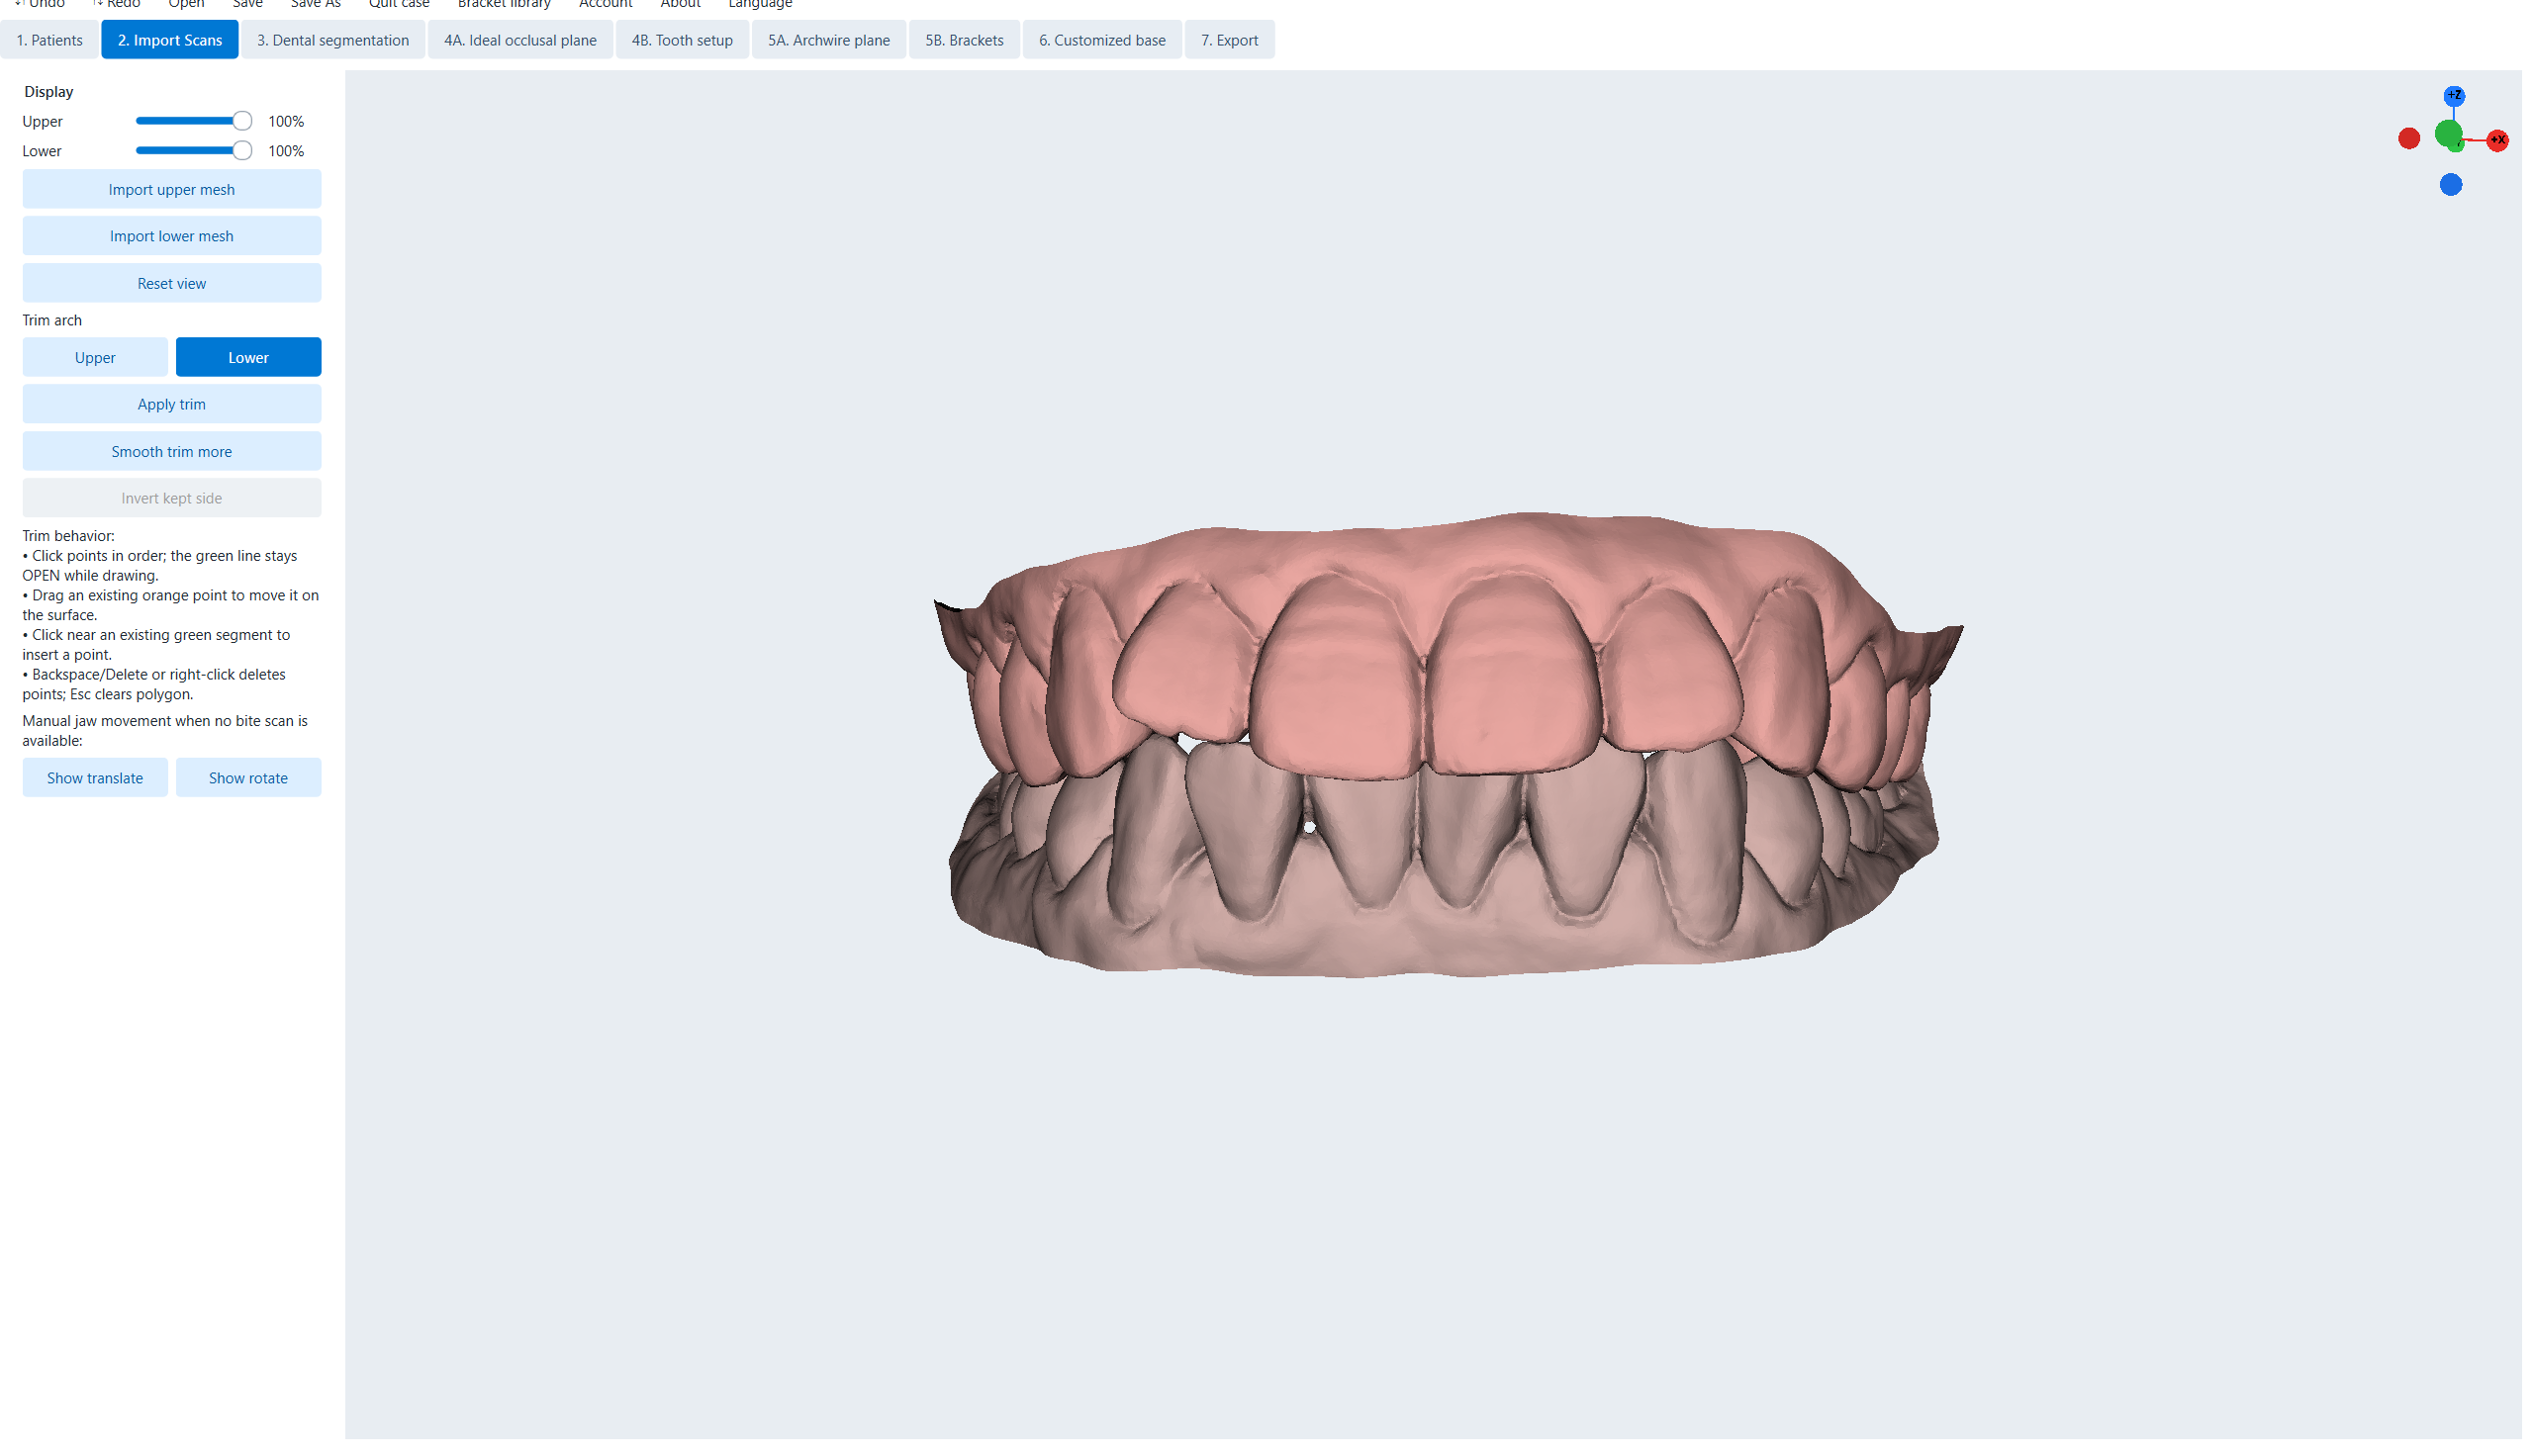
Intraoral scanning, STL, OBJ, PLY, scanning contour smoothing.
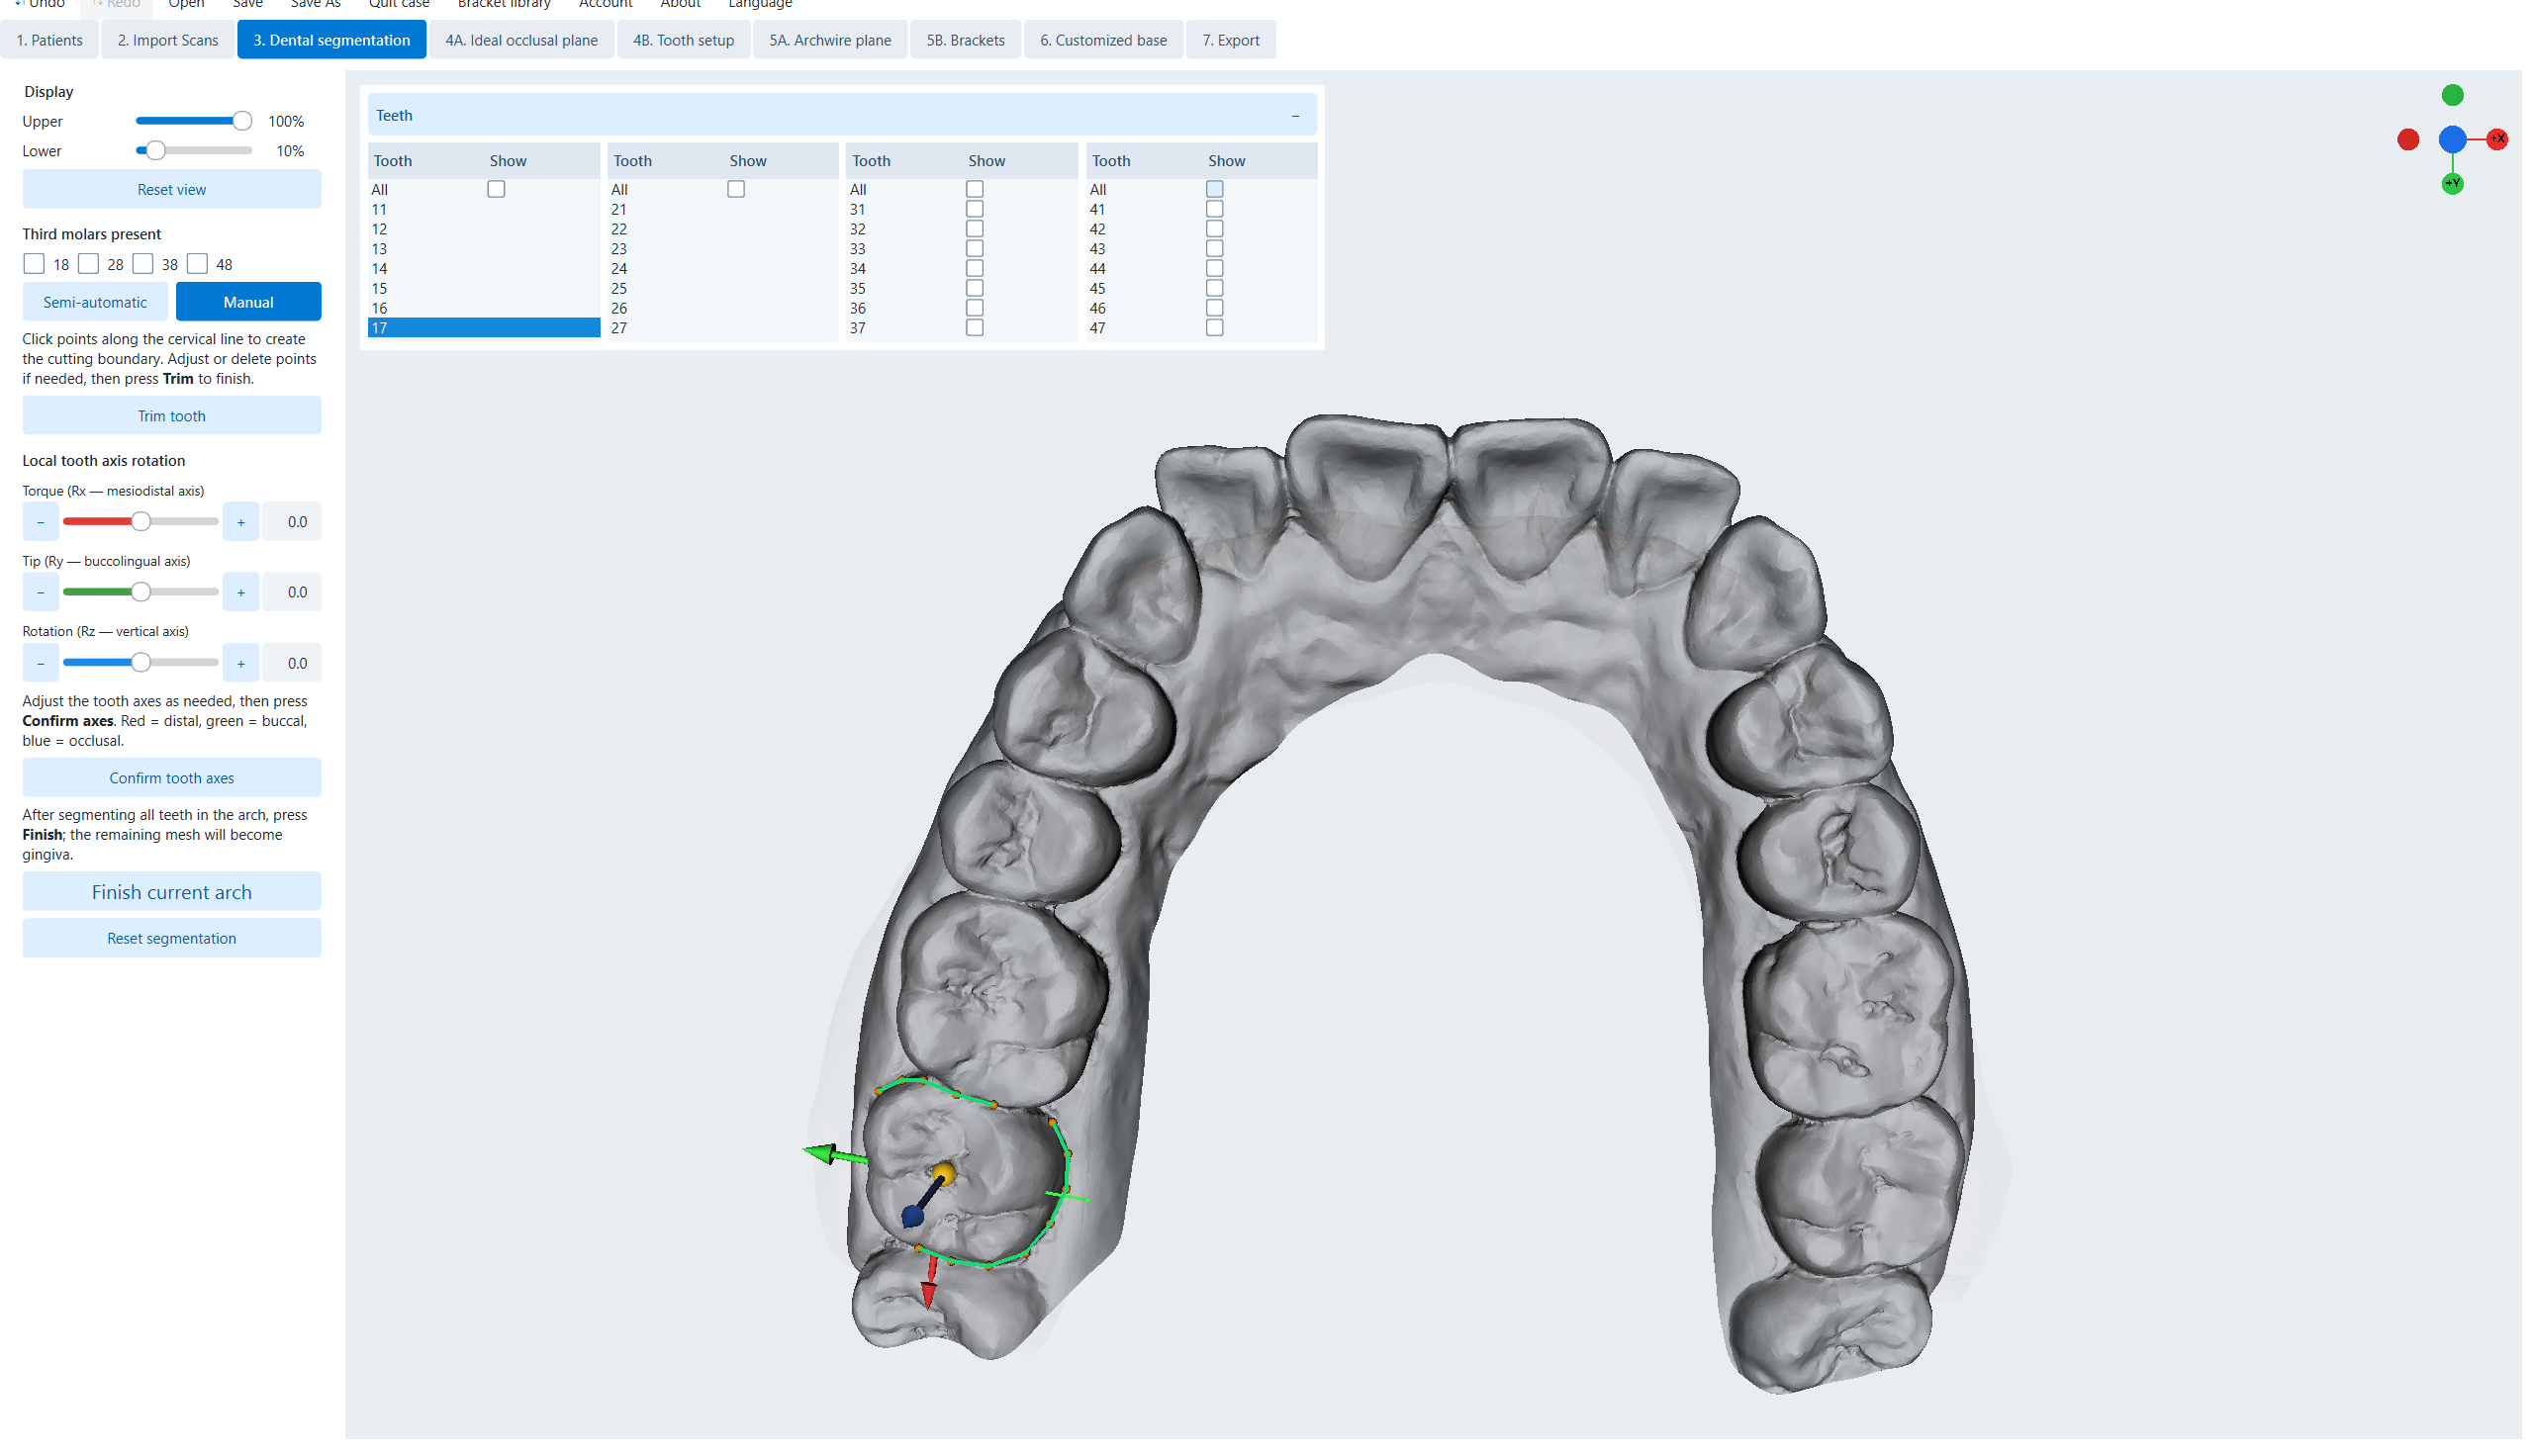
Separate teeth
Segmentation around the tooth neck and contact area.
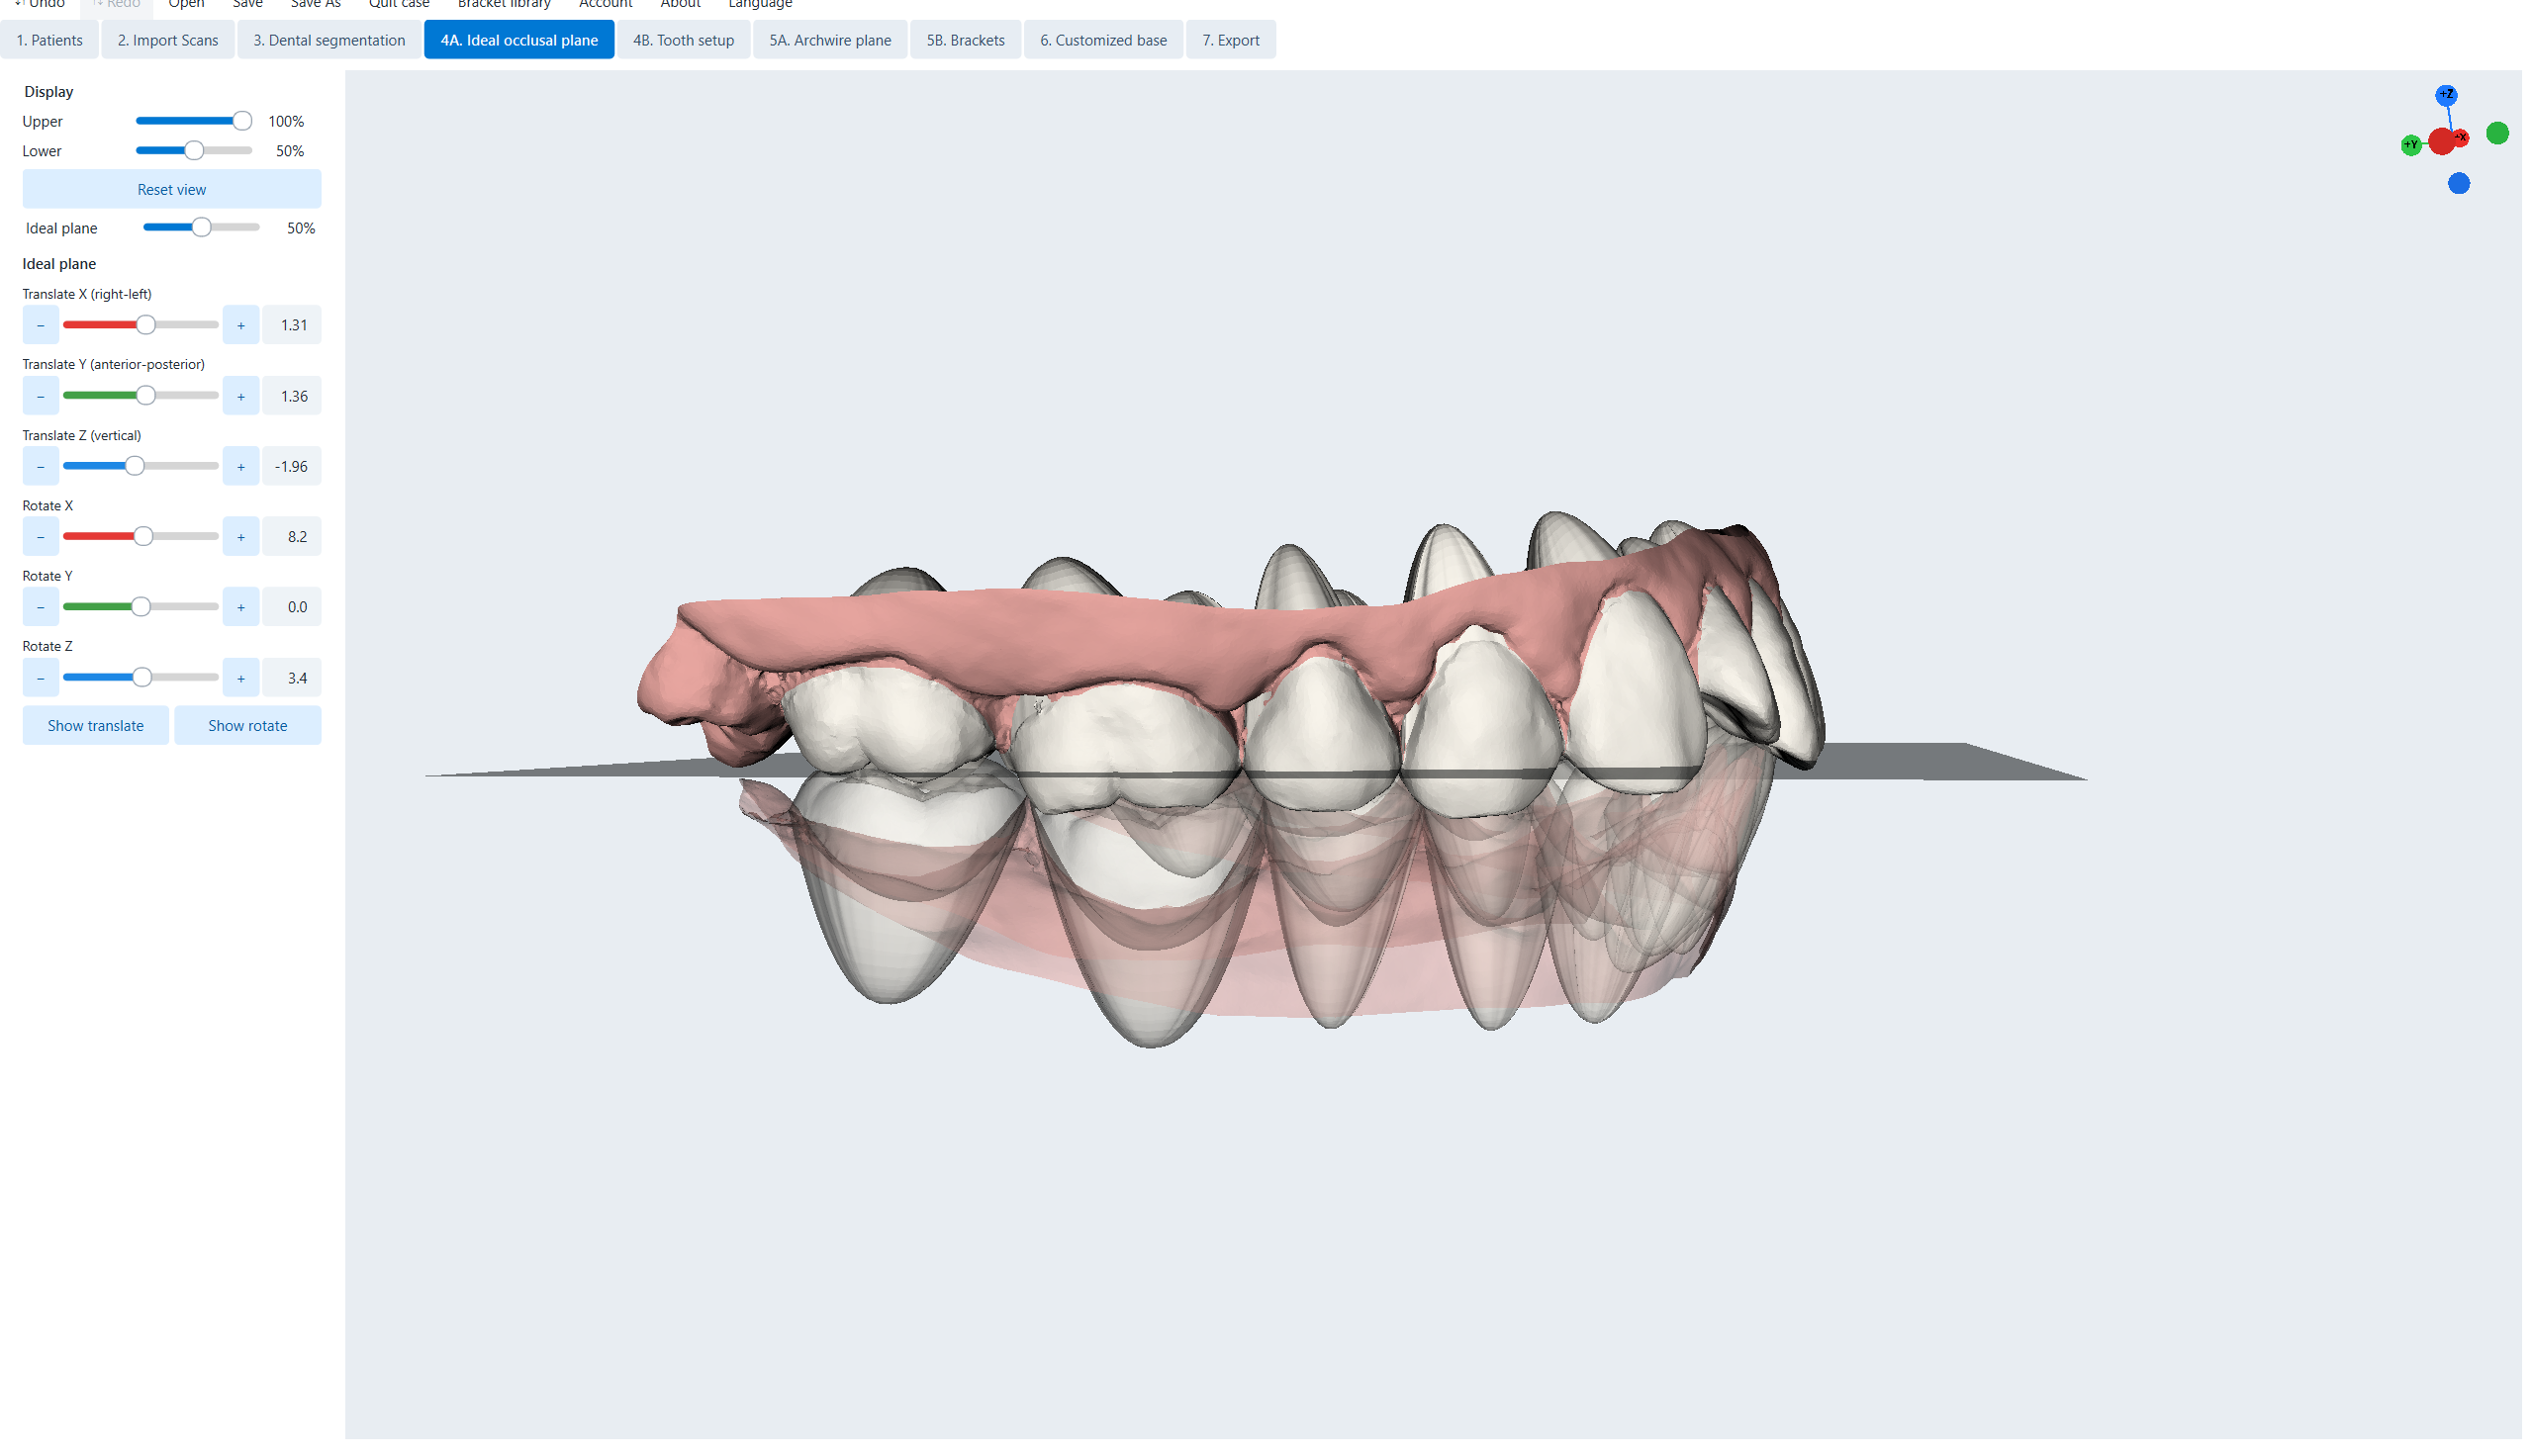
Occlusal plane
Normalize the occlusal plane and reference system.
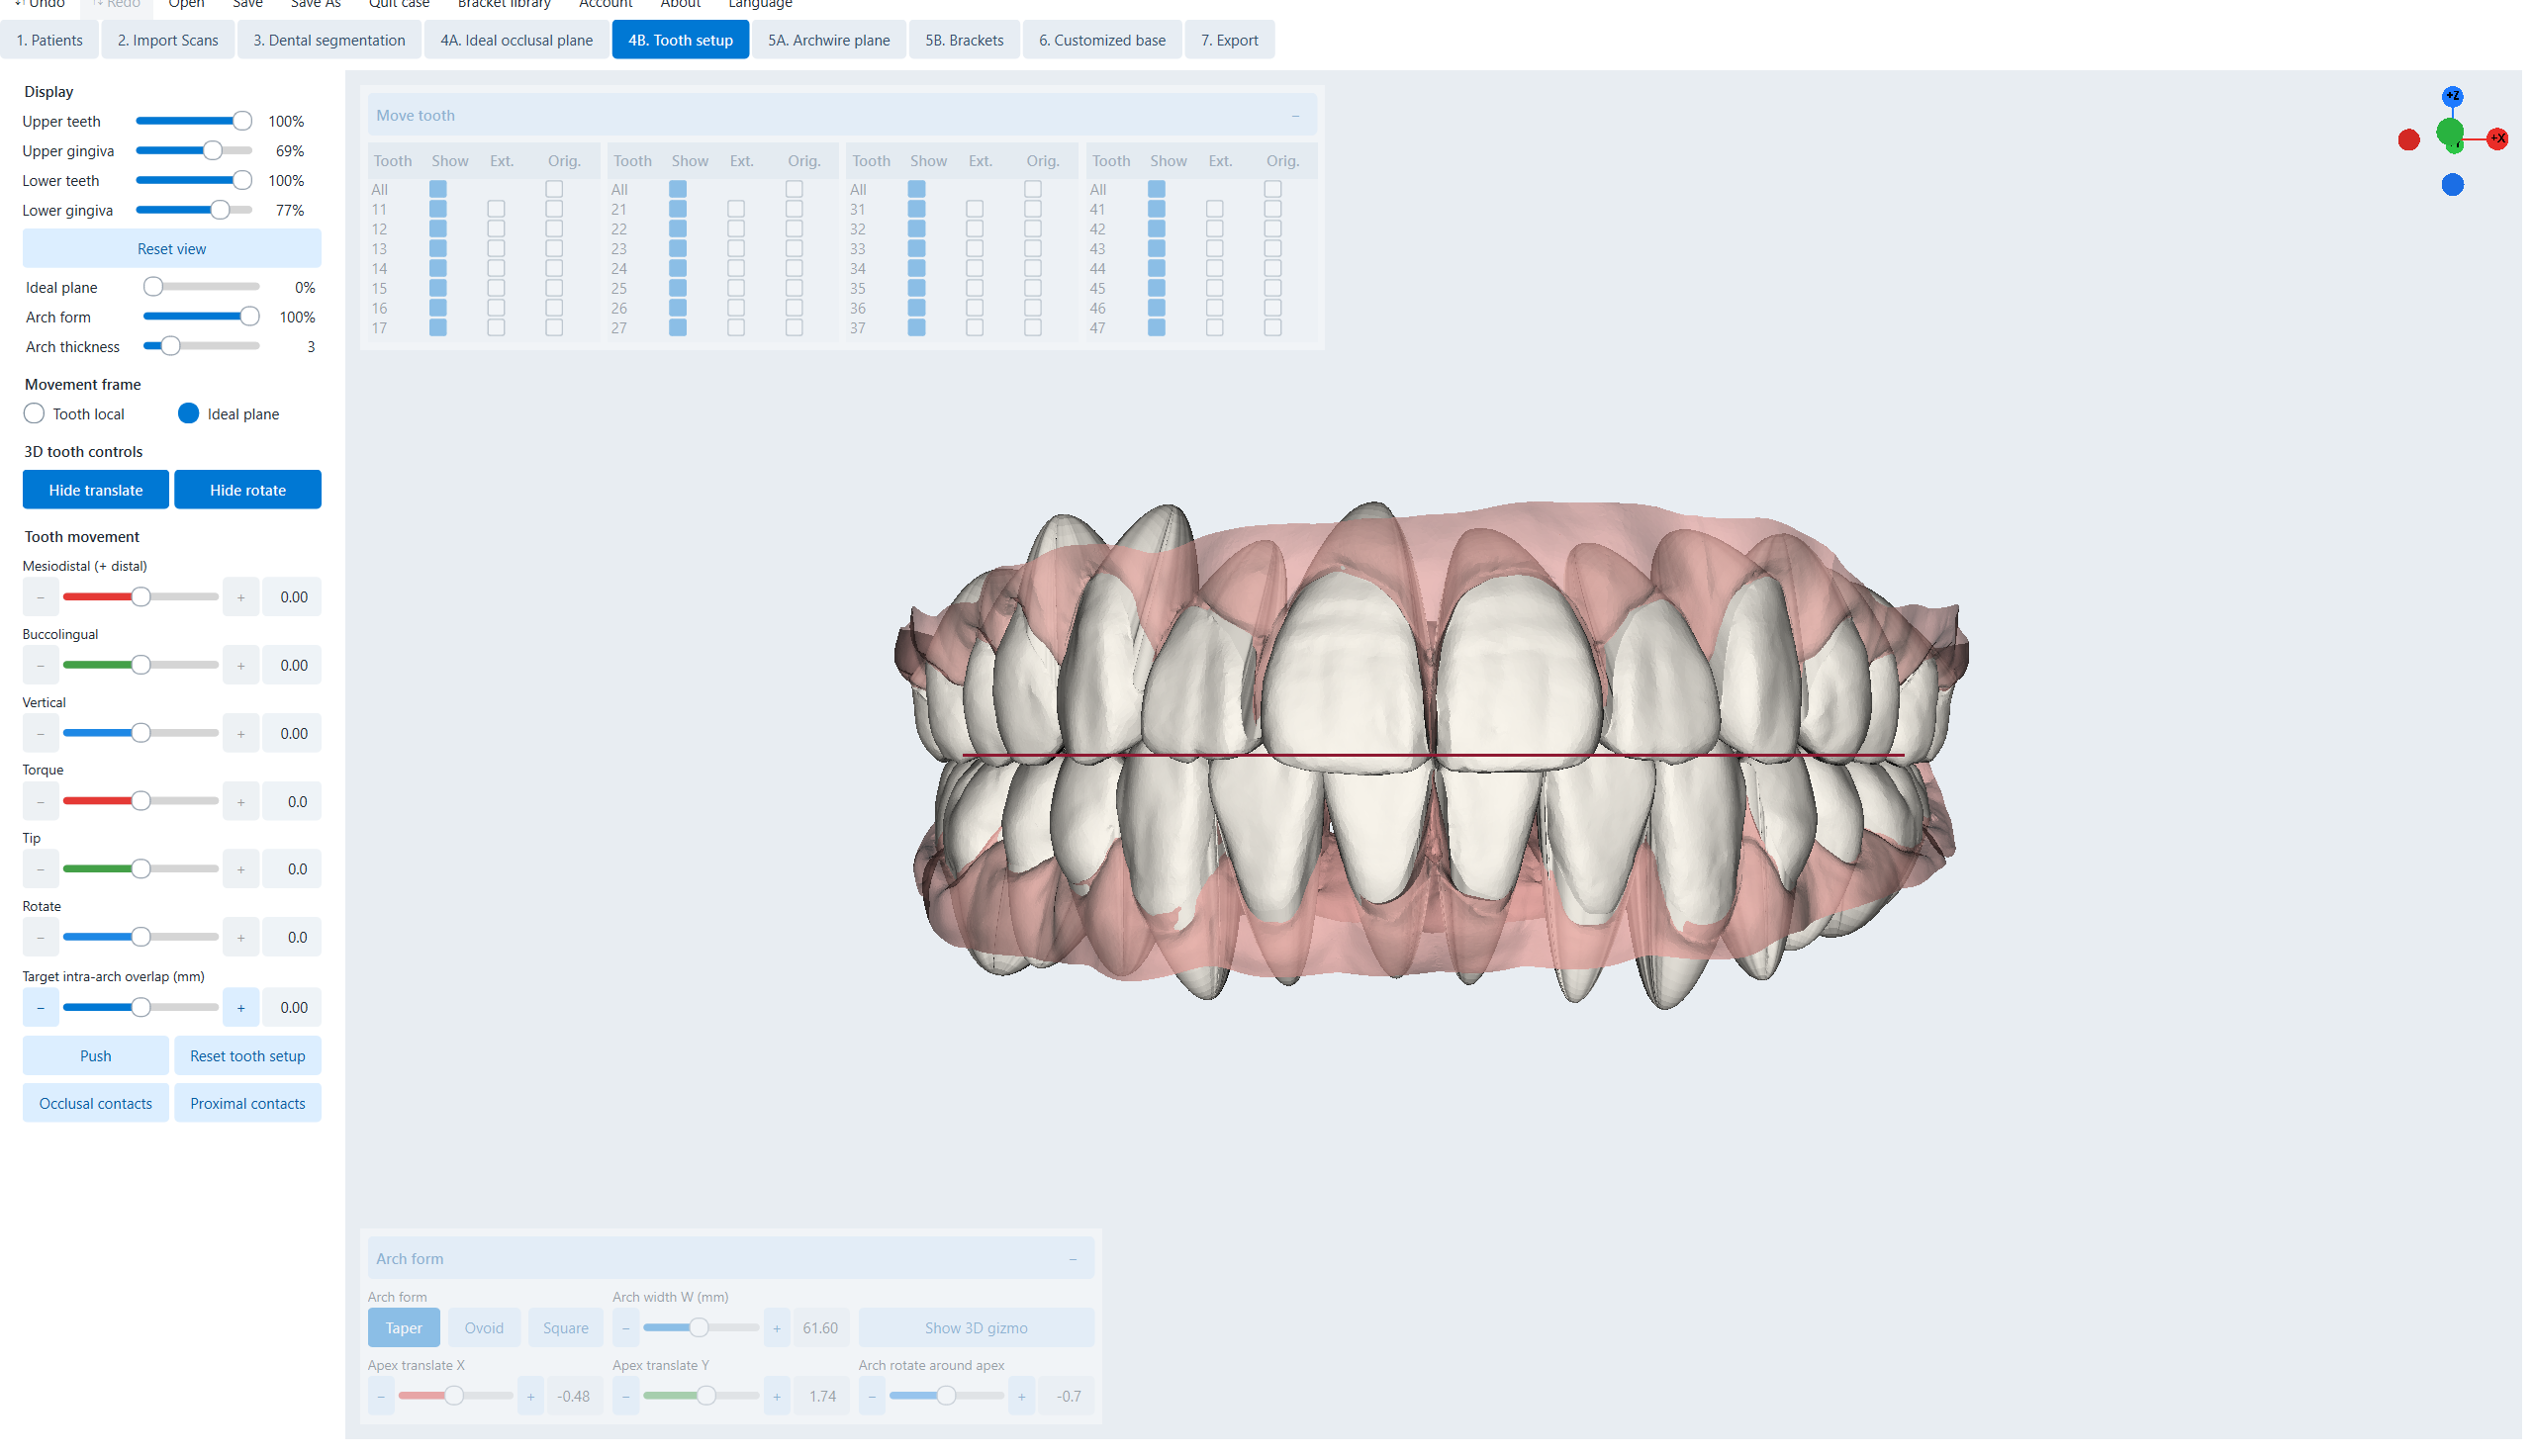
Setup
Alignment, leveling, rotation, torque and range.

Overlap
Overlay Original with Setup to control movement.
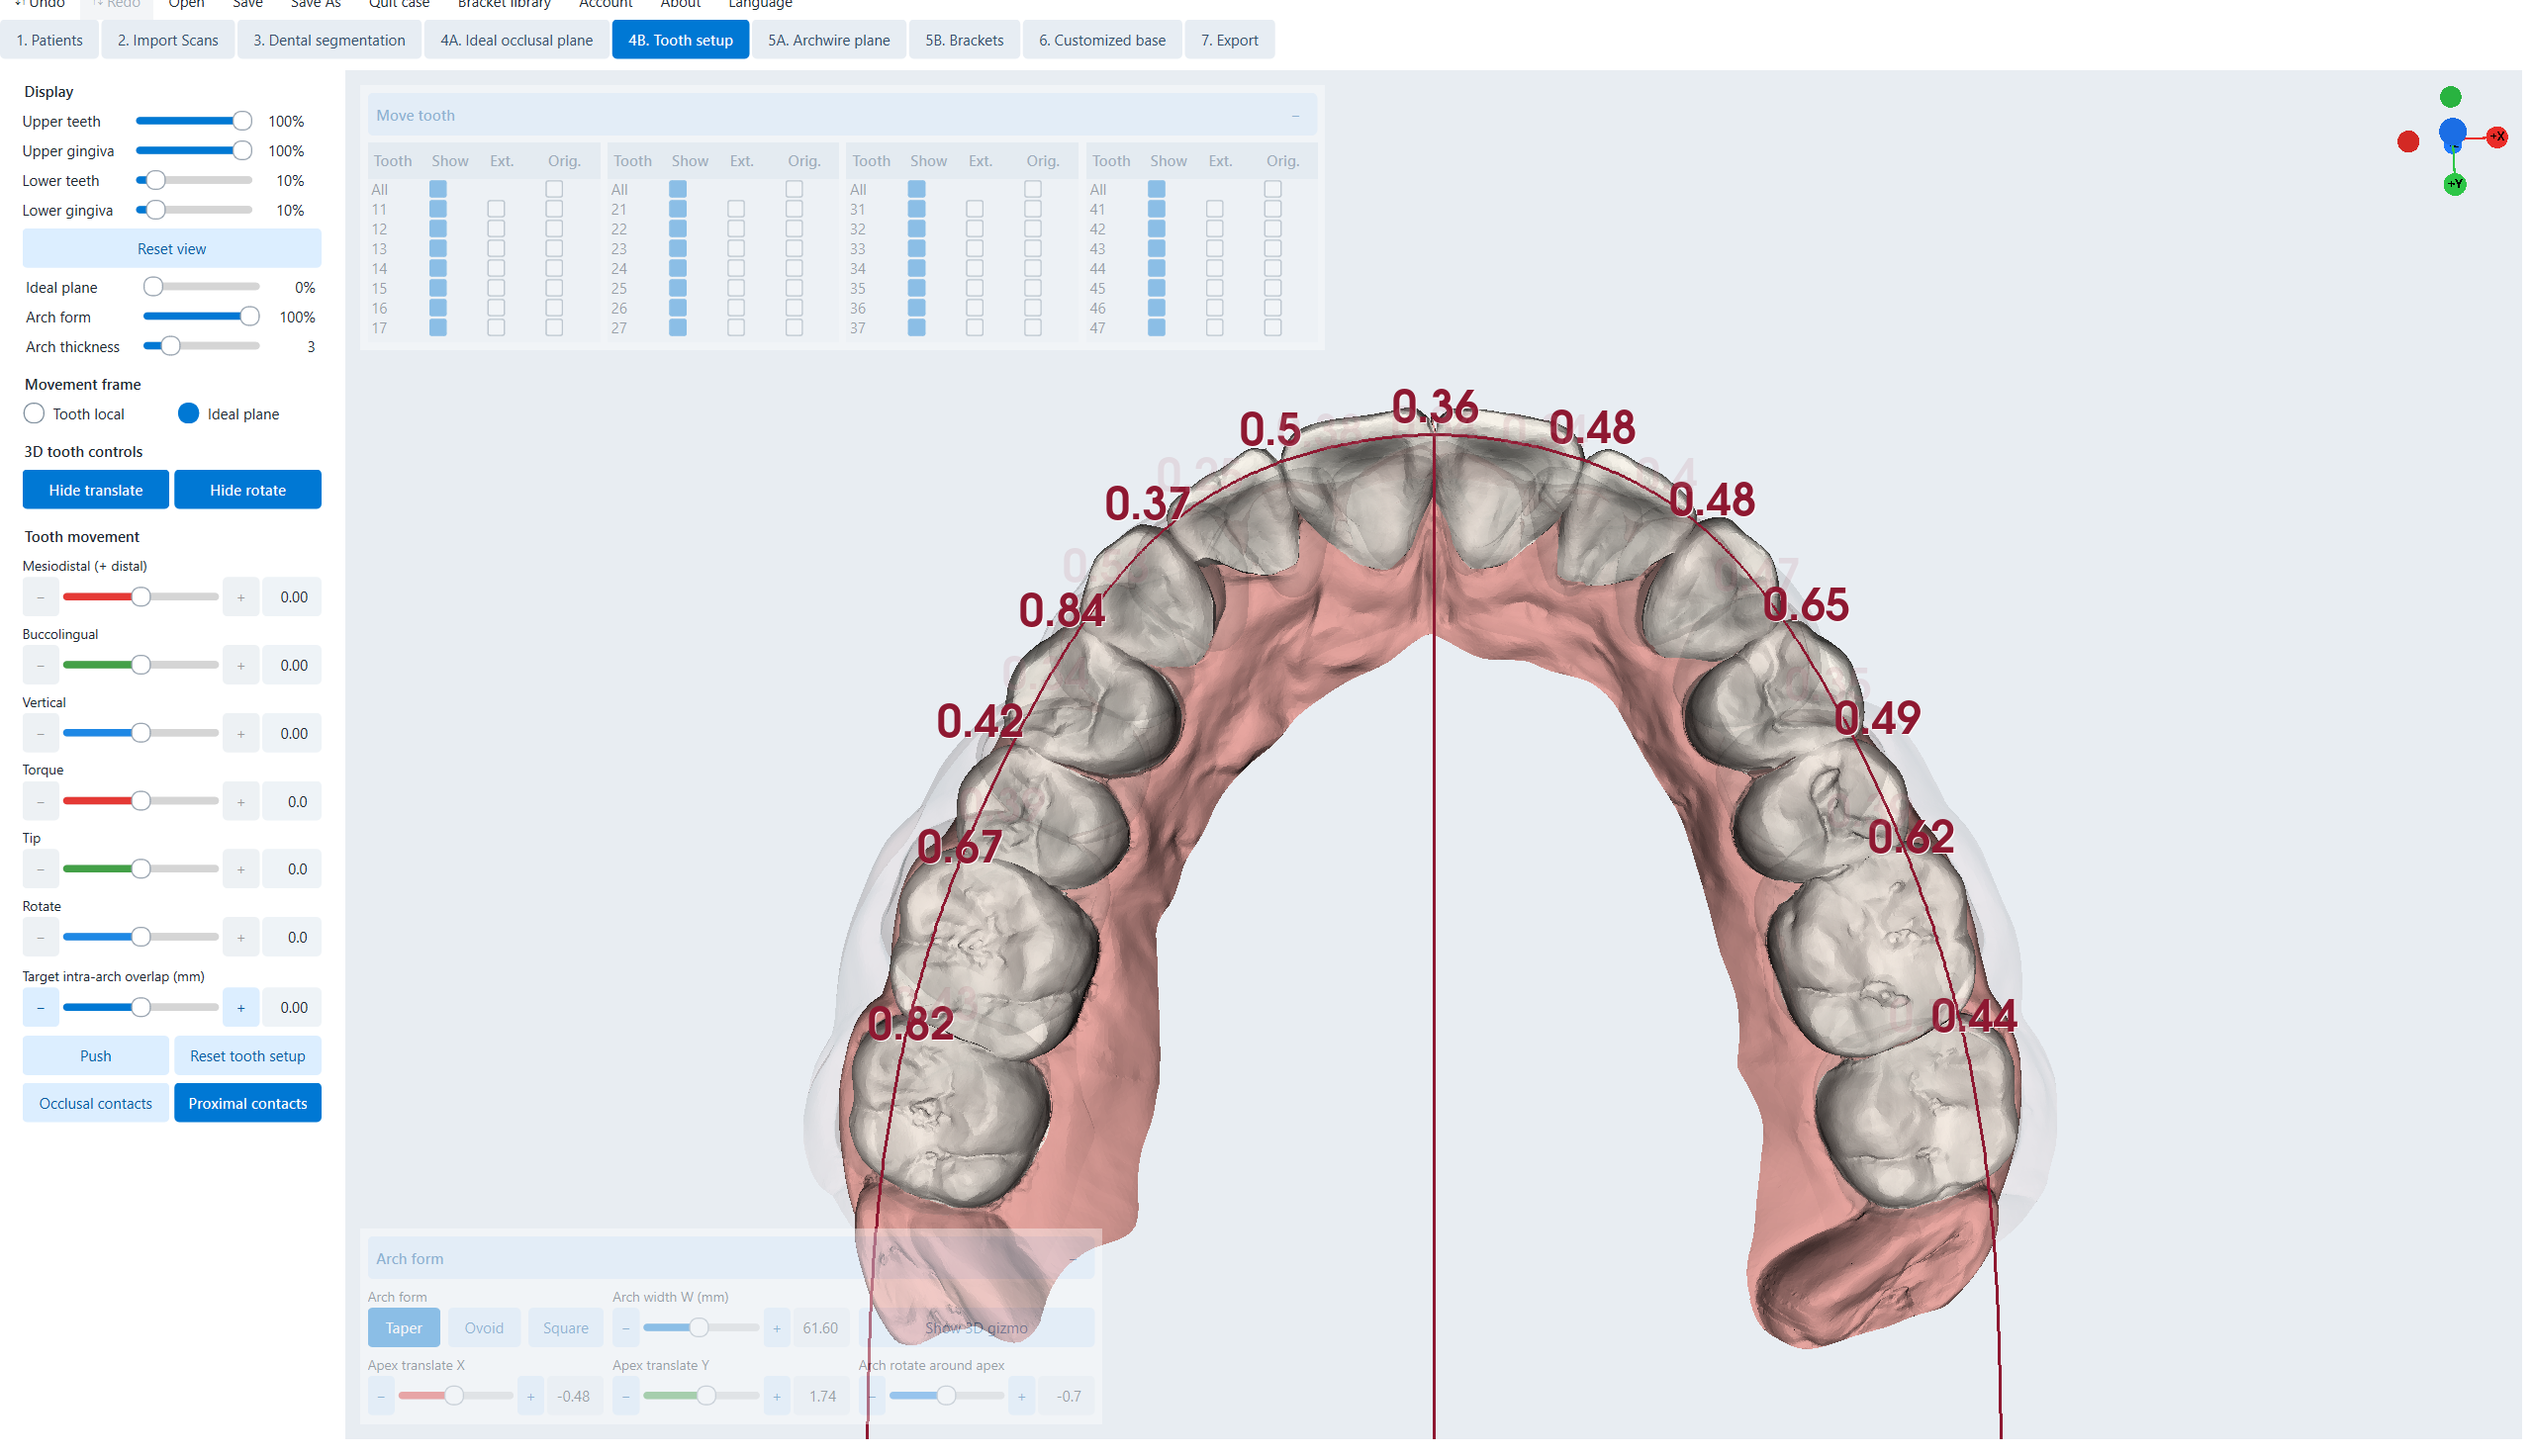
Put your teeth together
Fine-tune lateral contact, span and full arc contact.
Occlusal contact point
Adjust the bite point of the two jaws.

Chord plane
Define the chord plane for the entire jaw.
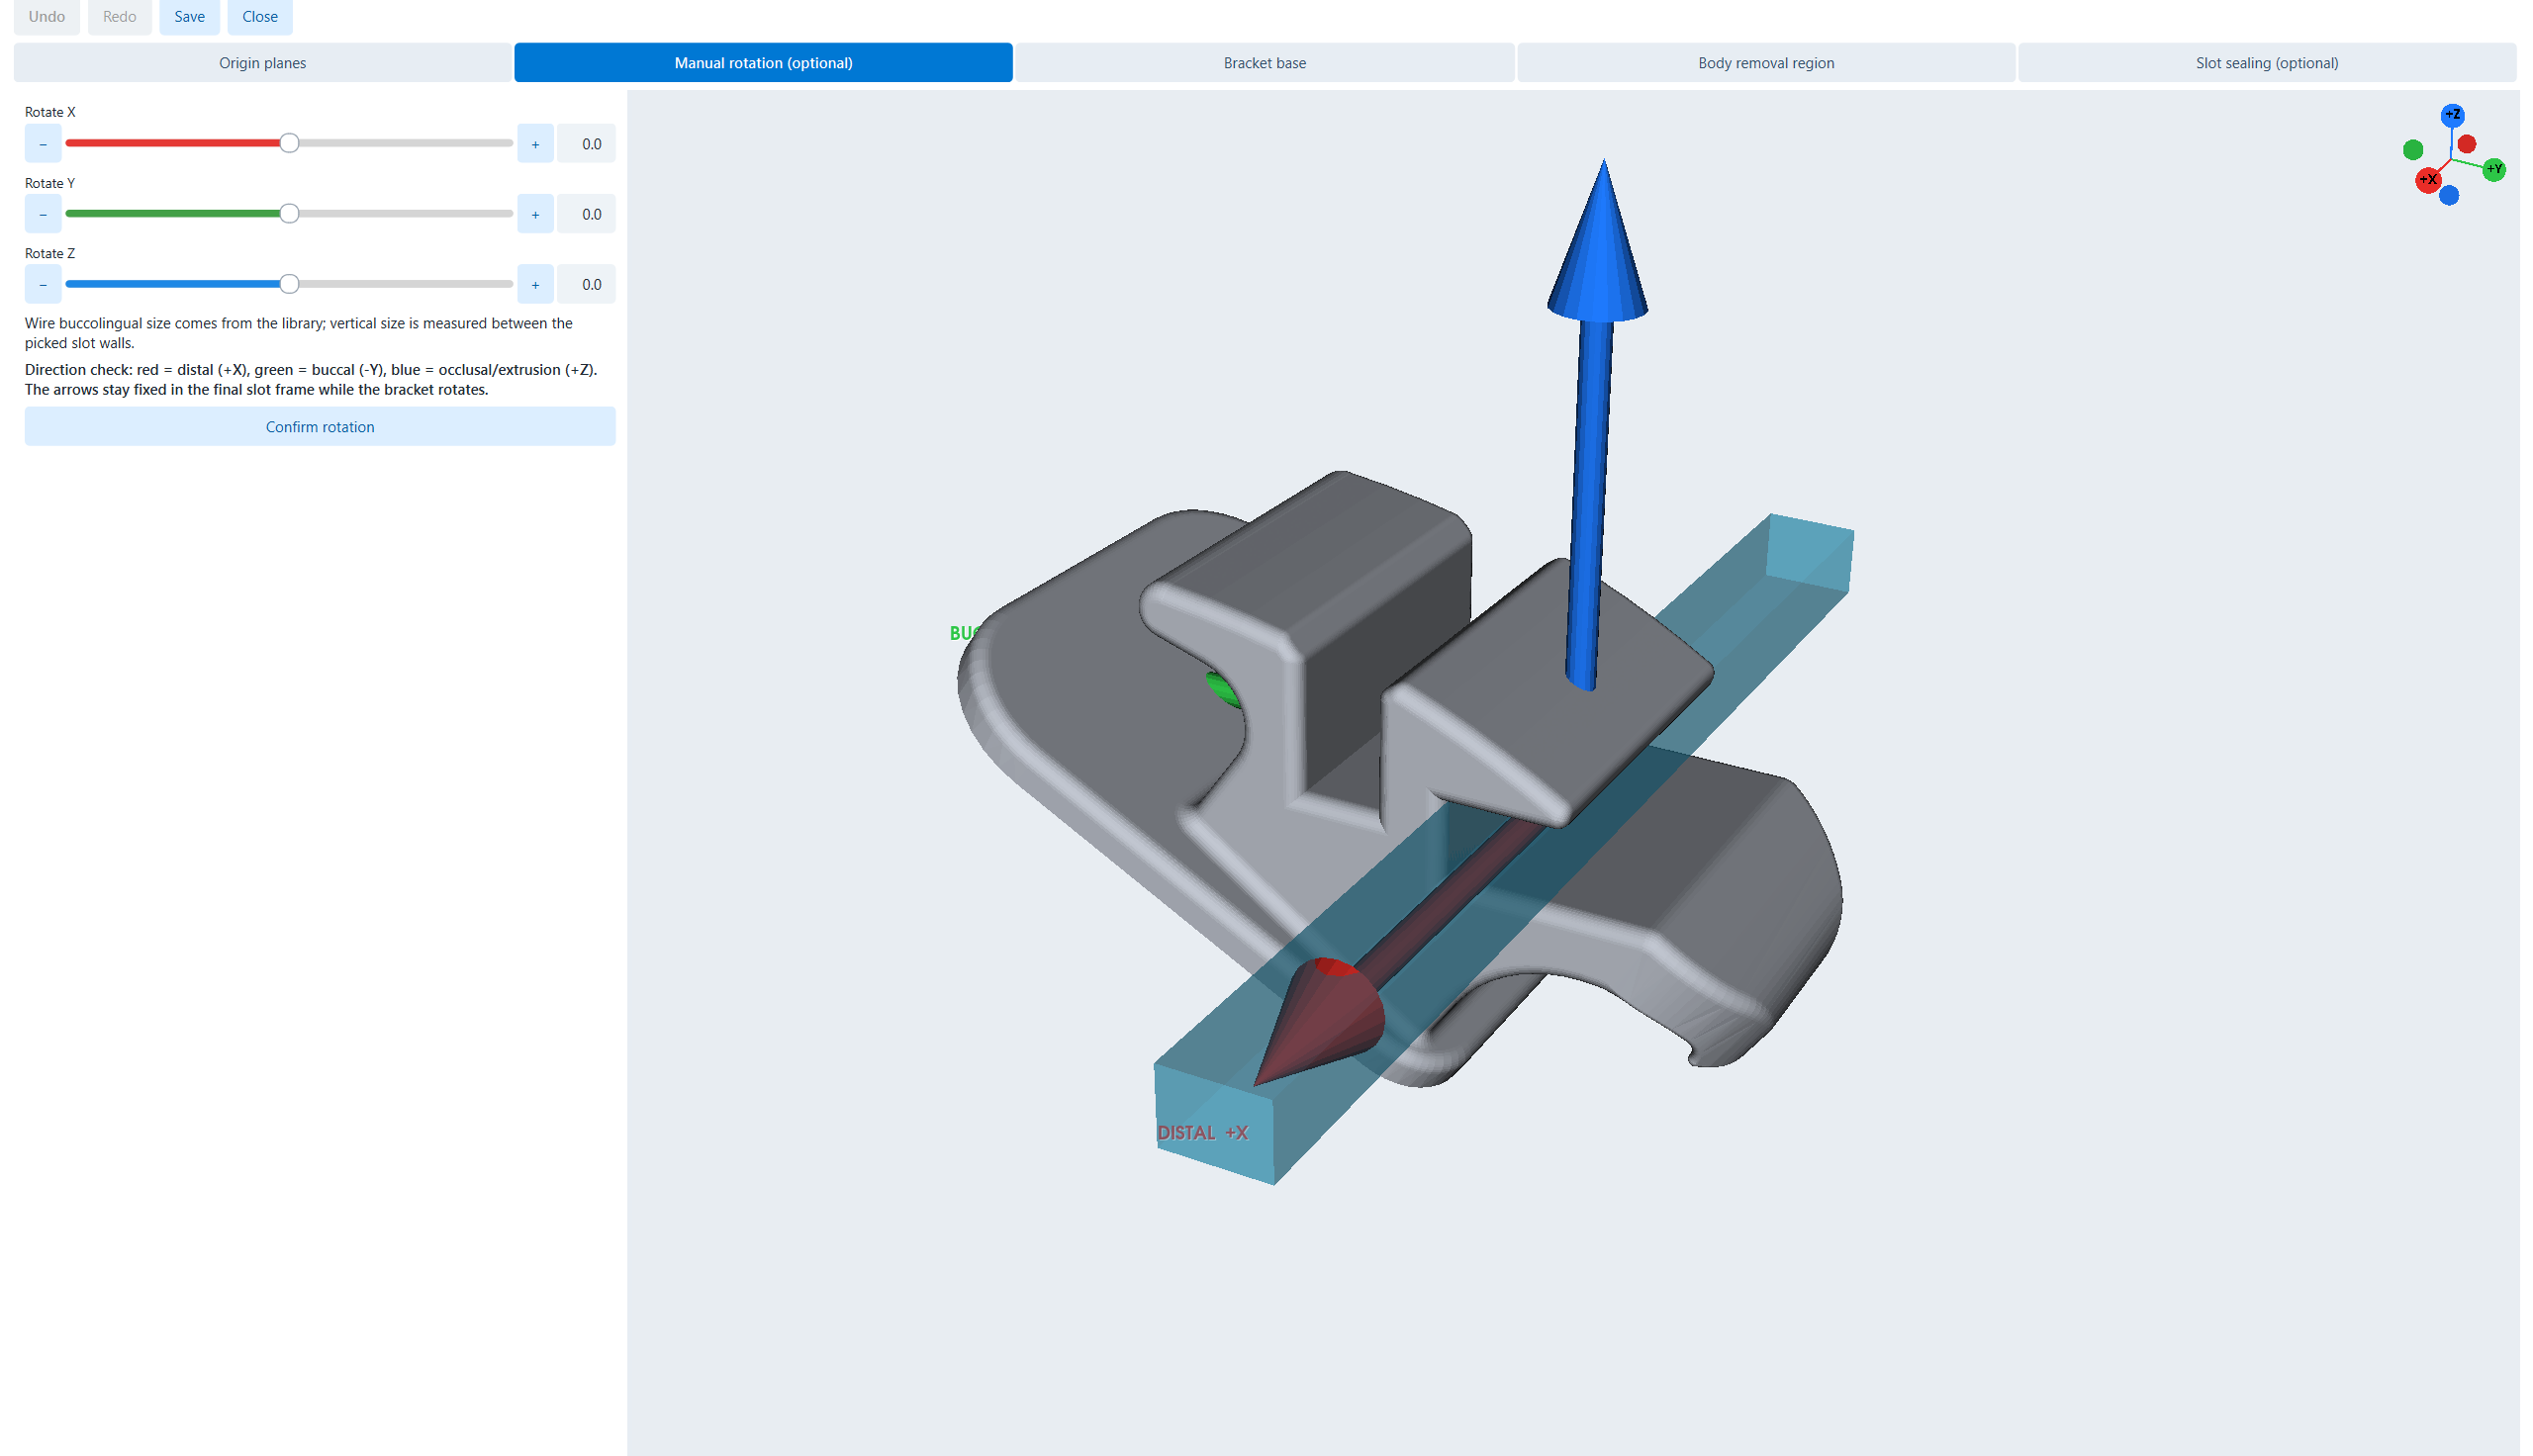
Standardize braces
The library allows adding bracket STL, defining slot direction and center.
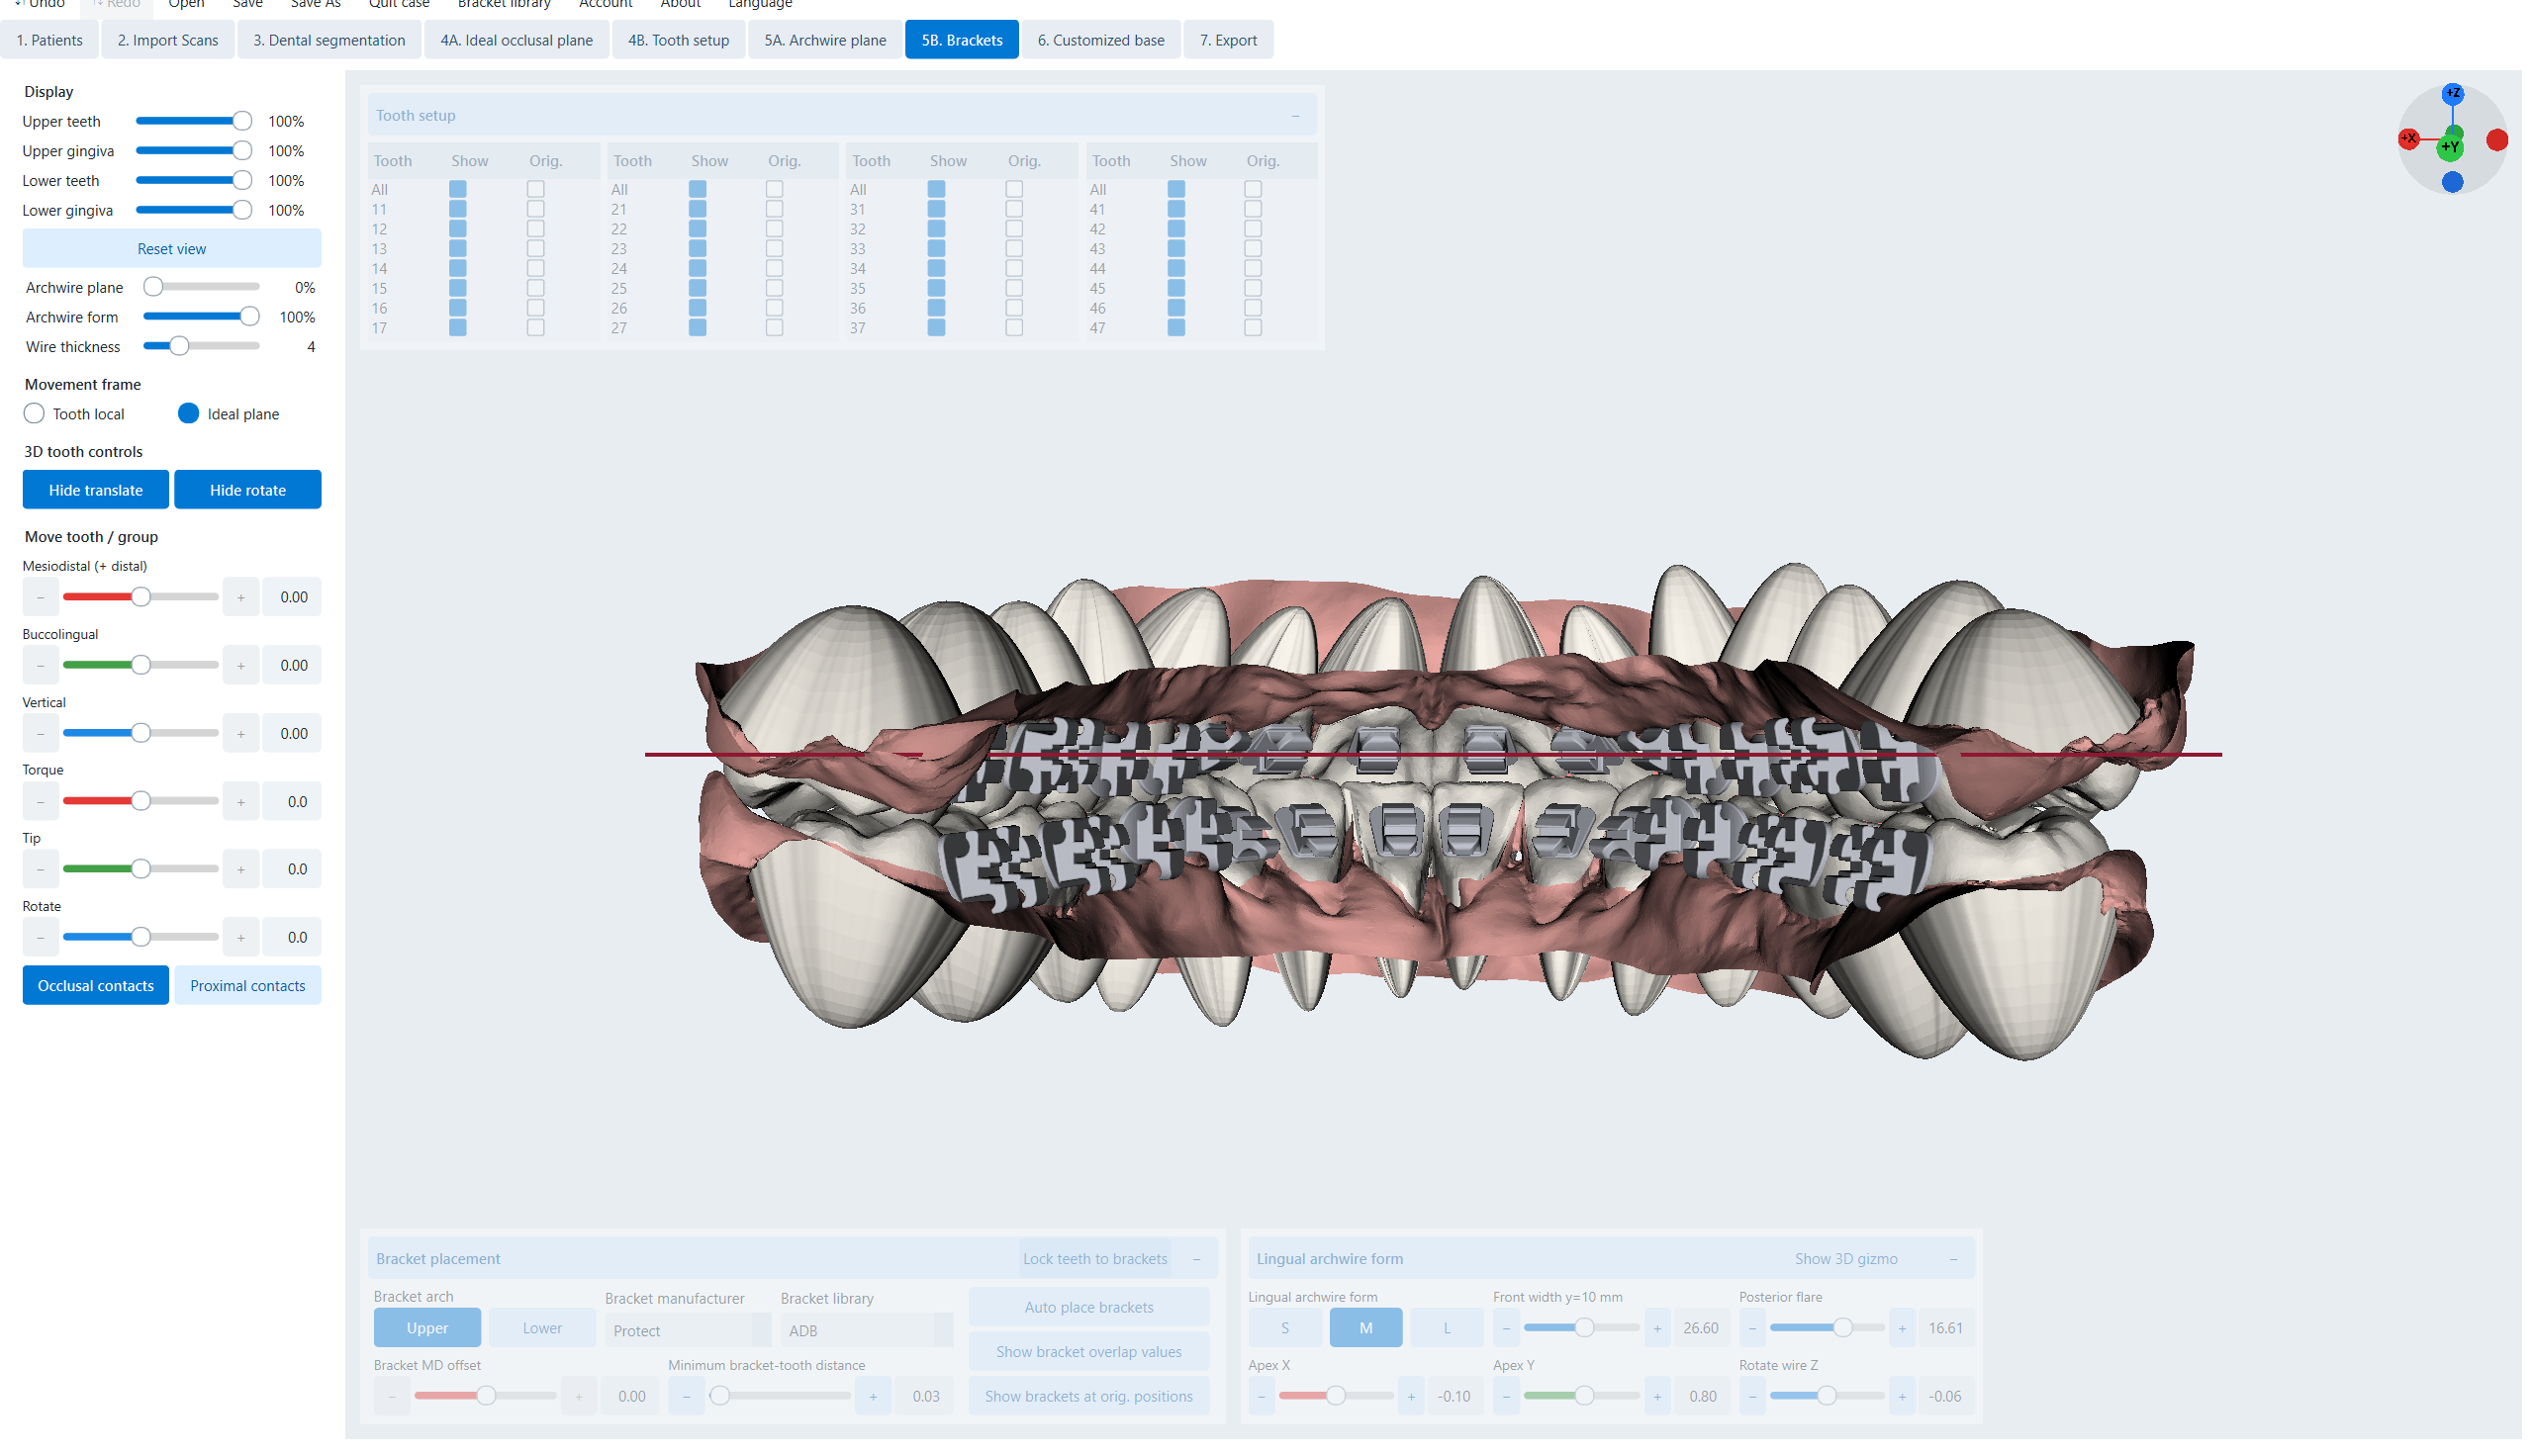
Place braces
Library of brackets, slots and positions by destination.
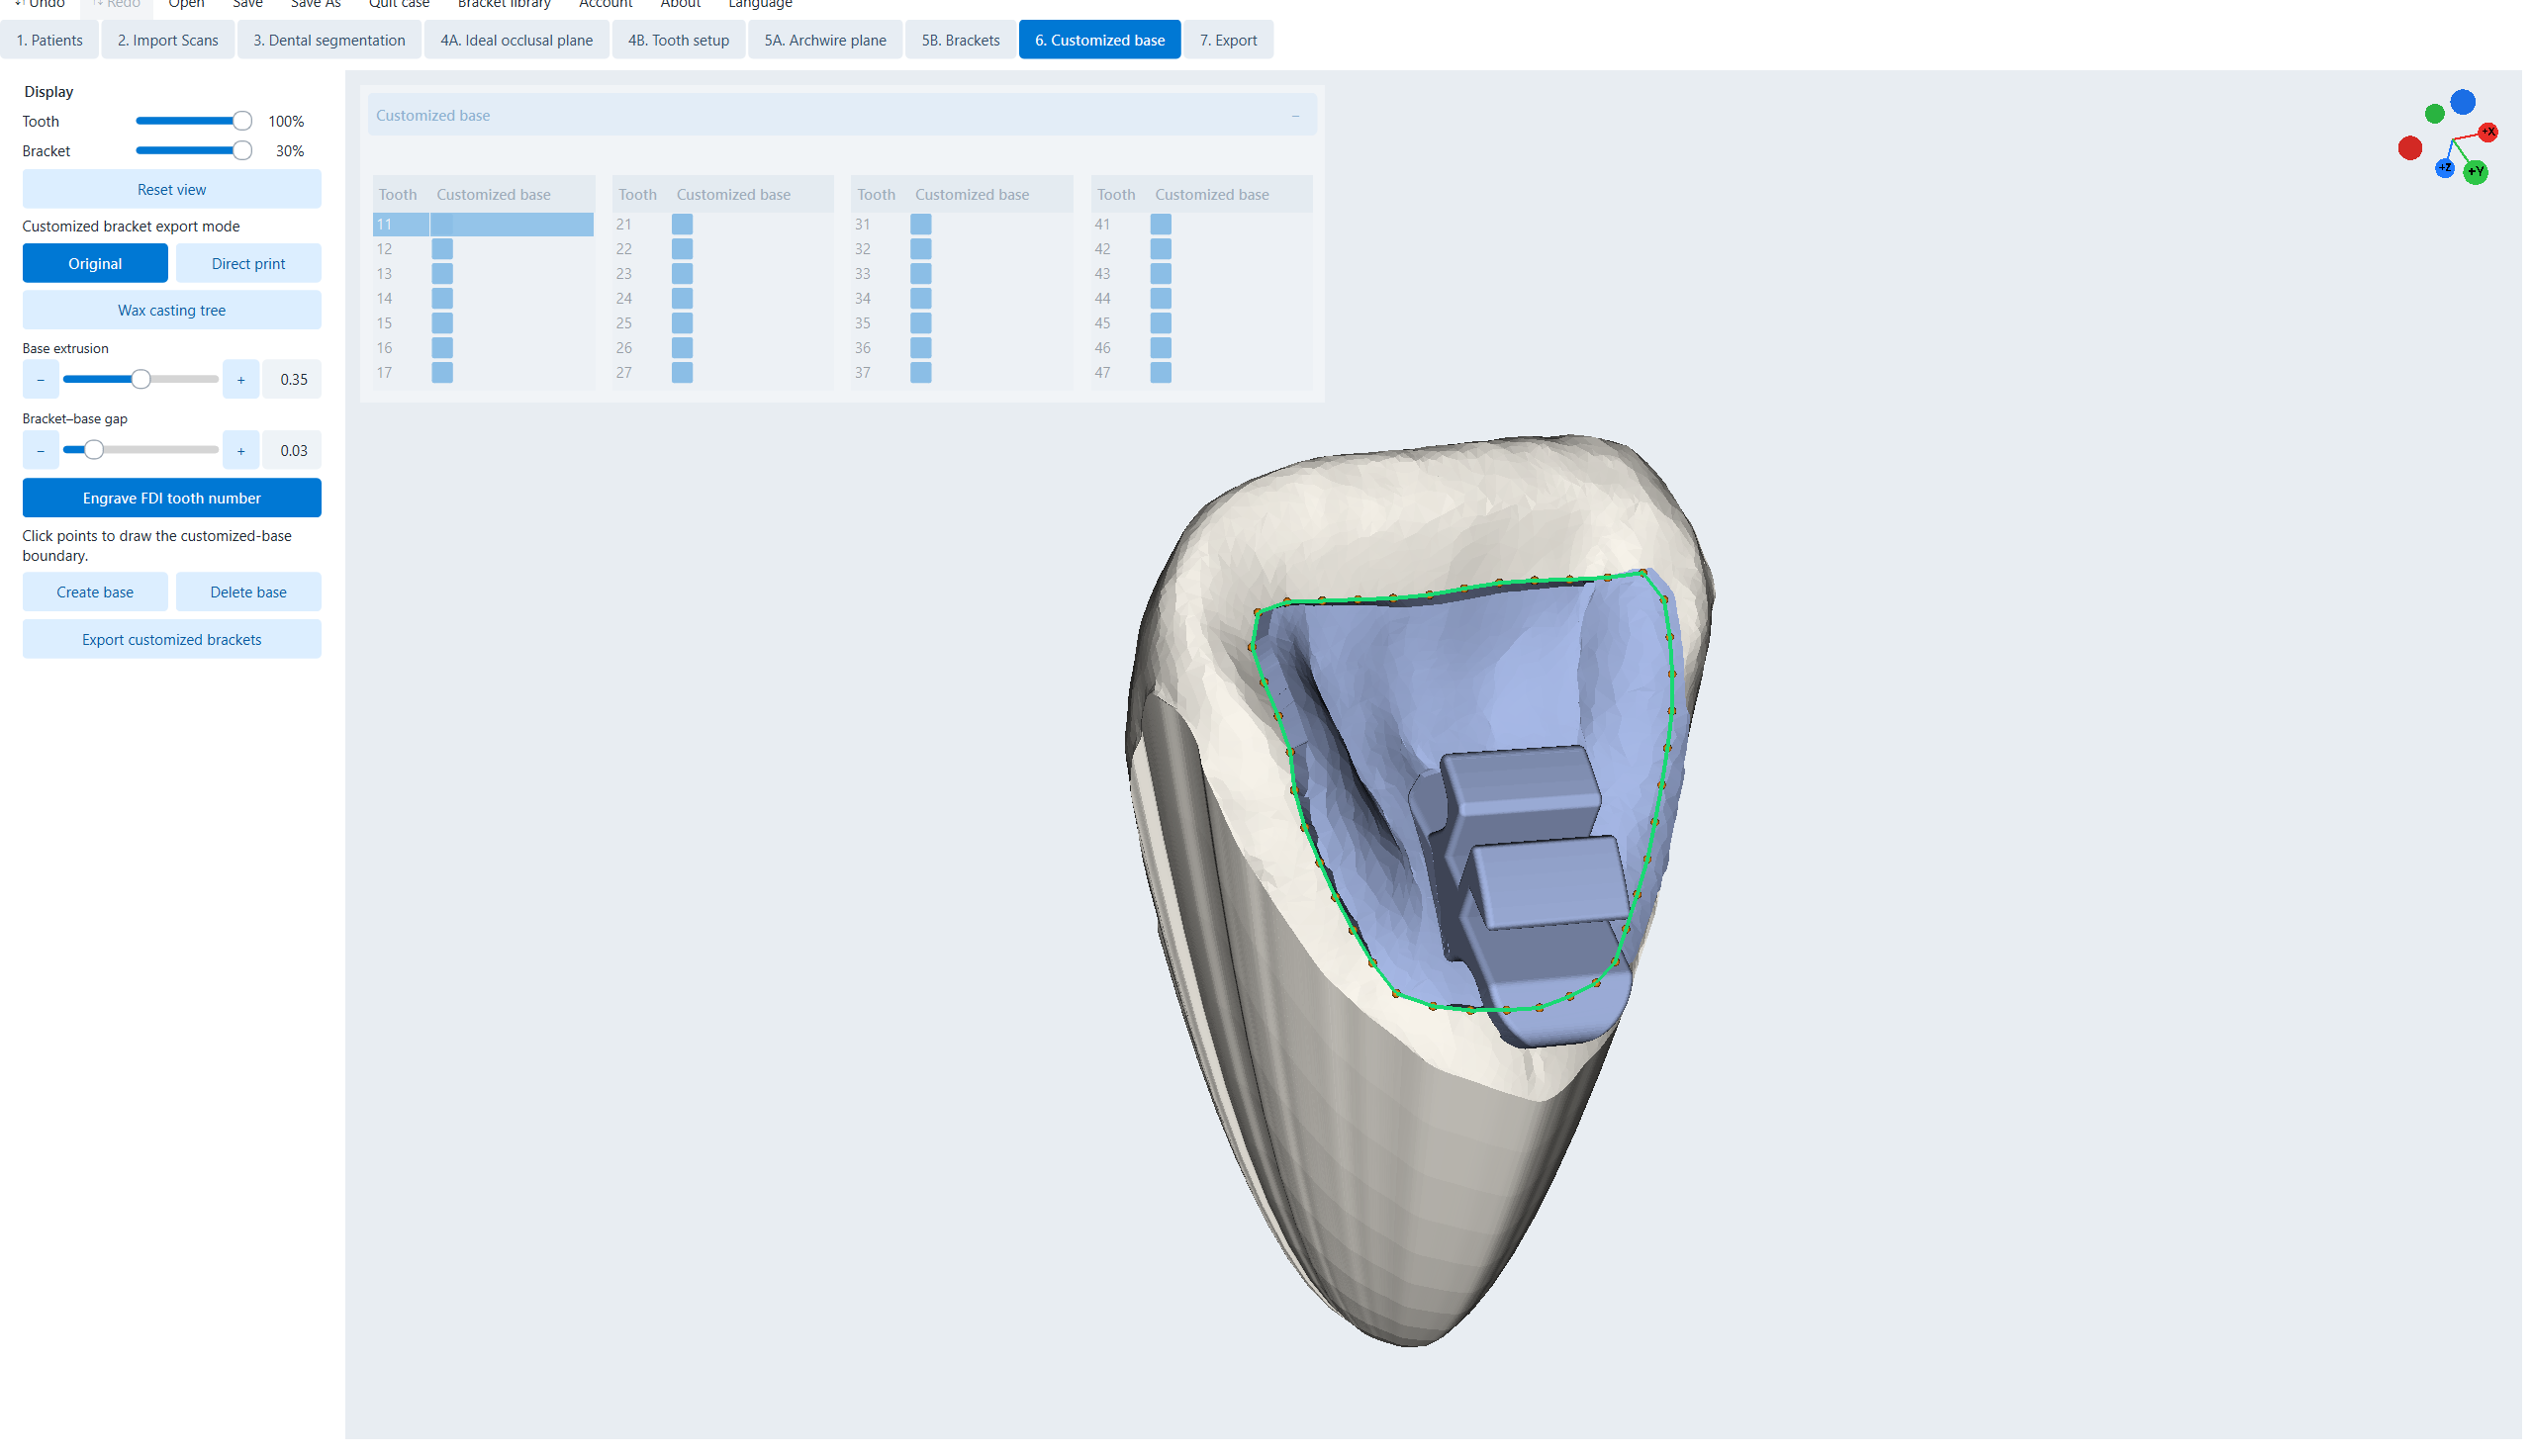
Personal braces
Personalize the base and details according to the anatomy.
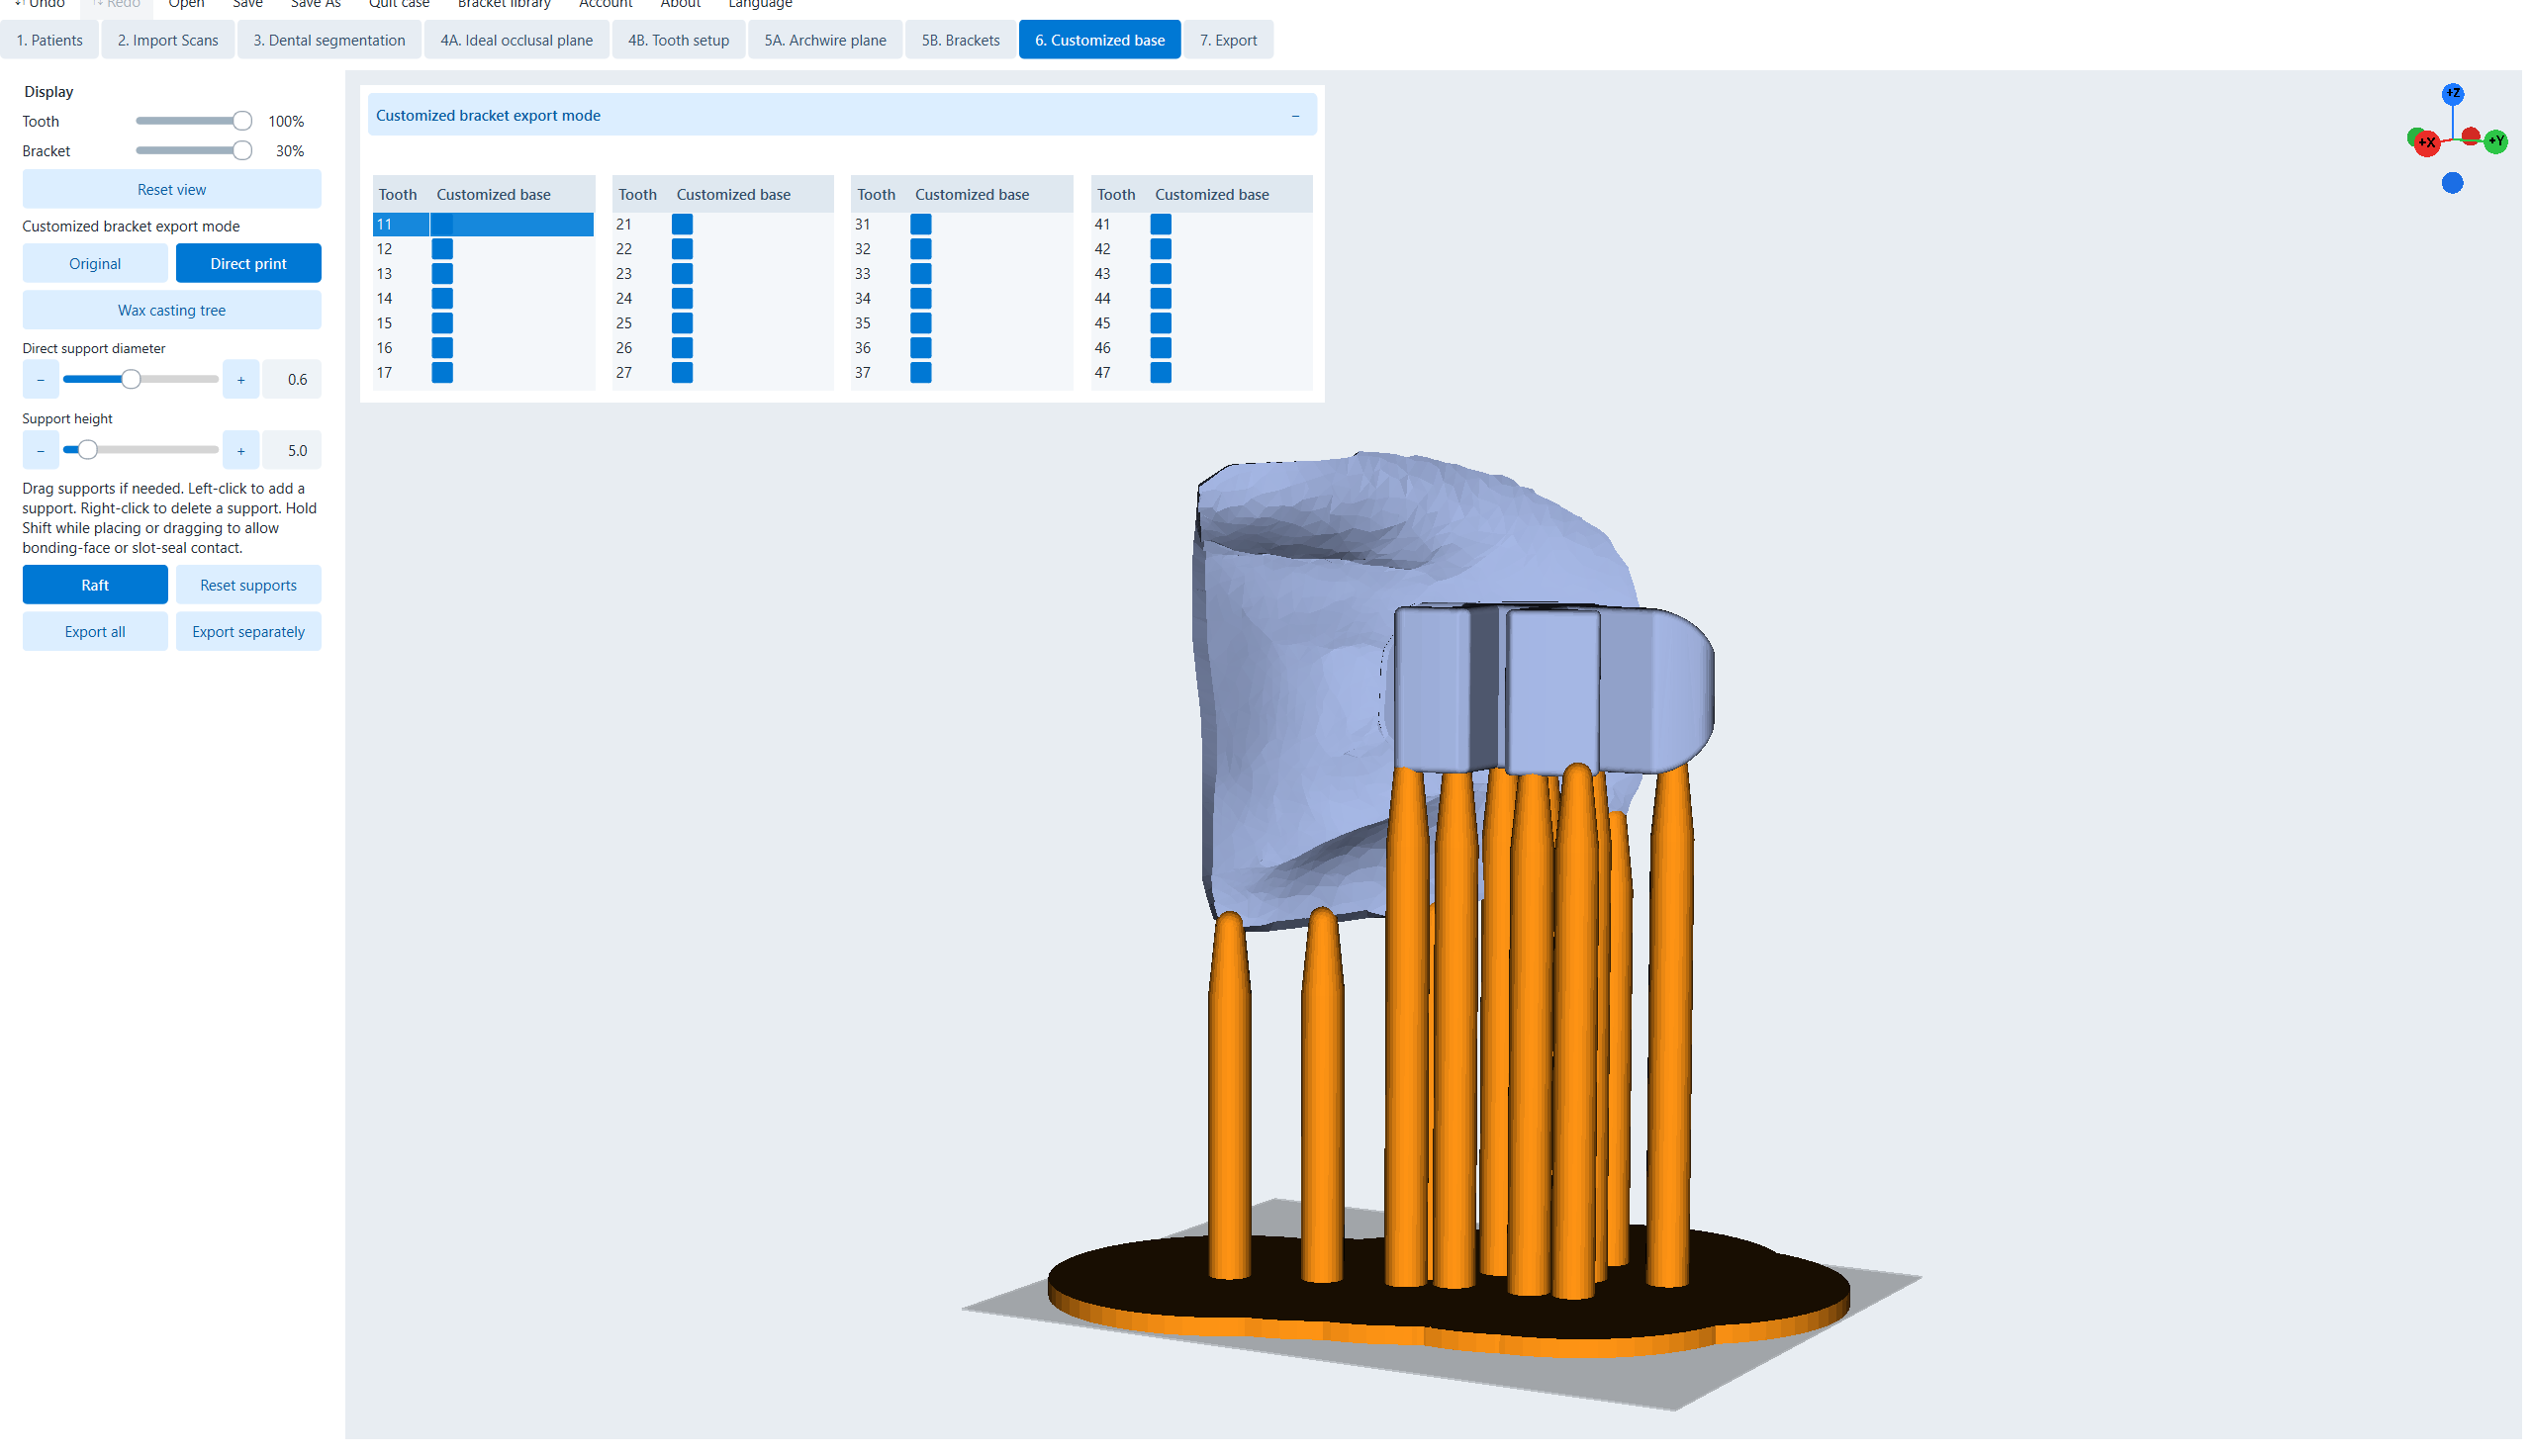
Metal 3D printing
Set automatic support for 3D metal printing of personal braces.
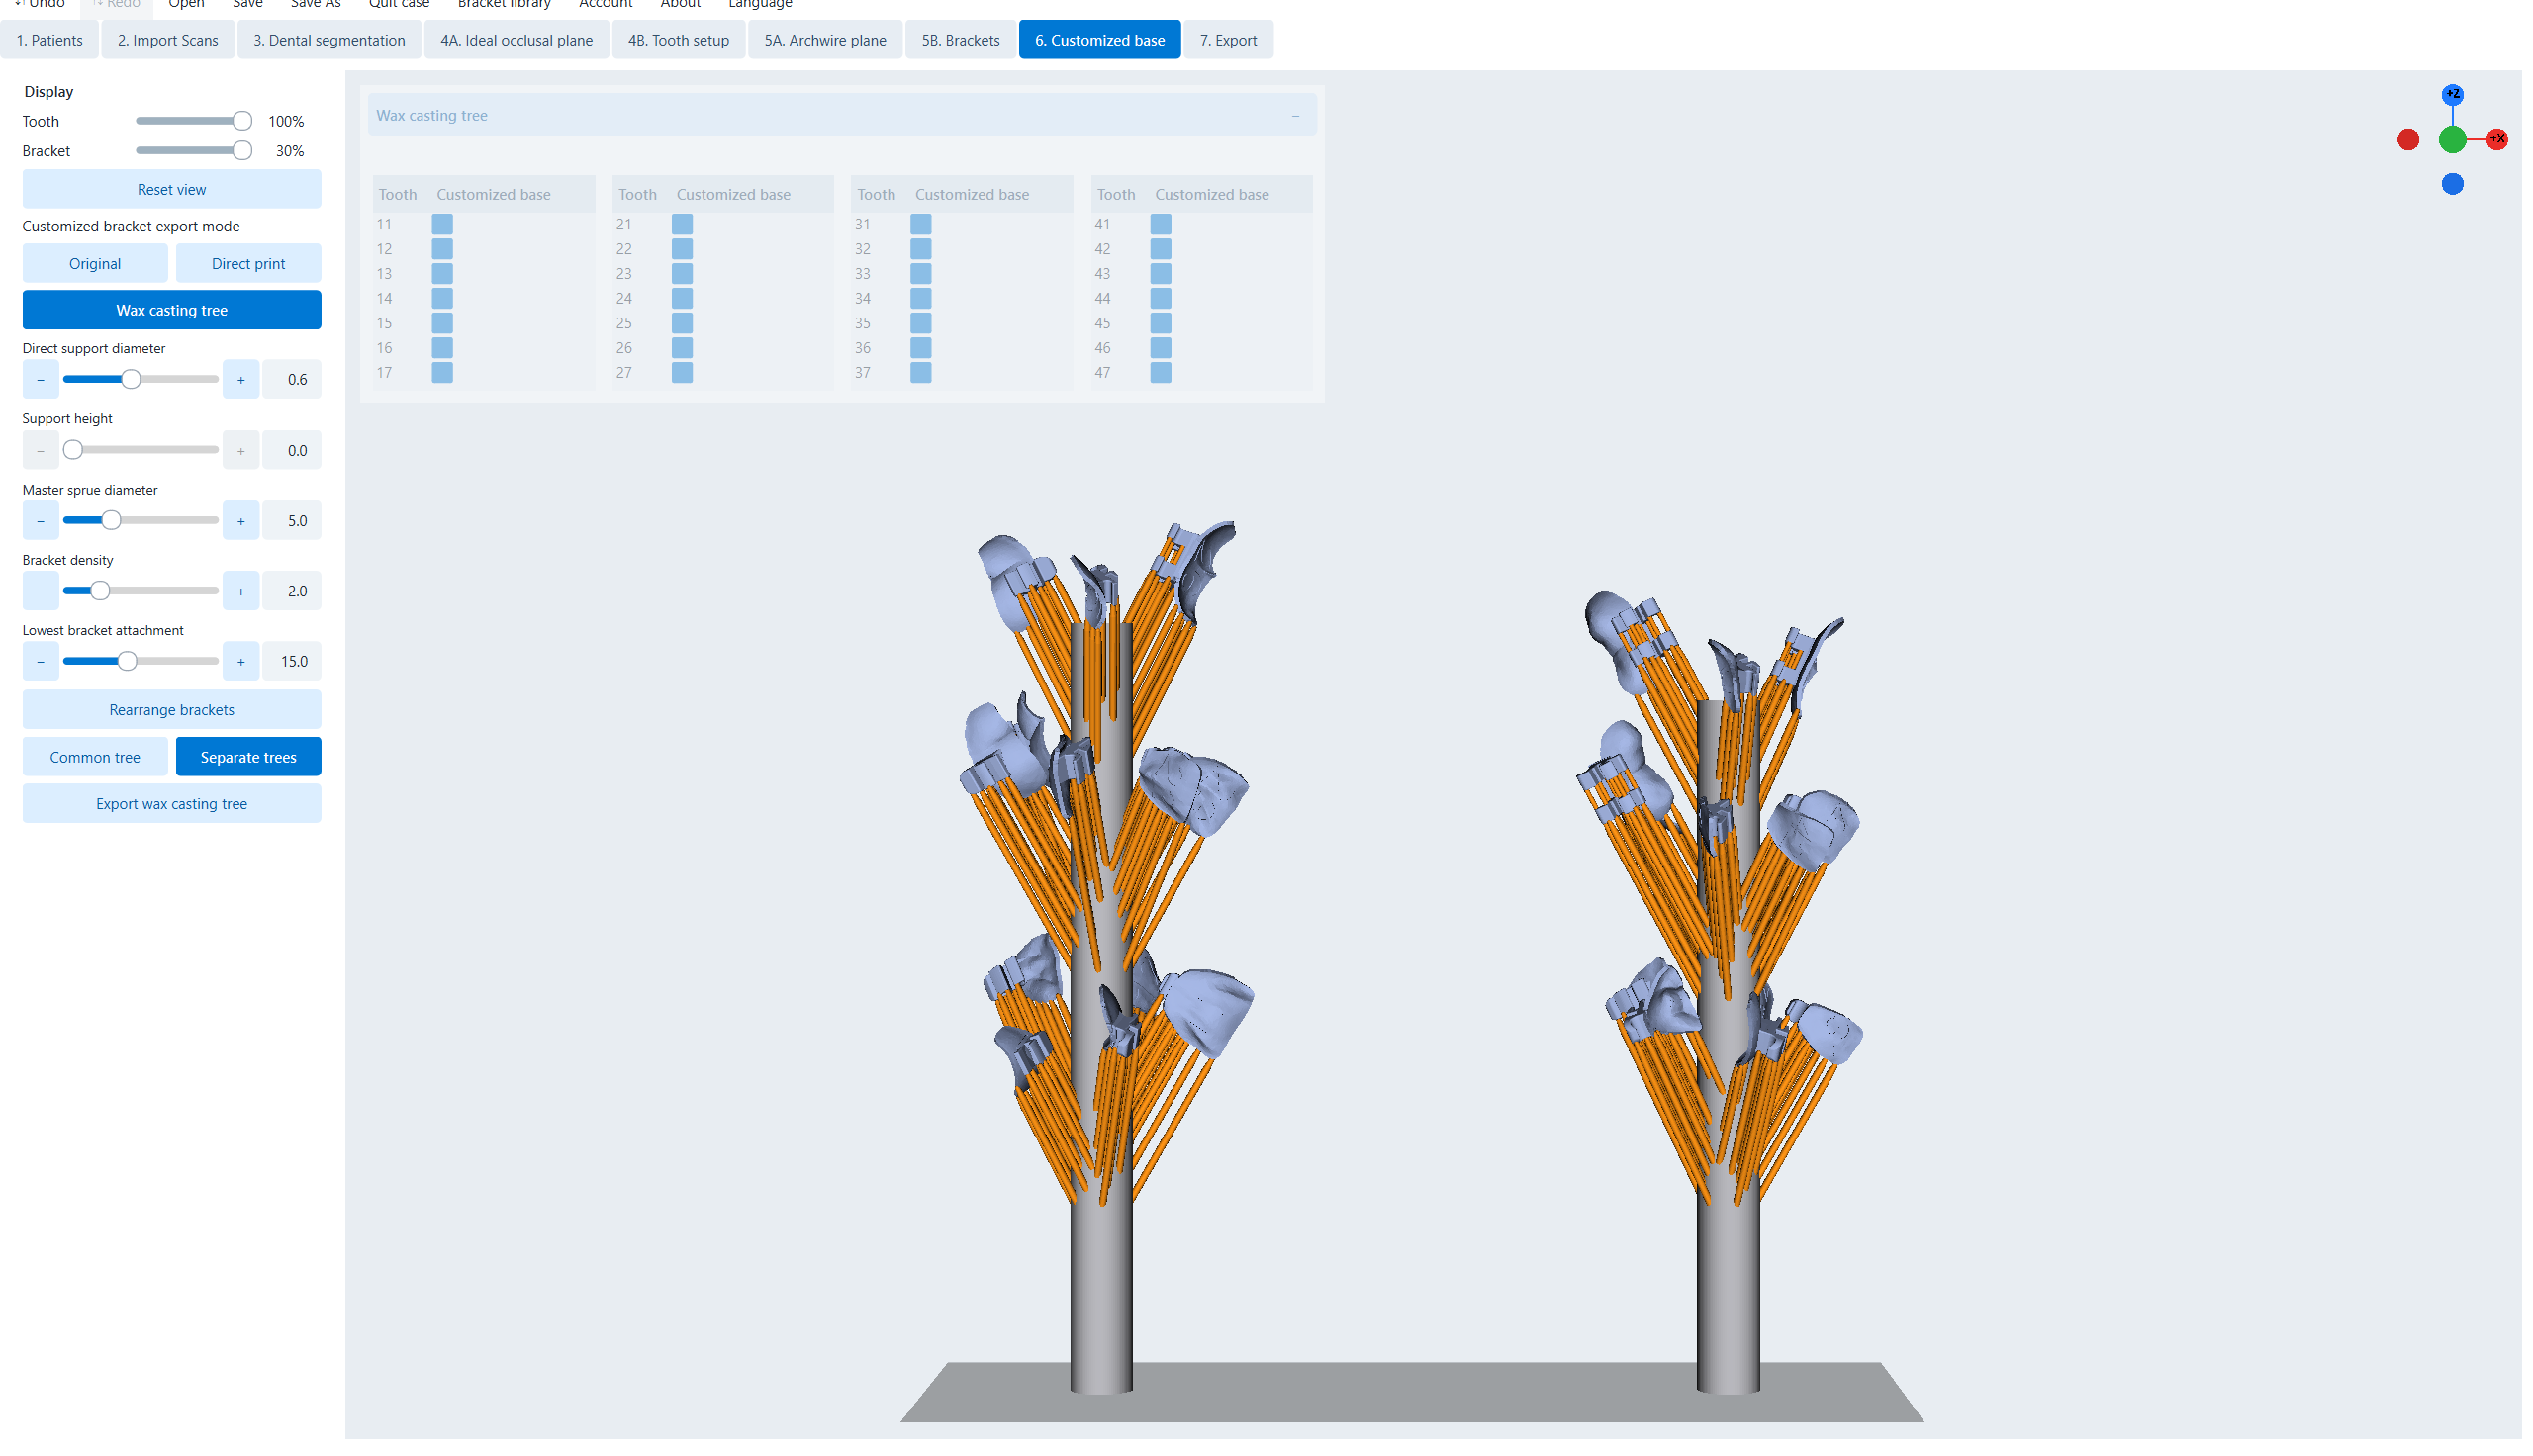
Wax tree for casting braces
Arrange individual brackets into wax trees for the casting process.
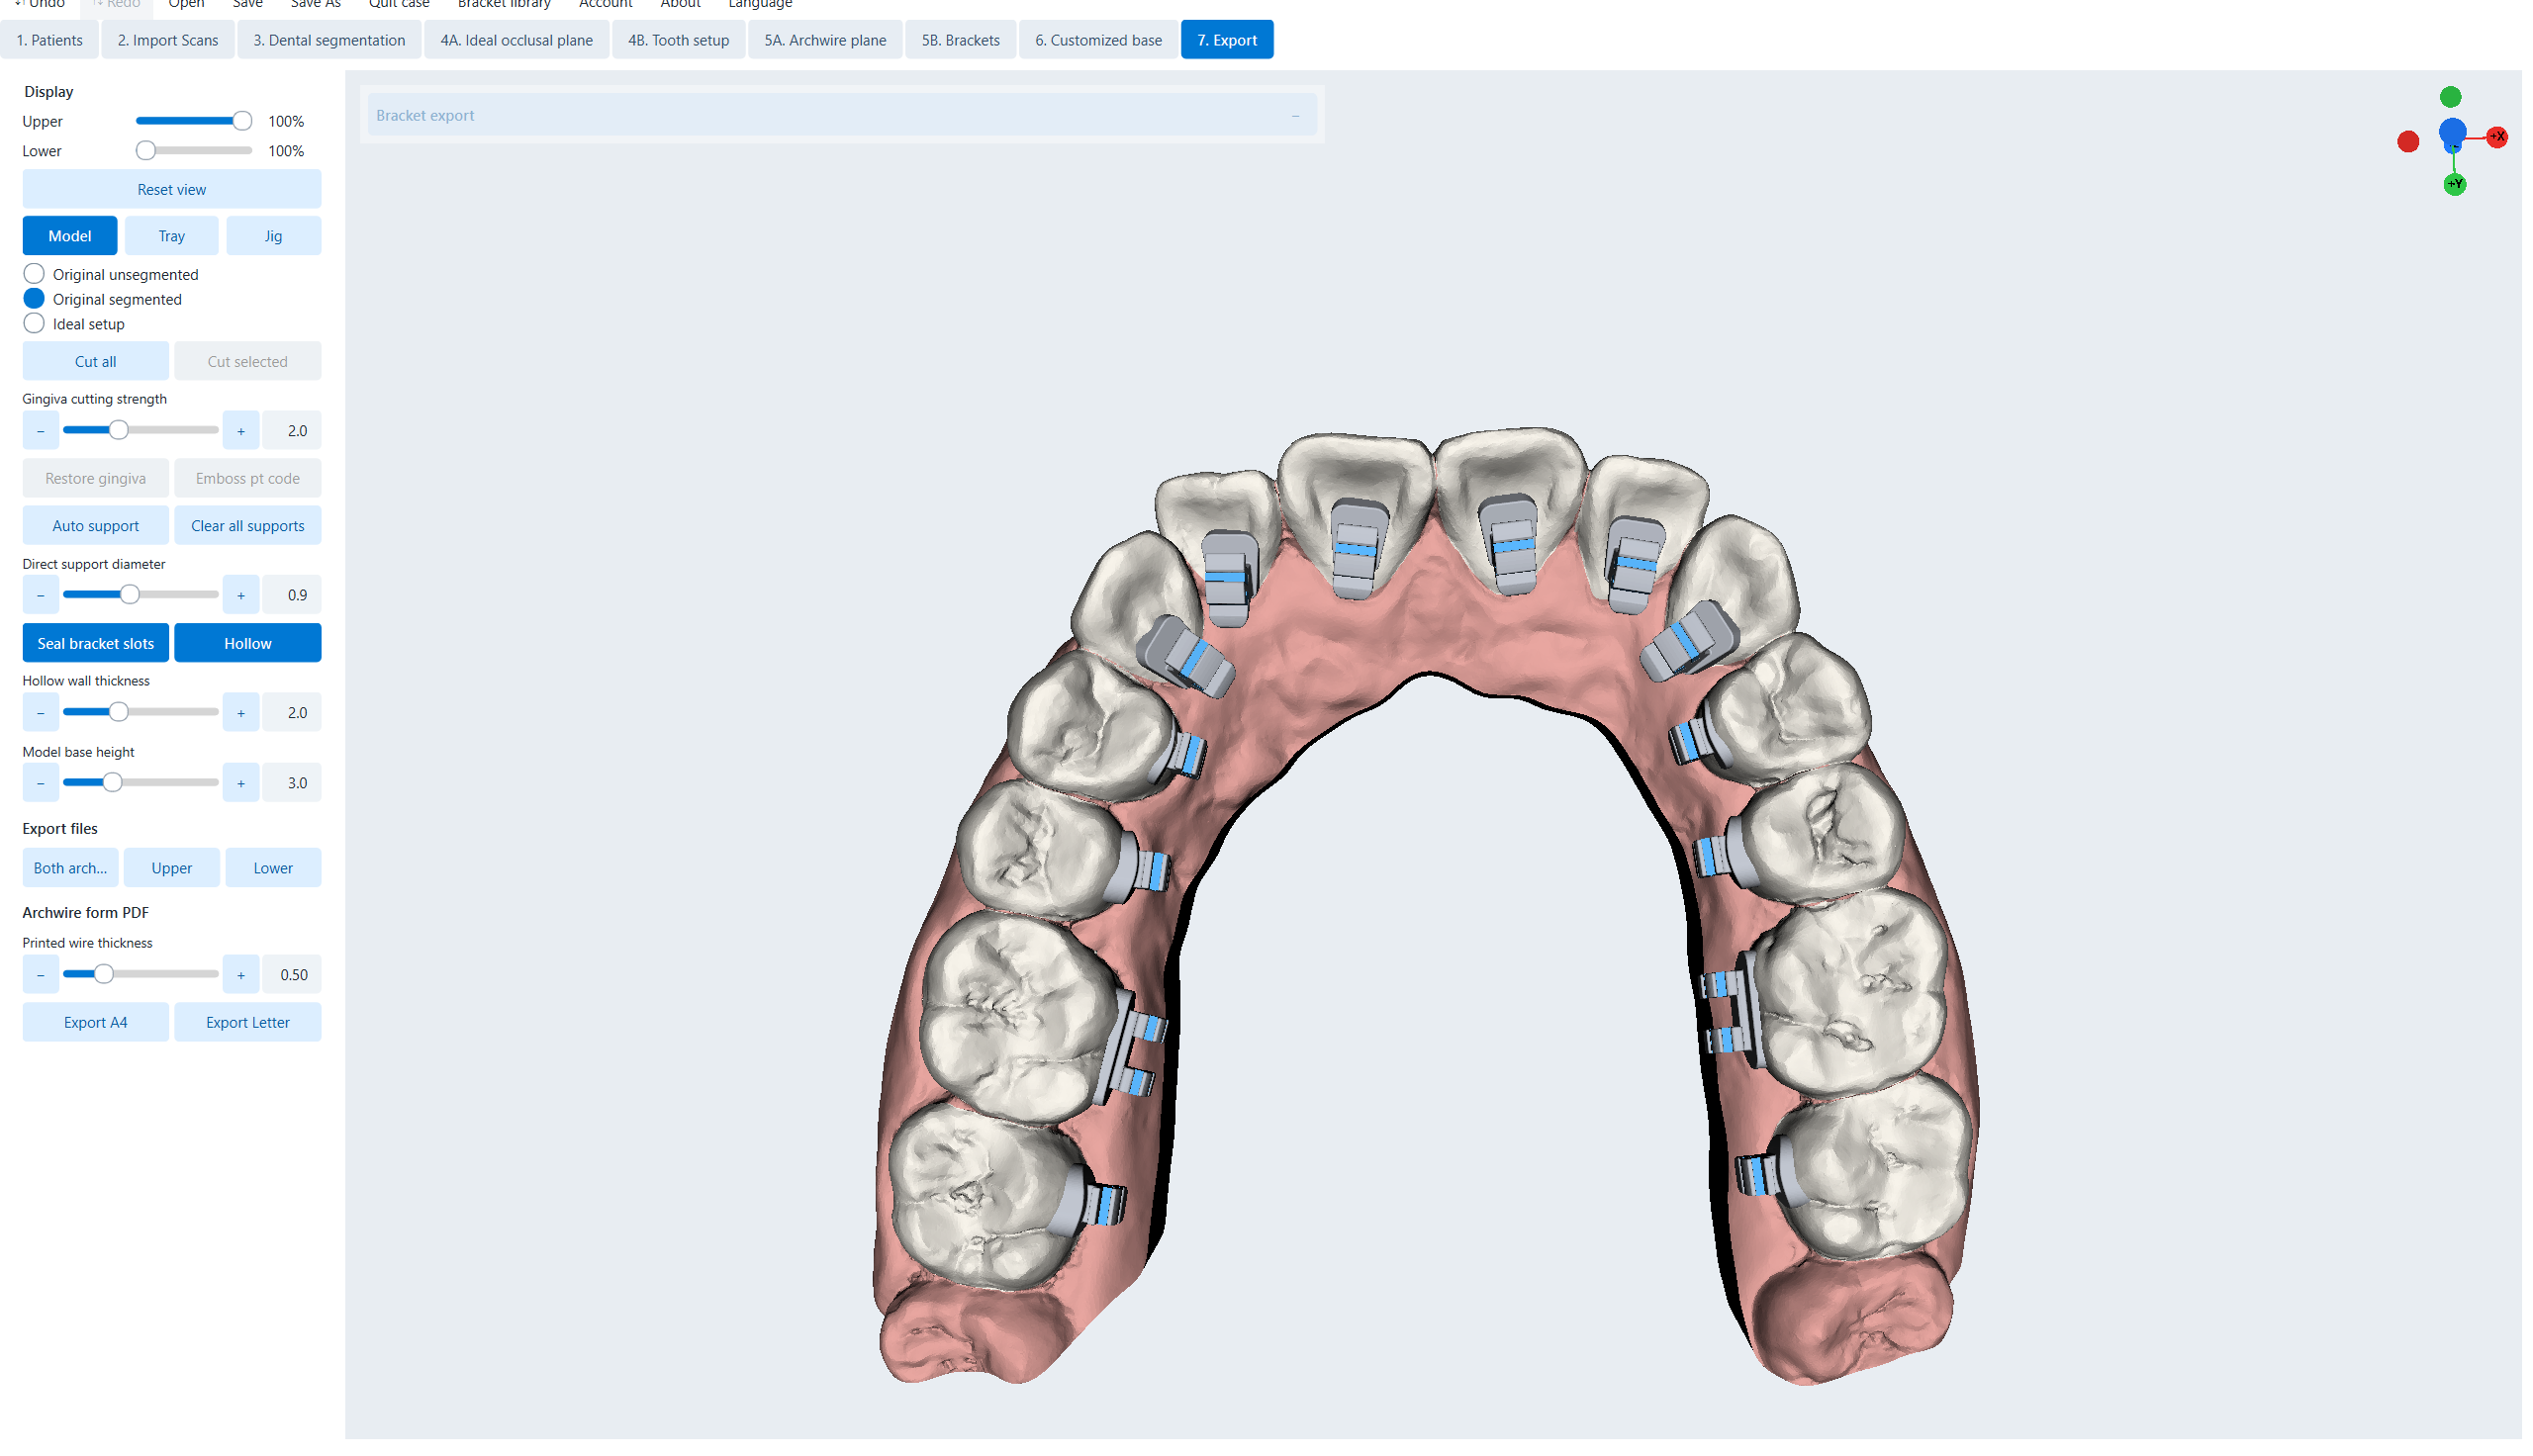
Indirect attachment
Print a model with braces to make an indirect tray (vacuum pressed/silicone).
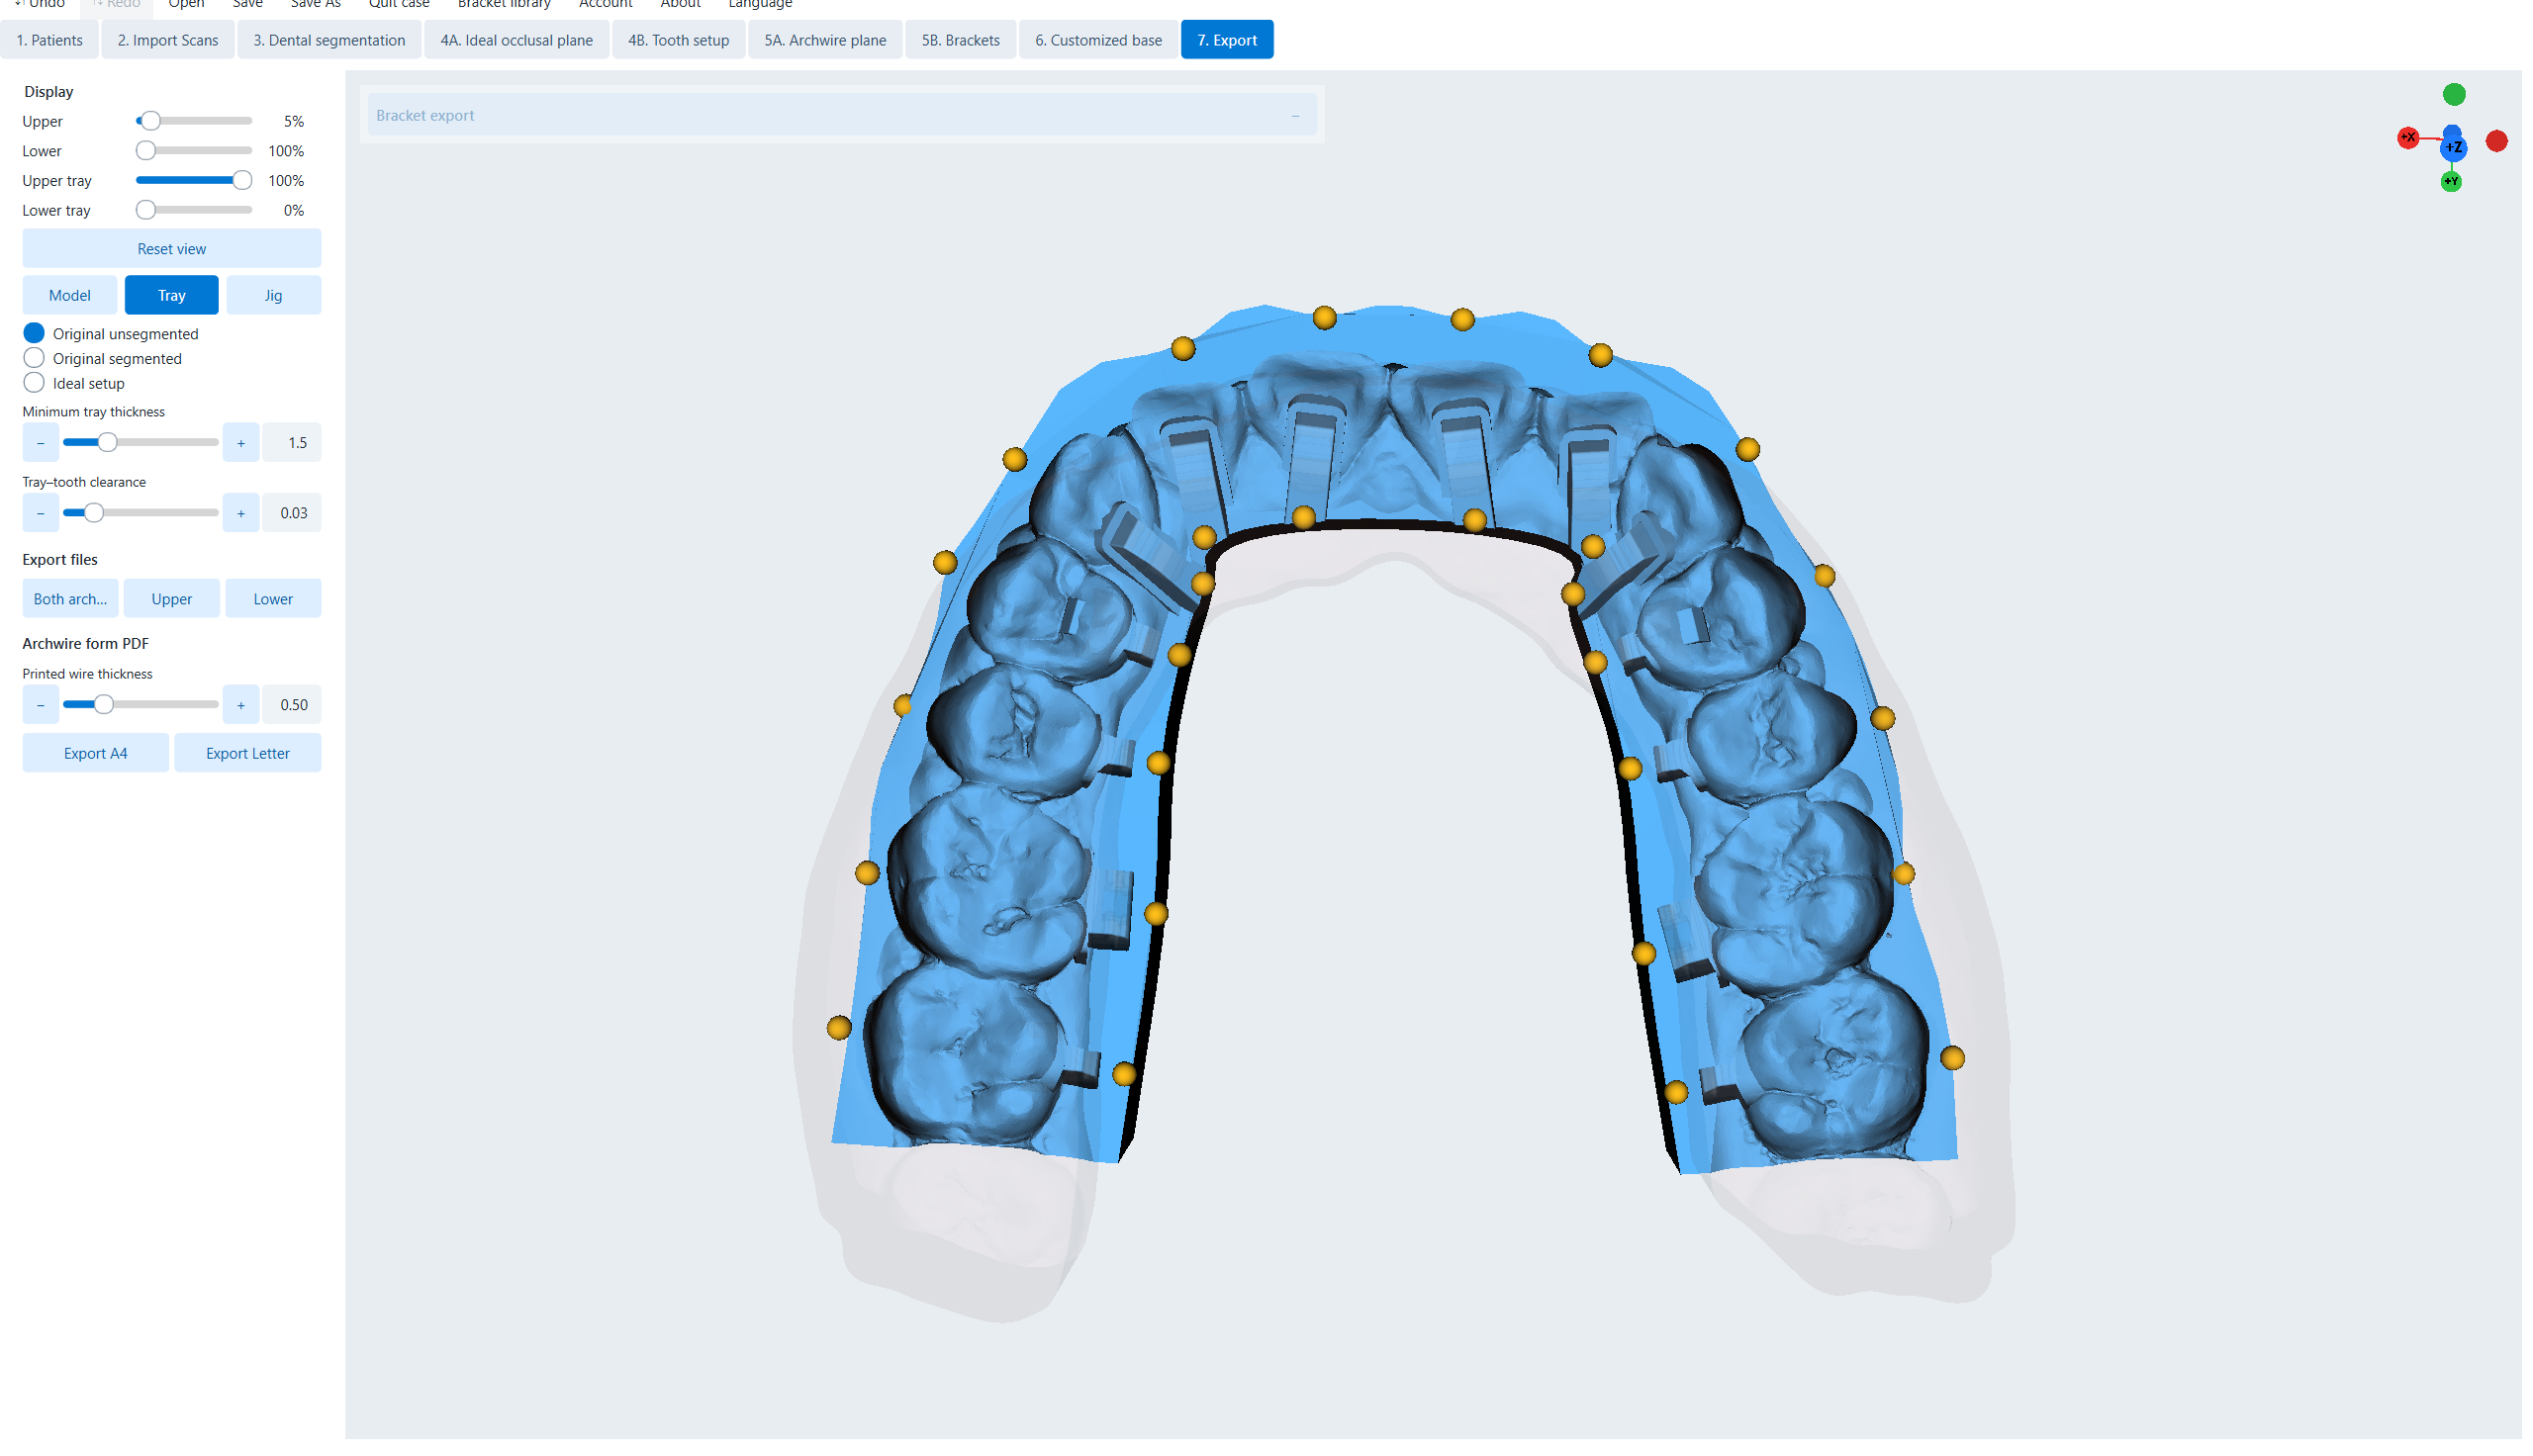
3D printed tray
Directly 3D print an indirect mounting tray using elastic plastic.
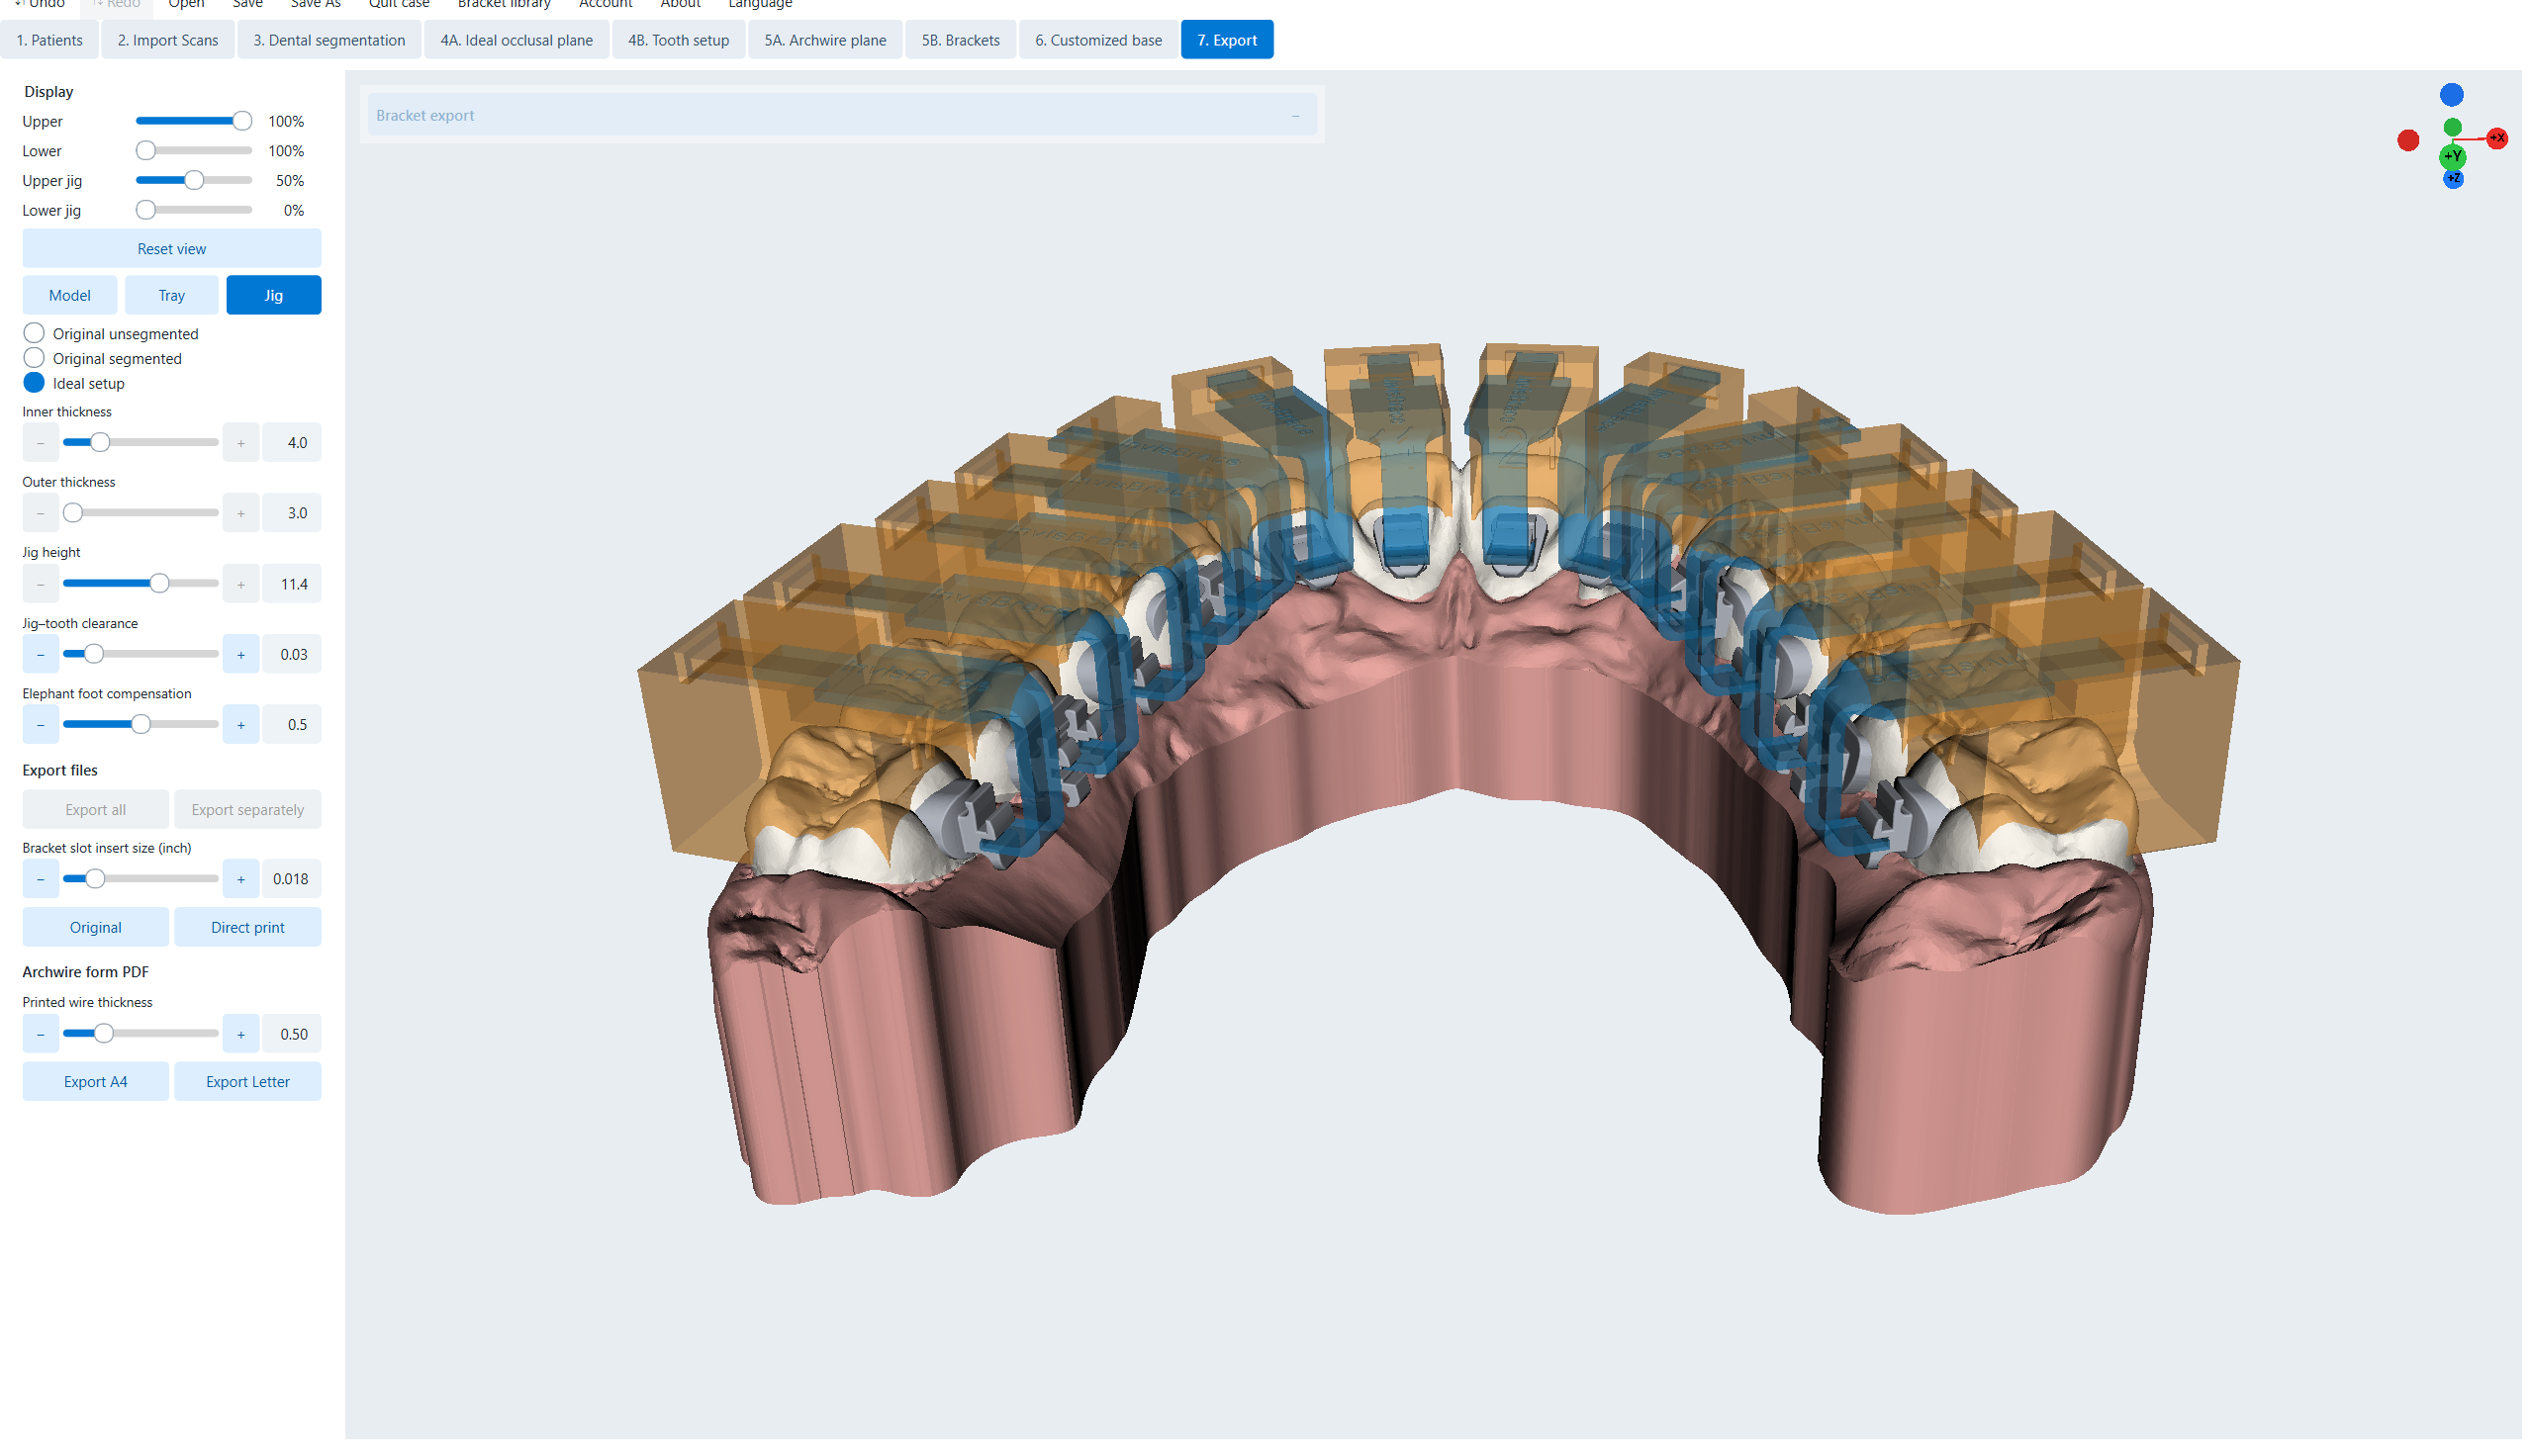
Jig
Reattach a loose or unattached tooth the first time.
See the whole plan
From individual tooth shafts to brackets and wires, every step is visualized for pre-production inspection.
The tooth axis is clear throughout the arch.
Simultaneously observe the mesial-distal, buccal-lingual and FDI axes to control the continuity of the setup and occlusal plane.
Brackets and archwire in one view
Evaluate slots, tooth order, wire continuity, and bracket–crown relationship before locking in the design.
Right tool, right time
Two modes are commonly used for initial attachment, plus separate outputs for manipulating and reattaching each tooth.
Model + braces
Export samples for indirect bonding using trough pressing technique.
Tray prints directly
Export complete trays for 3D printing and initial mounting.
Wax tree for casting braces
Organize customized details for the metal casting process.
One-tooth jig
Use when braces come off or are not fully attached during the first attachment session.
Clear instructions for clinic
Look up software workflows and commonly used clinical operations right on one neat website.
Start on your next shift
Free to register, download and try the features of designing setup, placing braces, designing individual braces, and indirect attachment trays. Only when exporting files do you need to pay a fee.