


















 InvisBrace
Instructions for attaching braces using a single-layer hard tray
The InvisBrace indirect attachment process is step-by-step, from surface preparation to inspection and completion.
The procedure below uses a single-layer vacuum solid trough. Depending on the workflow, the doctor can use a double-layer tray or pressed silicone on a 3D model exported from InvisBrace, or use a tray printed directly from the software.
Tools:
- Indirect tray set with InvisBrace braces installed
- O-shaped mouth
- Cotton rolls
- Etching, bonding (primer)
- Photo/chemically polymerized bracket adhesive
- Optical polymerization lamp
- Mani CD-53F drill bit
- Silicone polish (One Gloss, Shofu)
Note
- Dental chairs need to have a strong saliva suction system
- Each jaw should be attached to allow the patient to adapt
Step 1: Check the indirect attachment tray to see if there are any loose brackets, then press them firmly. Press it at the right angle to tighten it. In case the teeth are disorganized and may become loose, then whitening gum sealer will need to be used to fix them.
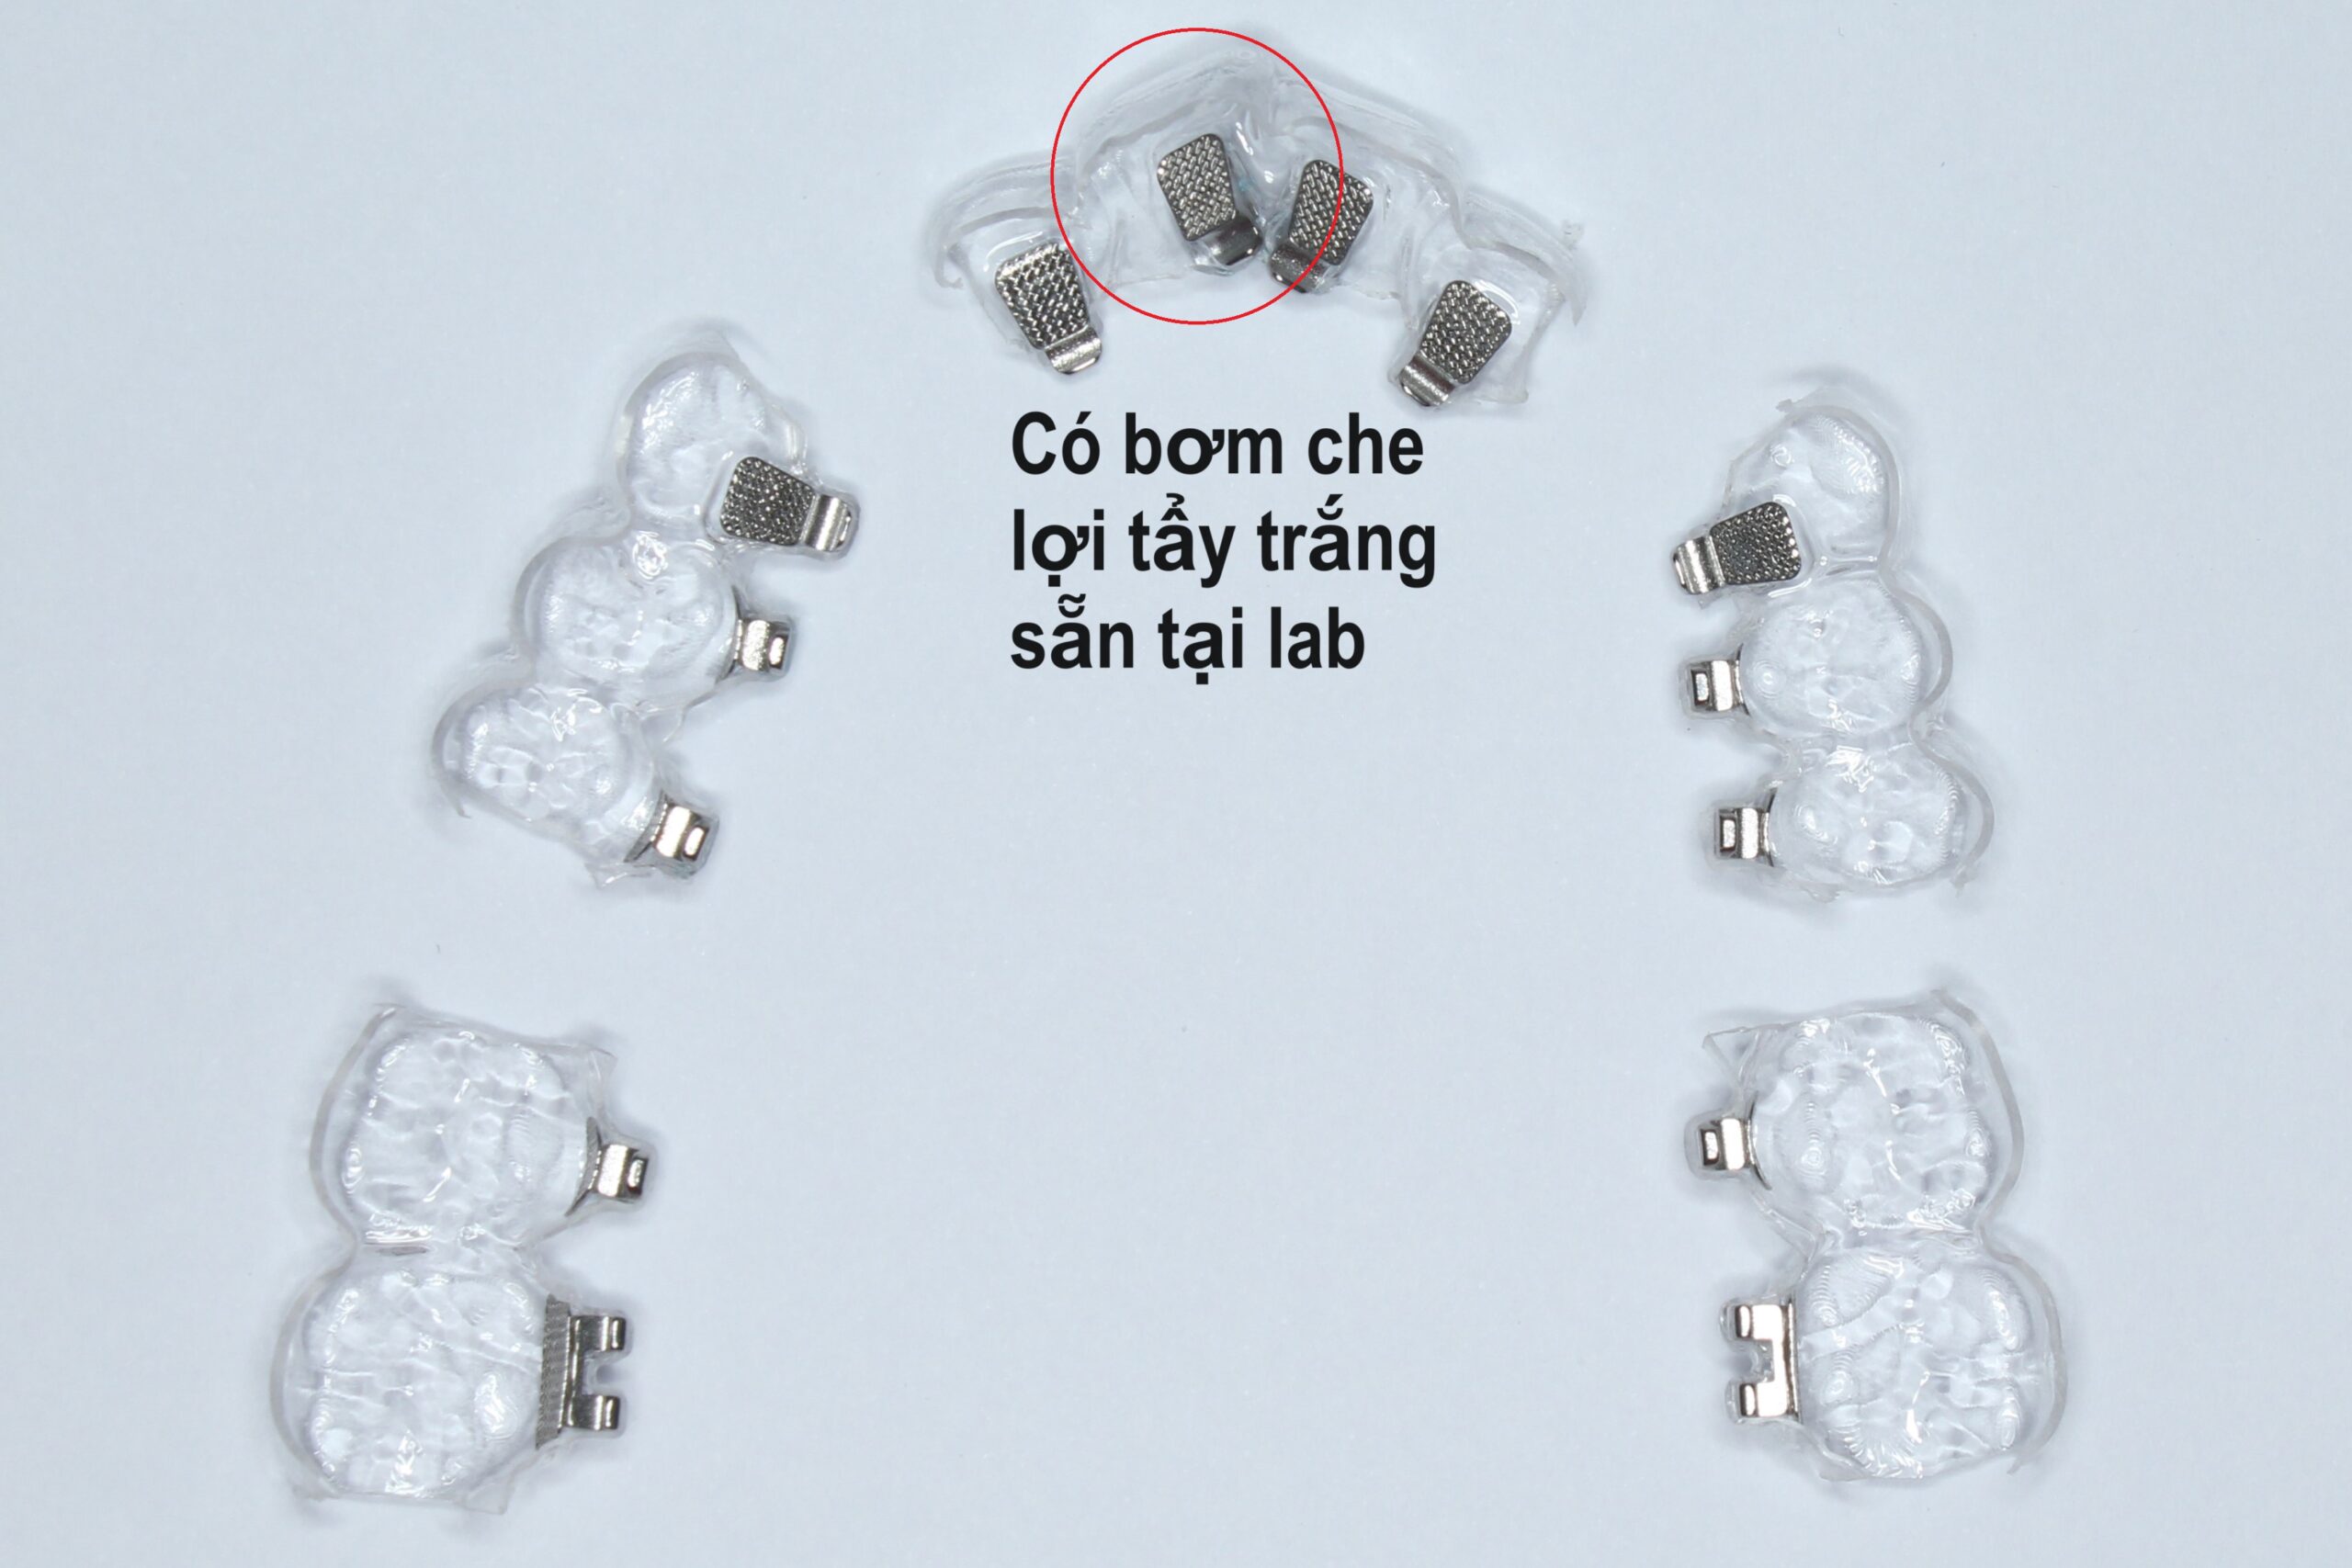
Step 2: Clean teeth with a wire brush and polishing sand, isolate with an O-shaped mouth ball. Check the soft file of the simulated jaw model with braces.

Step 3: Etching teeth with 37% phosphoric acid for 15 seconds. Wash with water, blow dry. If the teeth are short (usually upper R7), the gums can be burned with an electric knife.
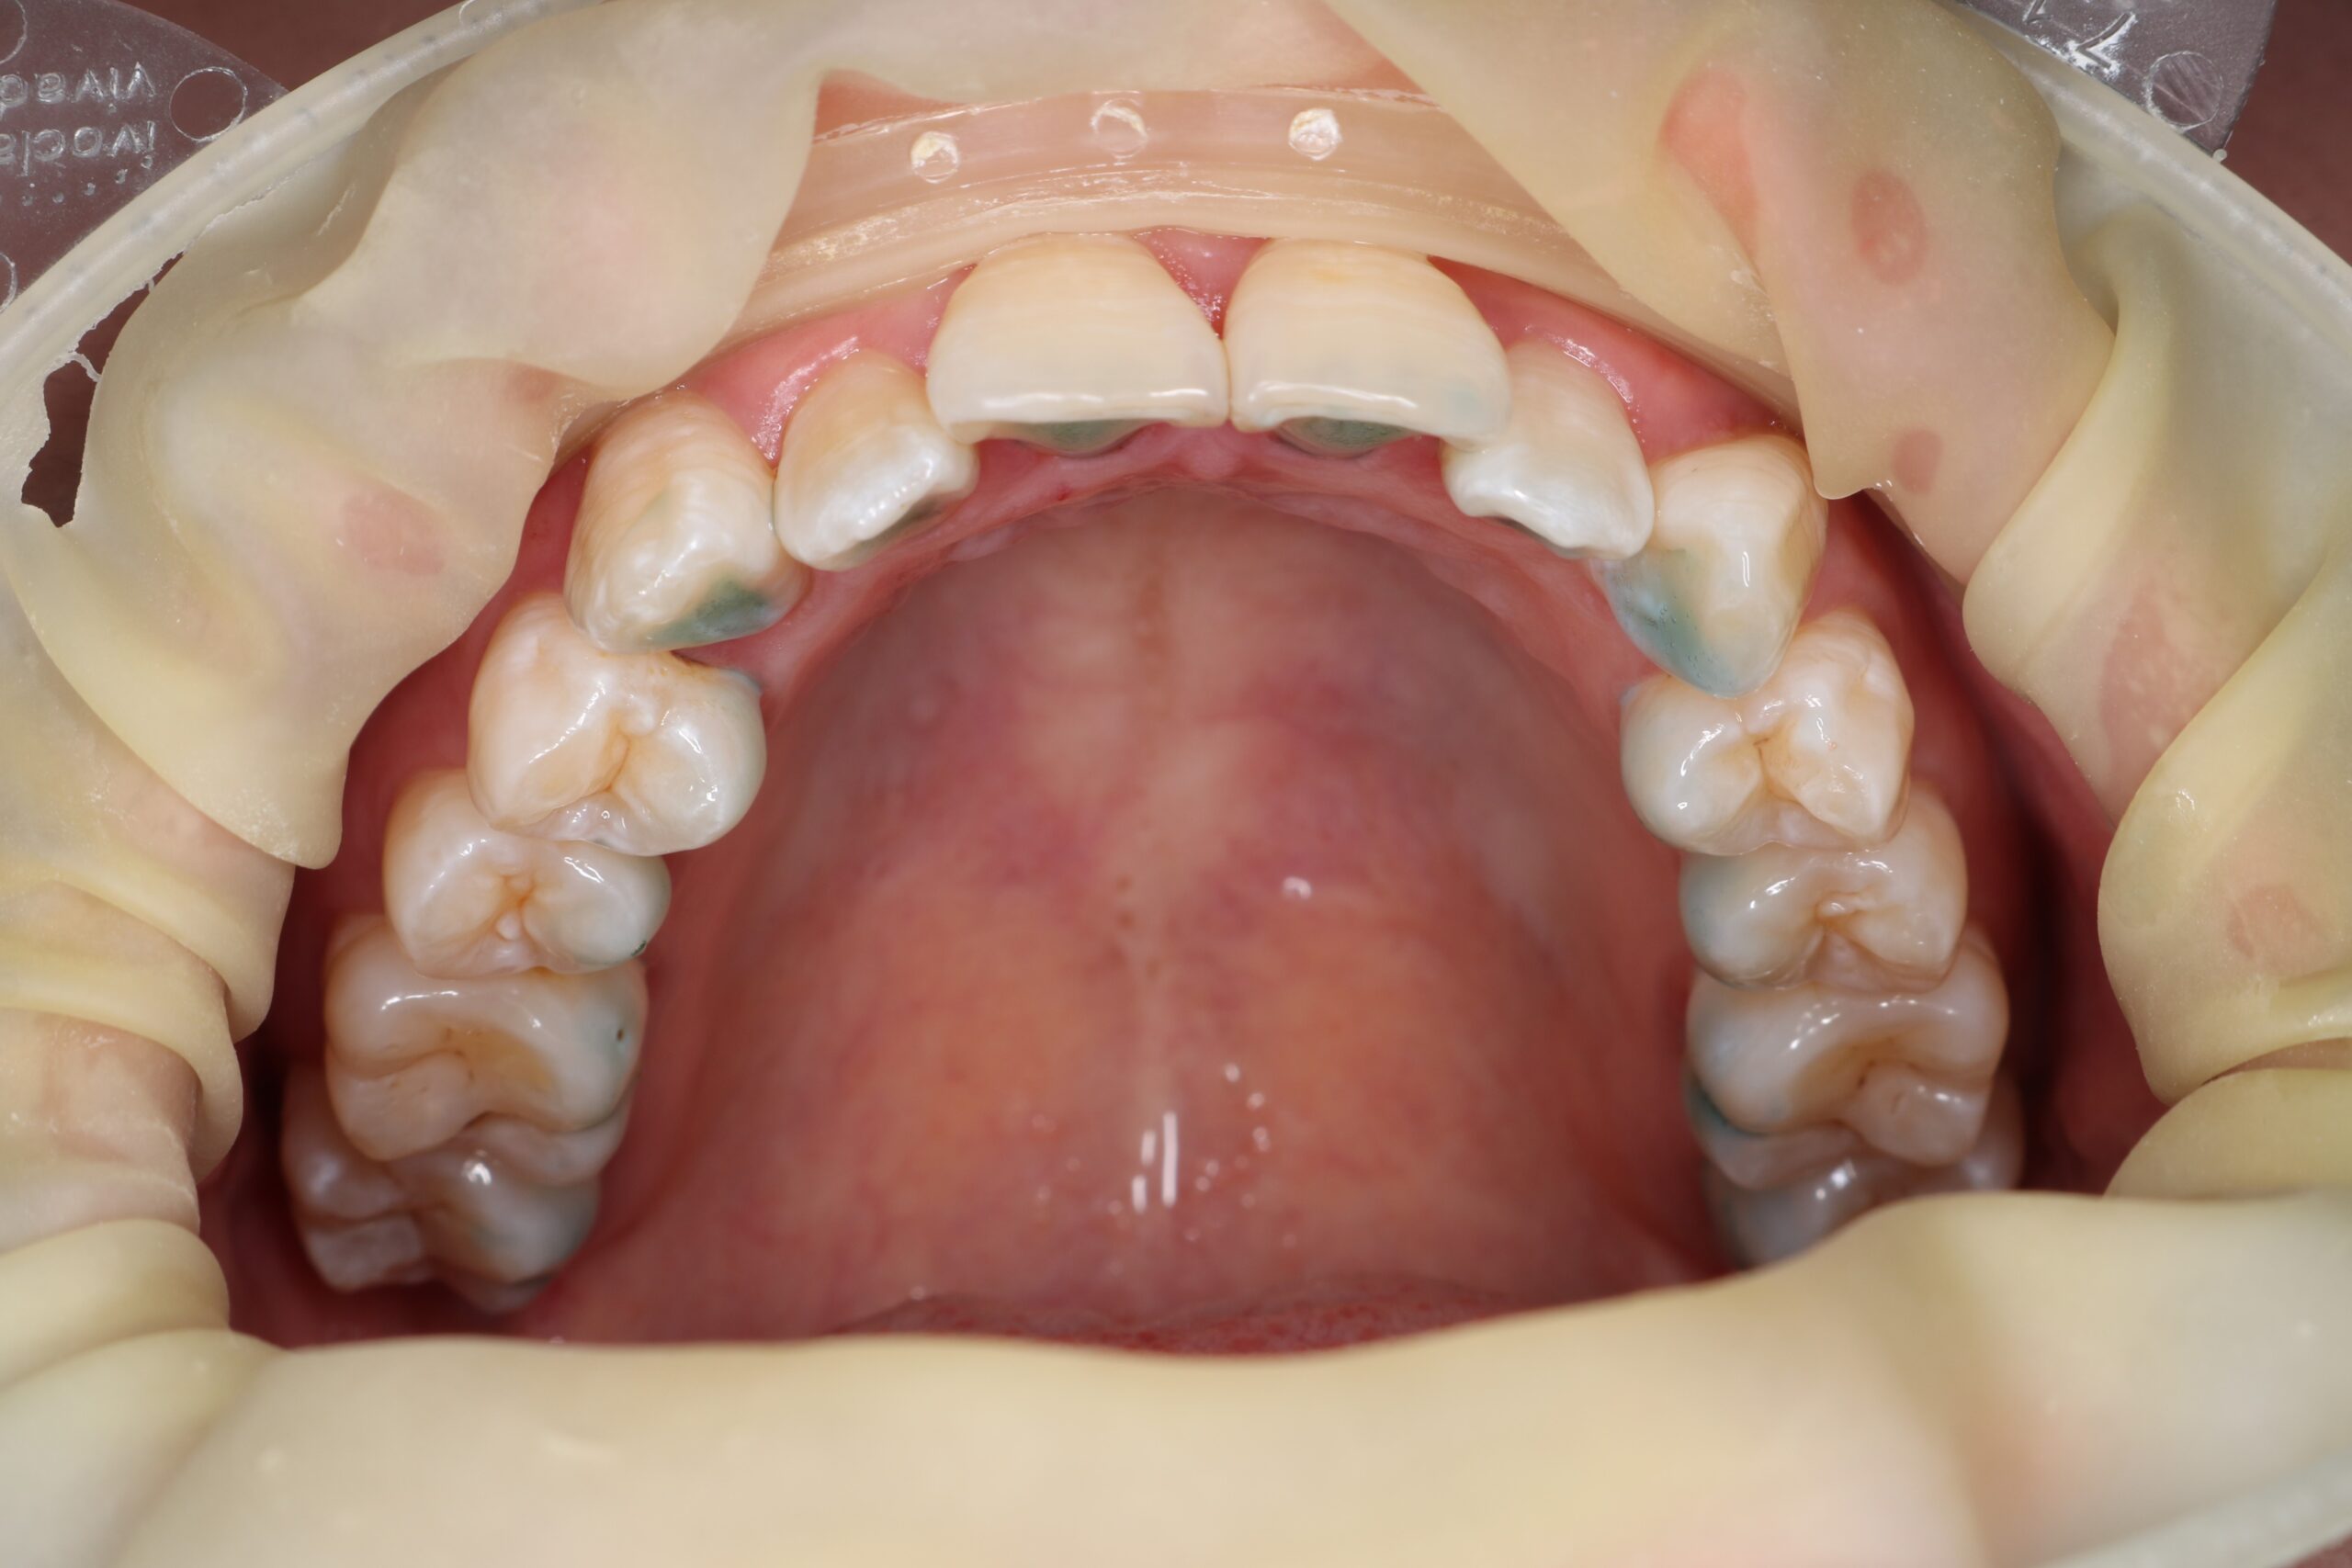
Note when isolating the lower molar area: the assistant uses a mirror to pull the cheek on the outside and the tongue on the inside, do not let the tongue touch the teeth, and continuously suck up the saliva.

Step 4: Use a file explorer to take a sufficient amount of bonding agent and put it into the bracket base on the indirect tray. Use a bond toothpick to spread the glue evenly. Refer to the simulation software file to estimate the amount of glue.

Step 5: Any position that does not have a milky white image after etching needs to be polished and etched again. Apply bond (primer) to teeth.

Step 6: Place the indirect tray on your teeth. Press the tray all the way down. Shine the light for 40 seconds. When using the light, you should still maintain finger pressure to avoid the tray falling off.

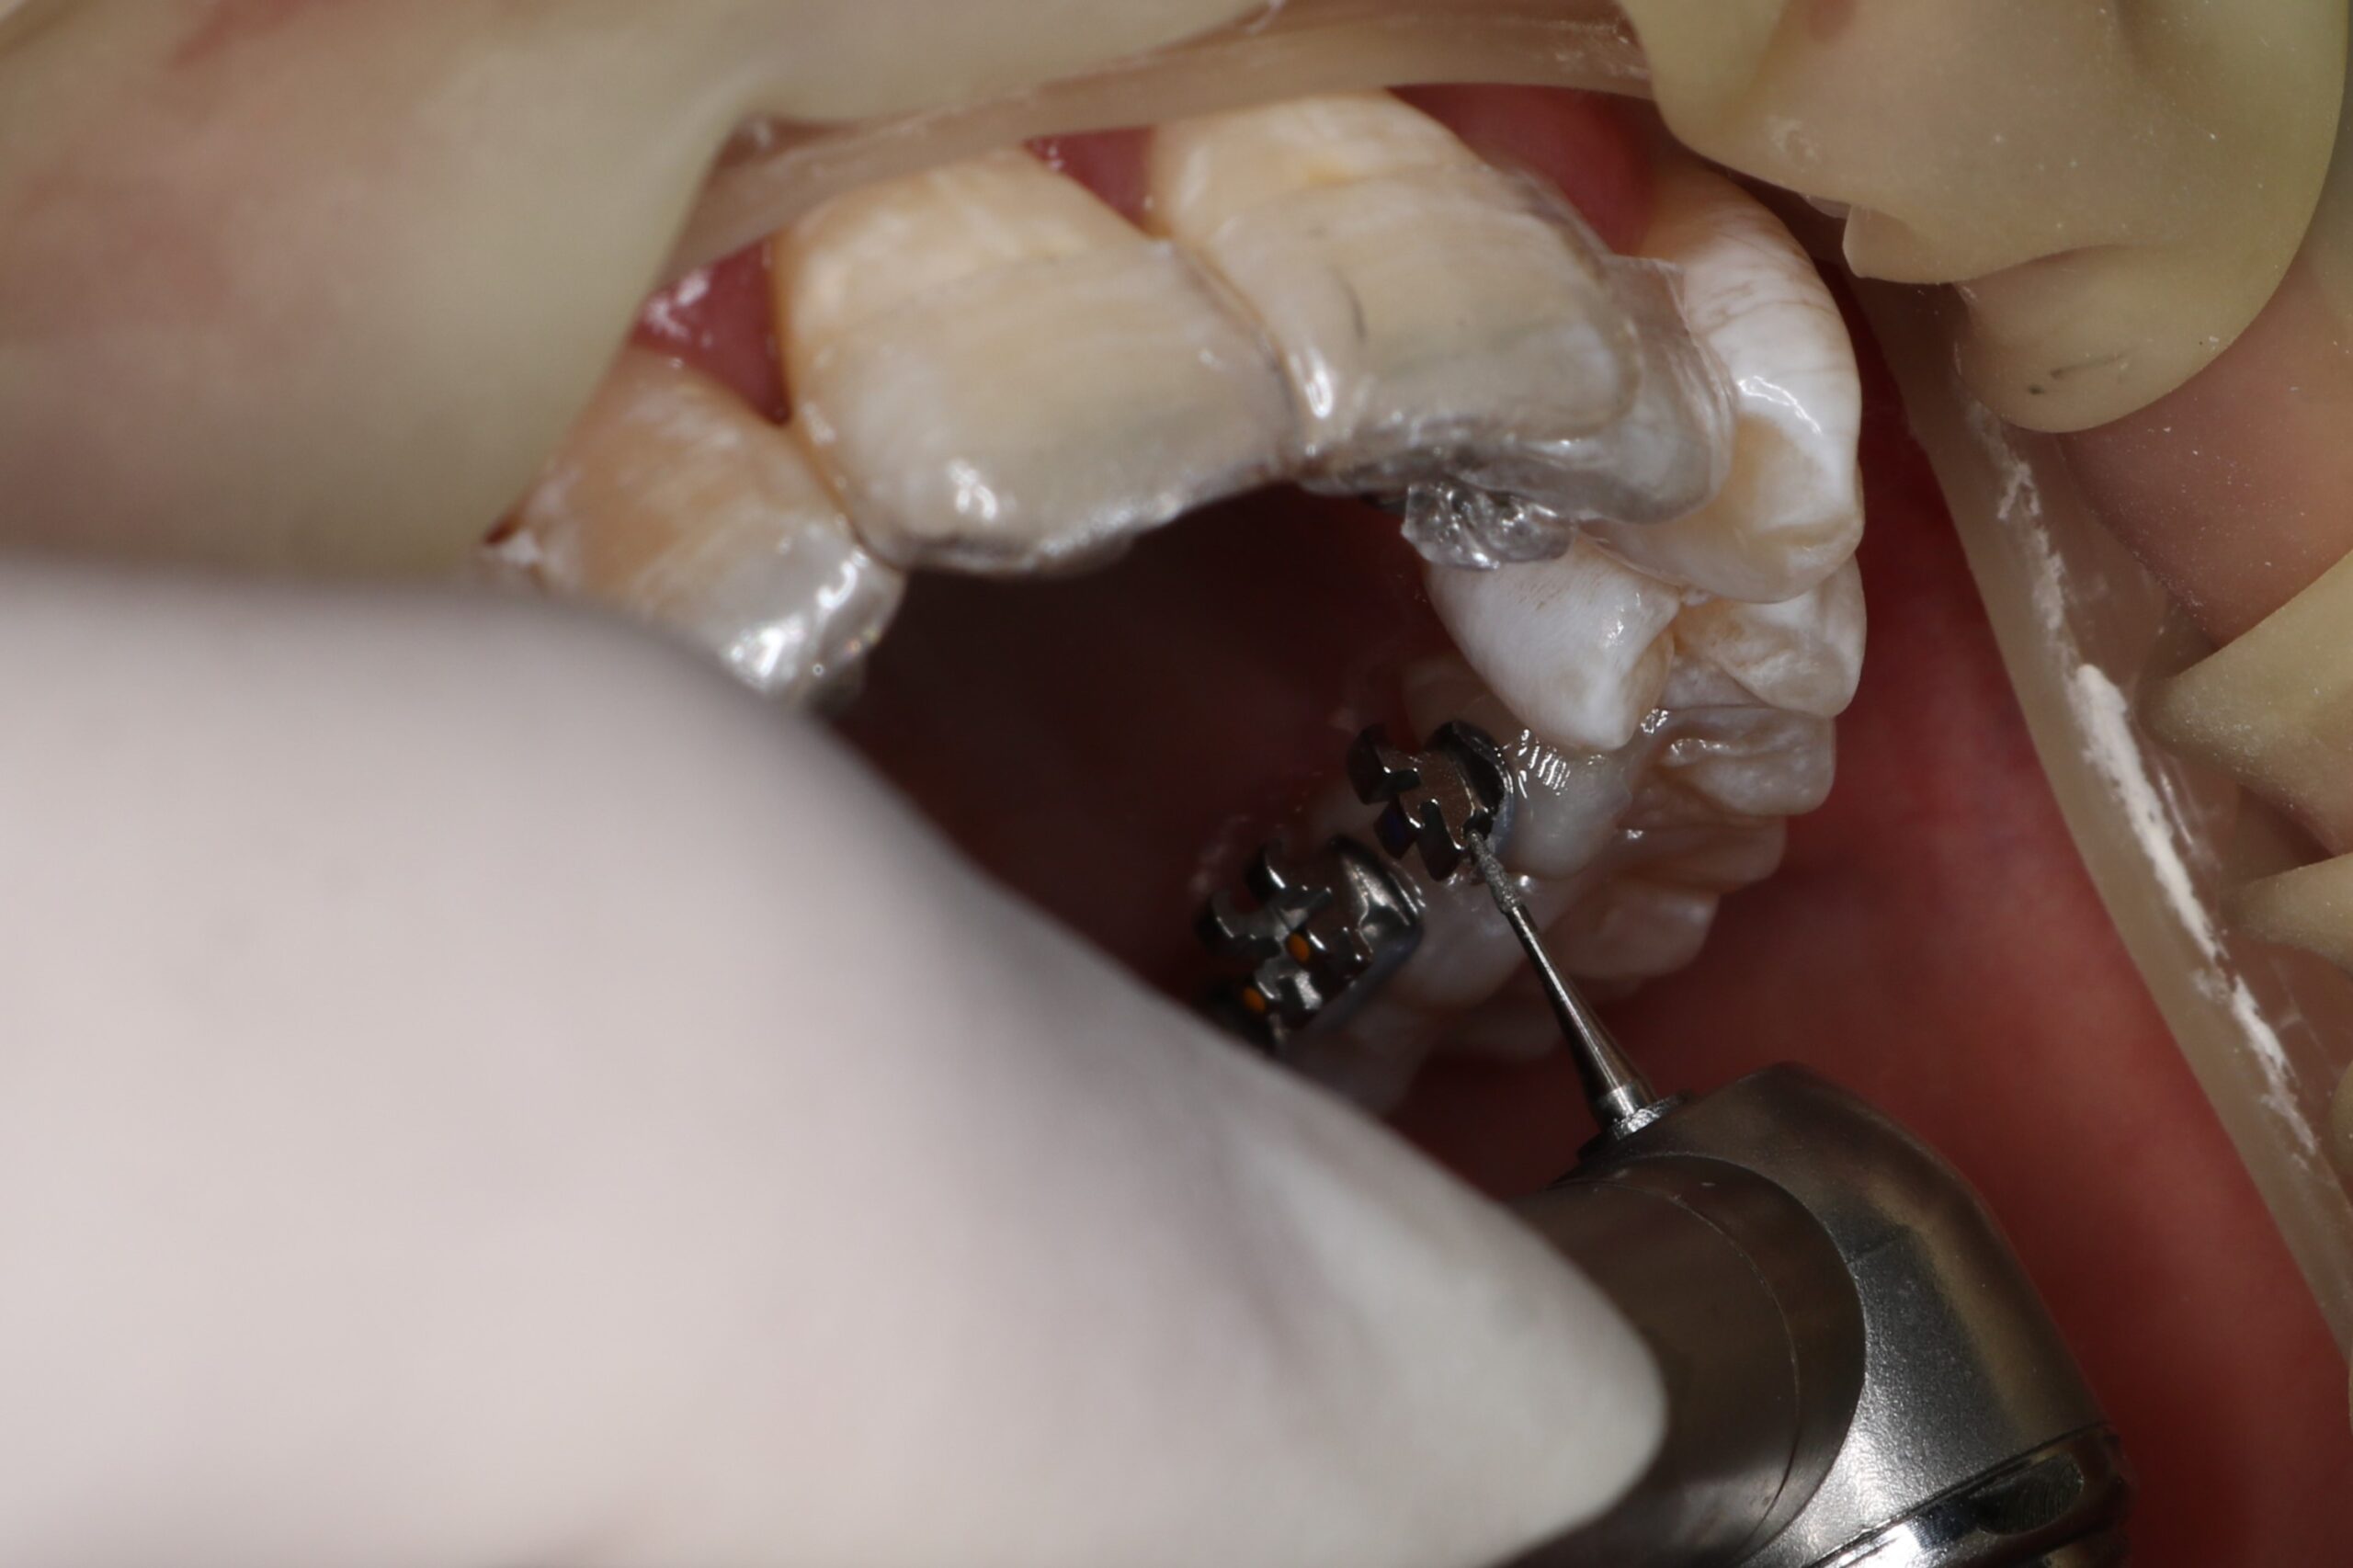
Step 7: You should use a CD-53F drill bit (fast handpiece) to grind down the troughs around the braces to make removing the troughs easier, avoiding peeling when removing.

Step 8: Insert the file between the tray and bracket, gently separating the tray from the bracket on all teeth at the same time. Then remove the mounting tray for the entire assembly.
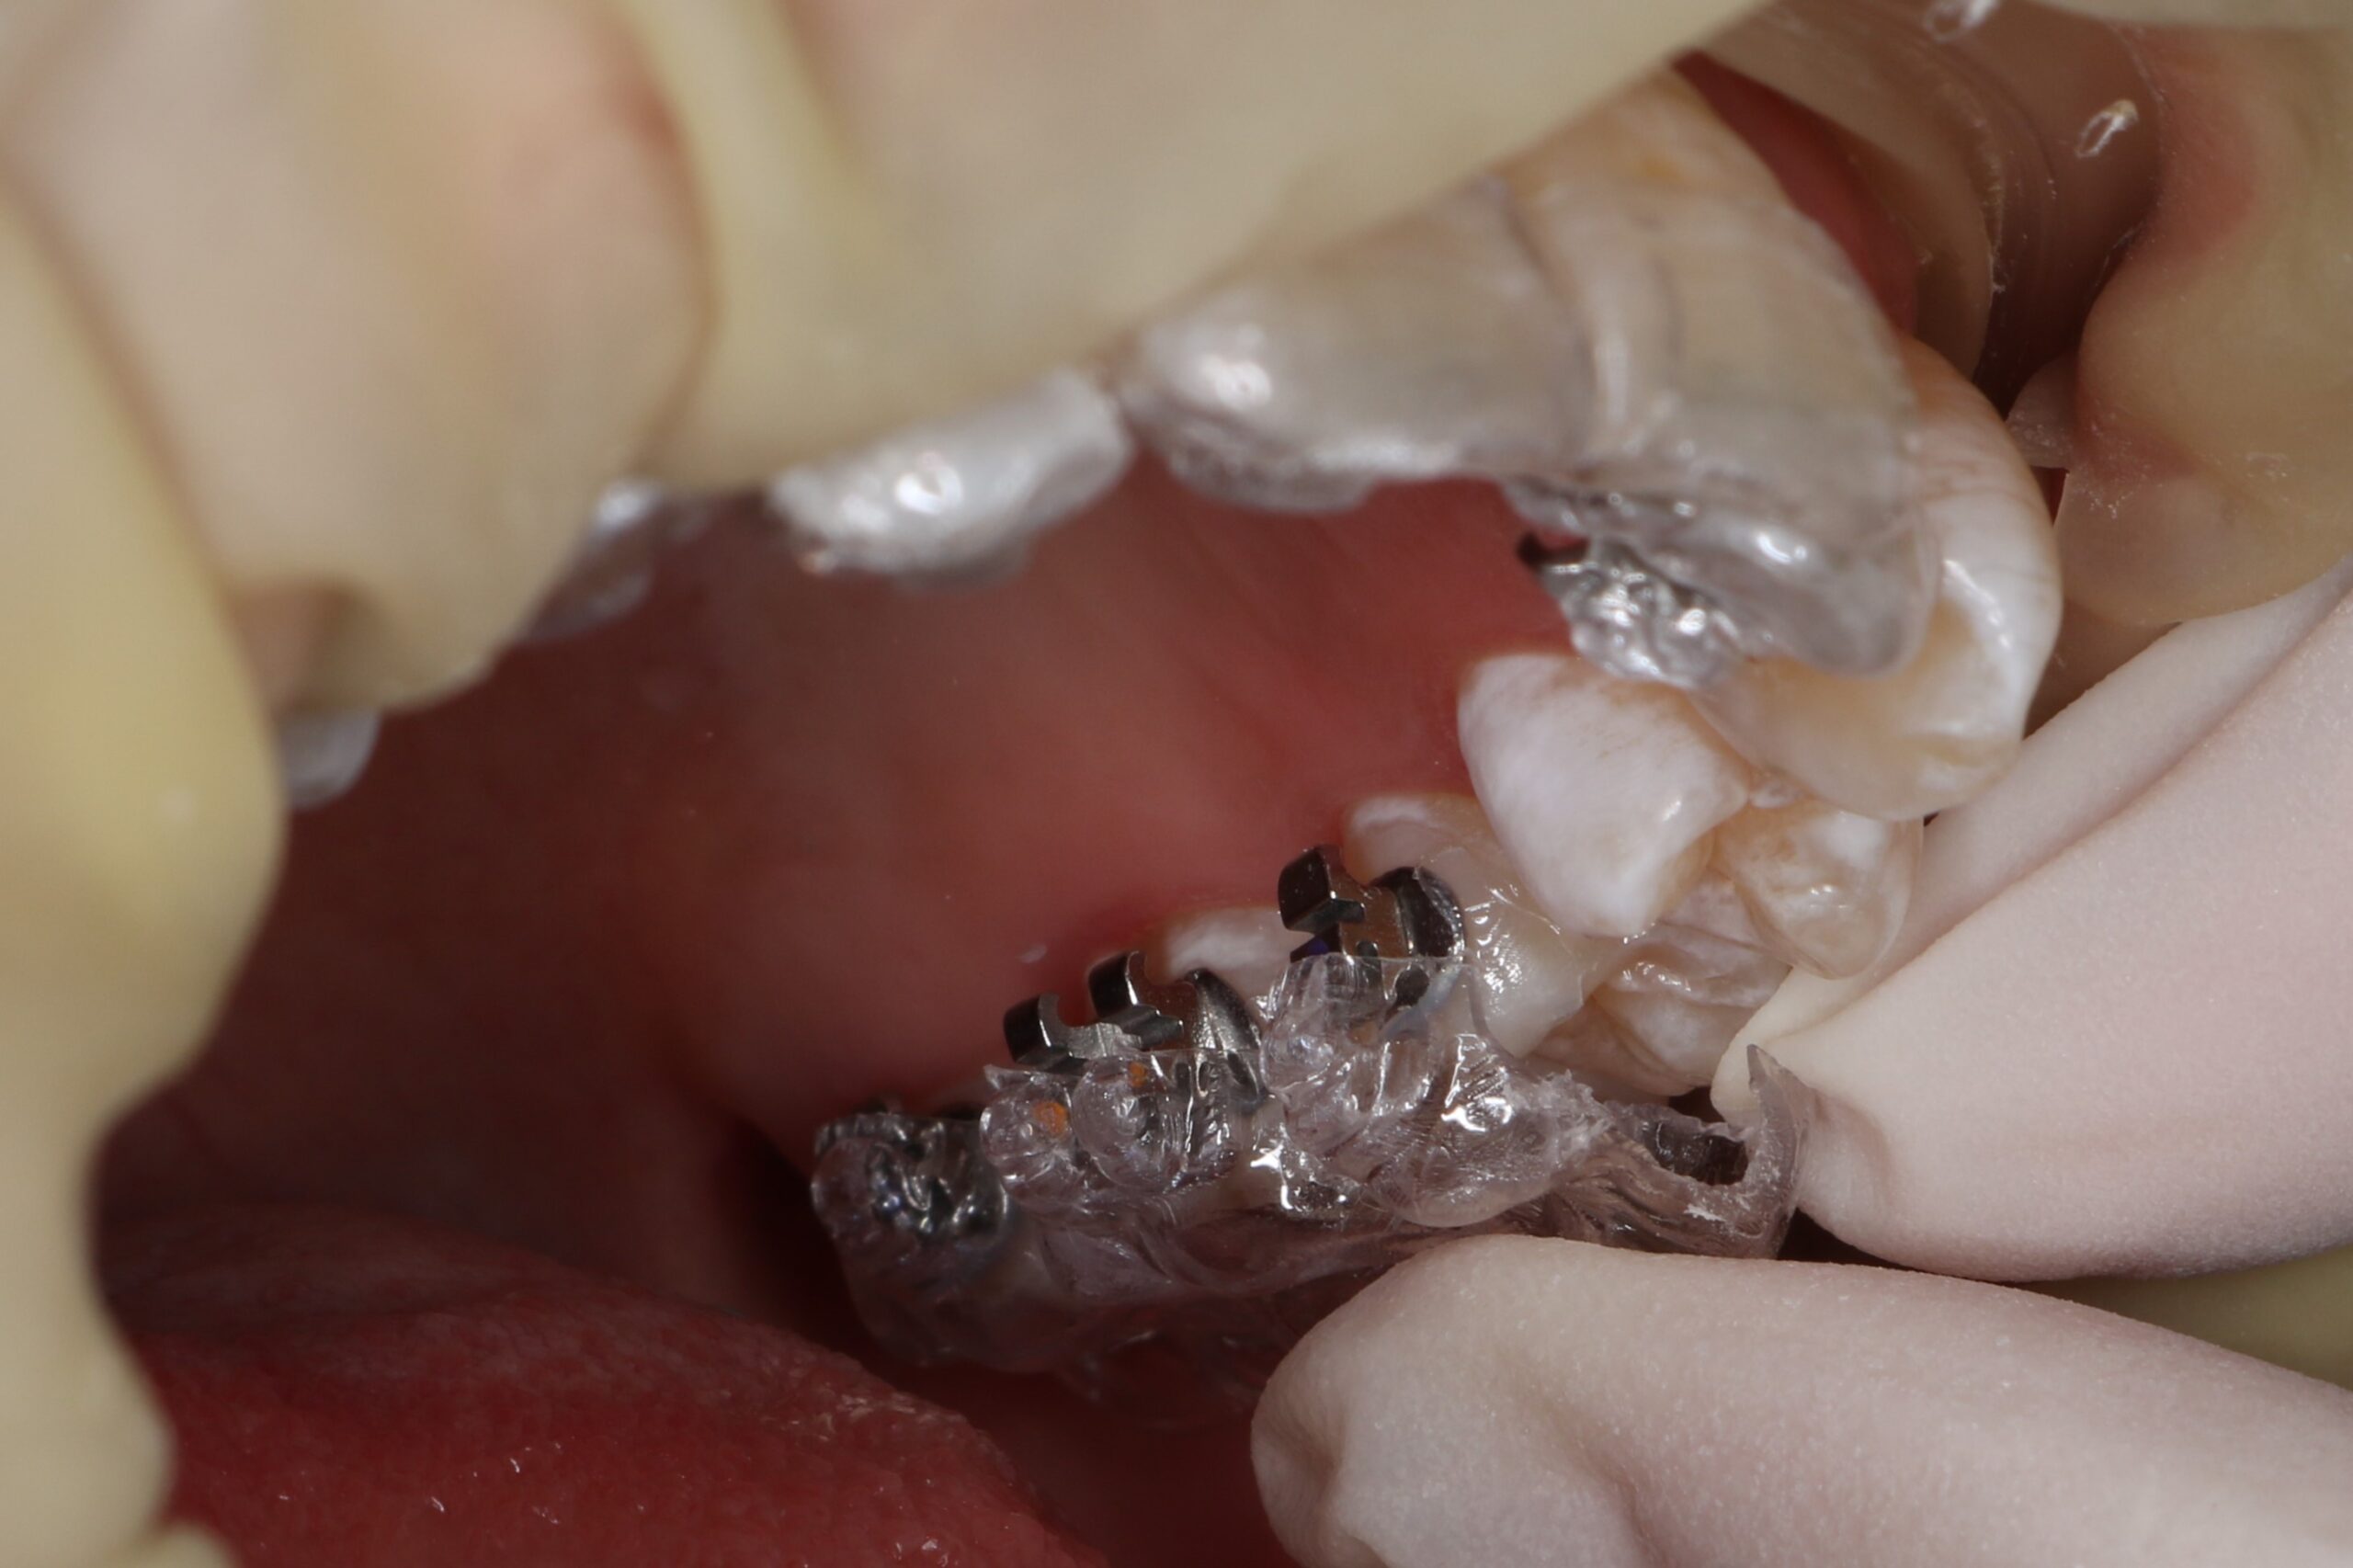
Step 9: After removing the trough, check the positions lacking adhesive to add additional adhesive. Use the CD-53F mouse tail tip to remove excess glue from the brace wing.
Completed:

Note
- R3 and R5 in the upper jaw usually have thicker glue because the braces are far away from the teeth
- When biting and touching the braces, you need to lift the molar joint with Fuji 1 or 2. Lift into the attached jaw to avoid jacking the attachment tray of the unattached jaw.
When braces come off
- Clean the adhesive on the teeth with polishing silicone (One Gloss), sandblast off the adhesive on the bracket, and place the bracket back on the indirect attachment tray.
- Apply universal primer to the bracket base, blow off the solvent, then add the bonding agent.