

















 InvisBrace
Indirect lingual bracket bonding with double-layer trays
A step-by-step clinical workflow for orthodontists, from preparing double vacuum-formed transfer trays to tray removal and archwire placement.
The bracketed model and double-layer trays are prepared through the digital workflow in InvisBrace. Review the guide to designing the bracketed model and fabricating vacuum-formed indirect bonding trays before following the clinical steps below.
Tools:
- Indirect tray set with InvisBrace braces installed
- O-shaped mouth
- Cotton rolls
- Etching, bonding (primer)
- Photo/chemically polymerized bracket adhesive
- Optical polymerization lamp
- Pointed bur for removing excess adhesive
- Silicone polish (One Gloss, Shofu)
Note
- Dental chairs need to have a strong saliva suction system
- Each jaw should be attached to allow the patient to adapt
Step 1: Prepare the model and trays. Inspect the bracketed model and the trimmed double-layer tray segments. Confirm that each bracket is fully seated in the soft inner layer, then apply an appropriate amount of orthodontic adhesive to the bracket base.
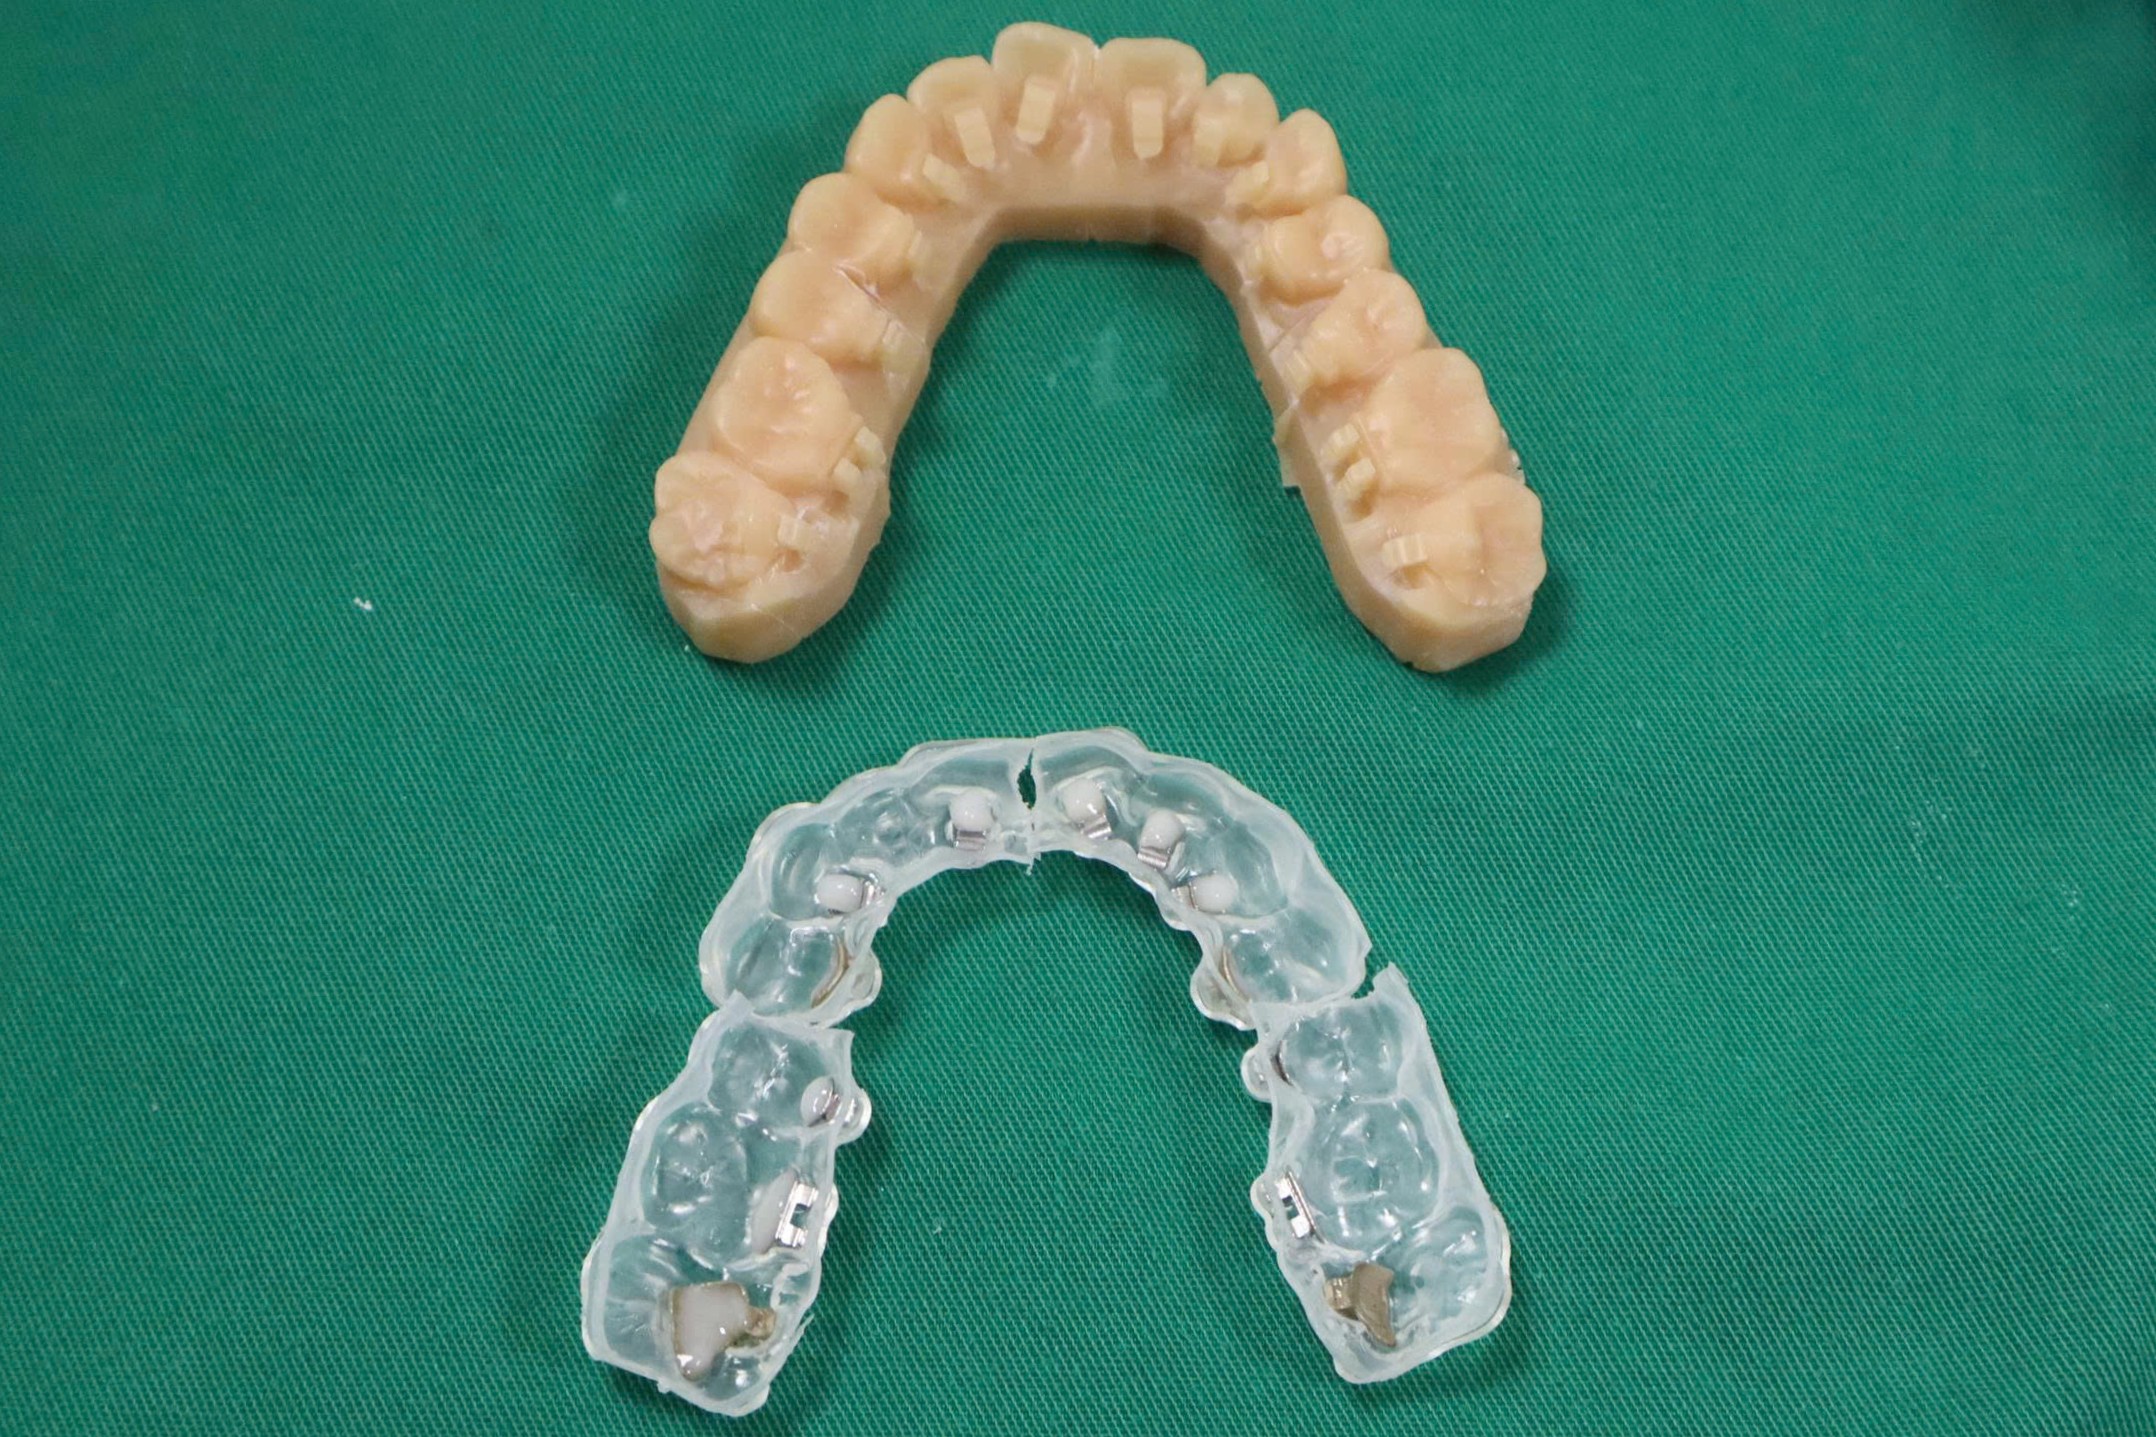
Step 2: Clean and etch the tooth surfaces. Clean the lingual surfaces with non-fluoridated pumice, rinse thoroughly, and isolate the operating field. Etch with 37% phosphoric acid for 15 seconds, then rinse, dry, and apply primer according to the bonding system instructions.
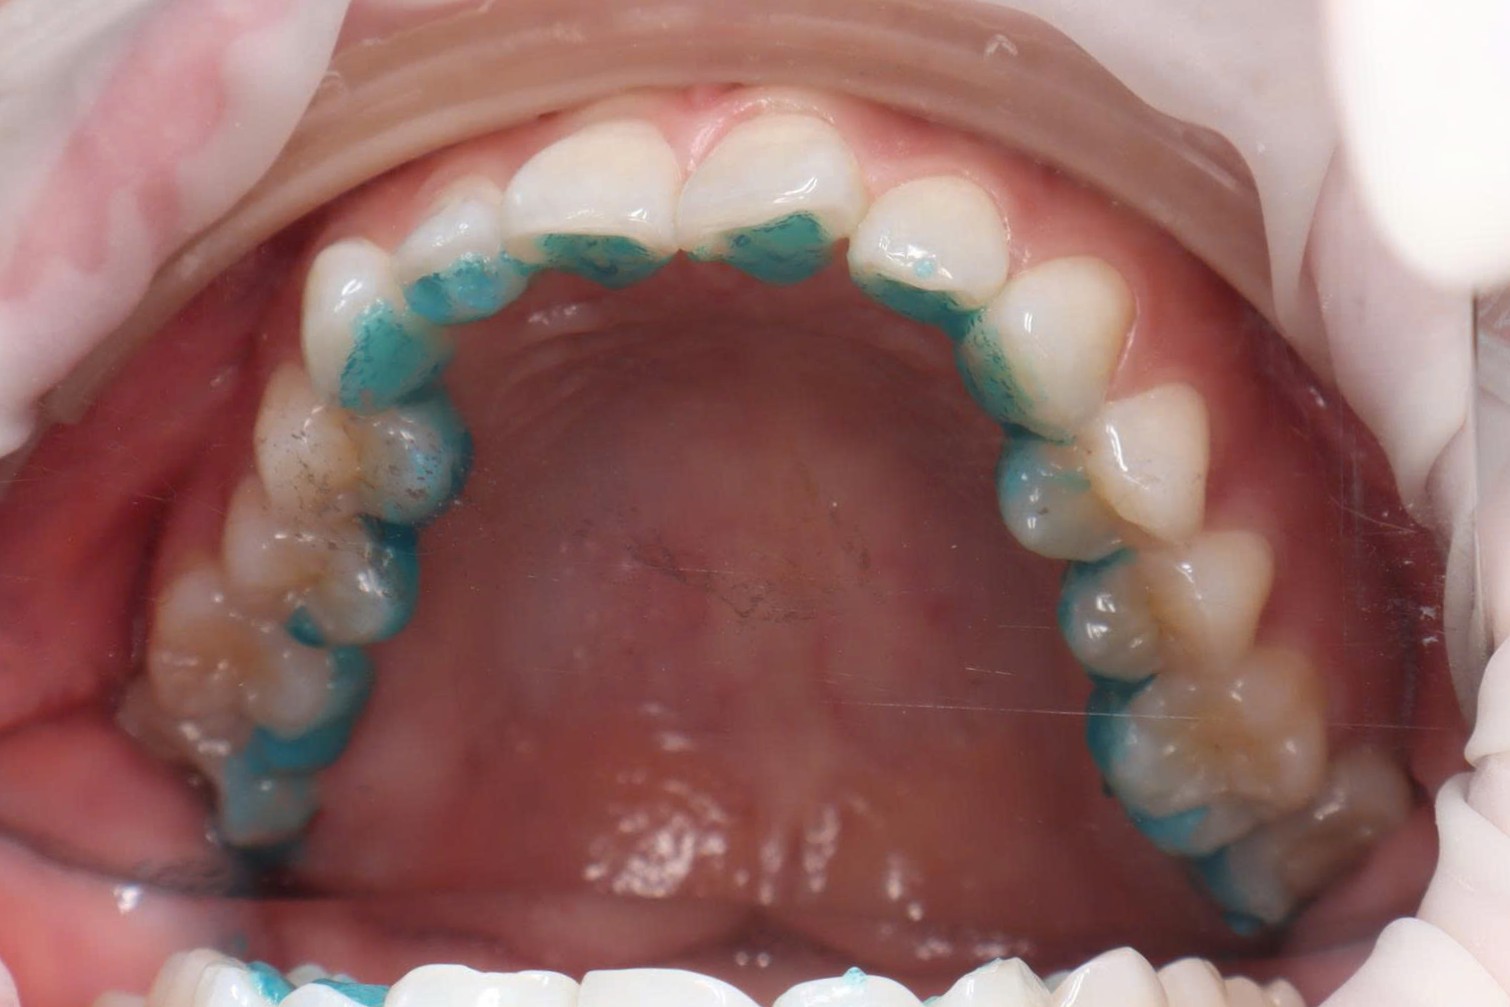
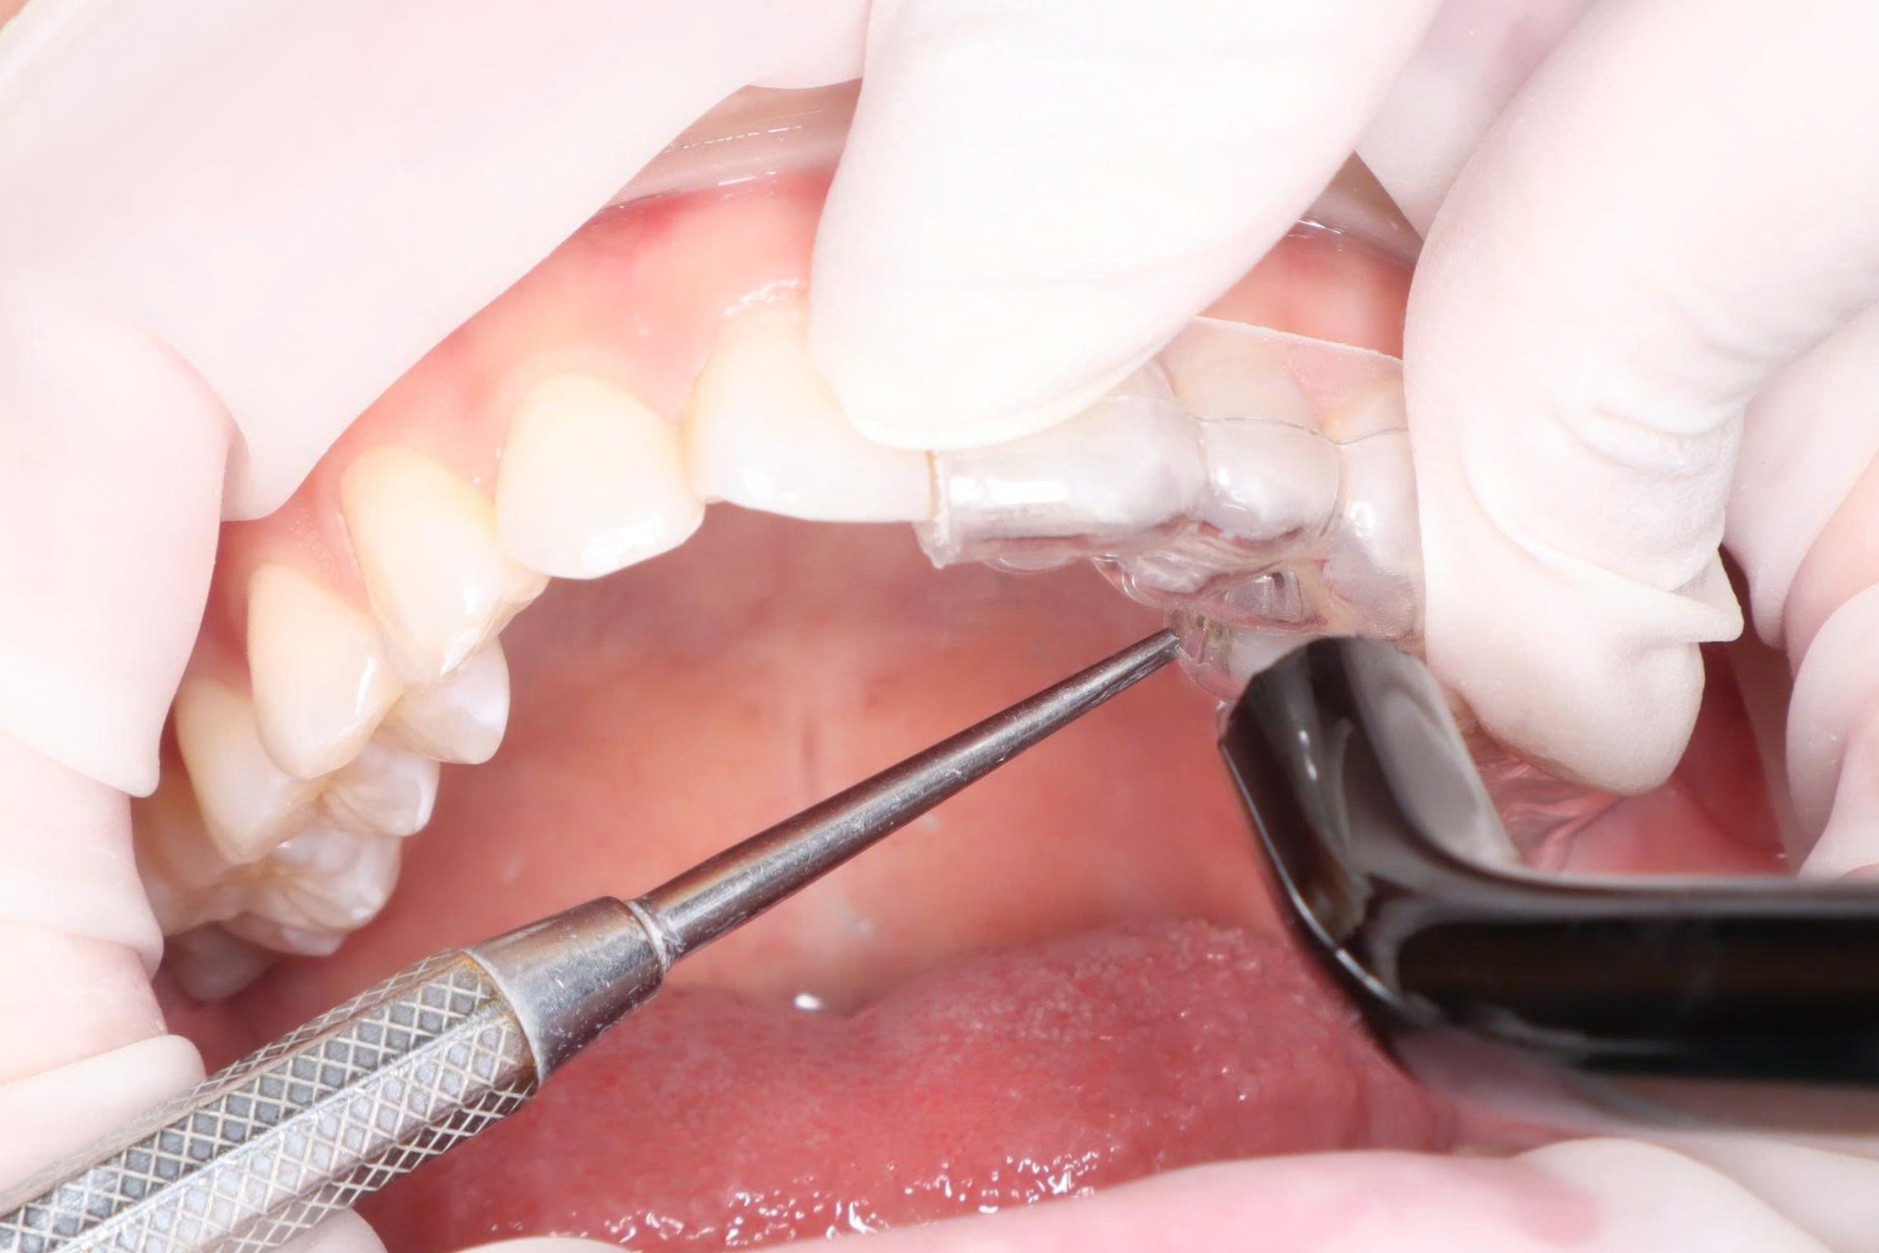
Step 3: Seat each tray segment. Position each segment over the correct group of teeth and verify complete seating. Maintain firm, stable pressure so that every bracket base contacts the tooth surface closely and the tray does not move before light curing.
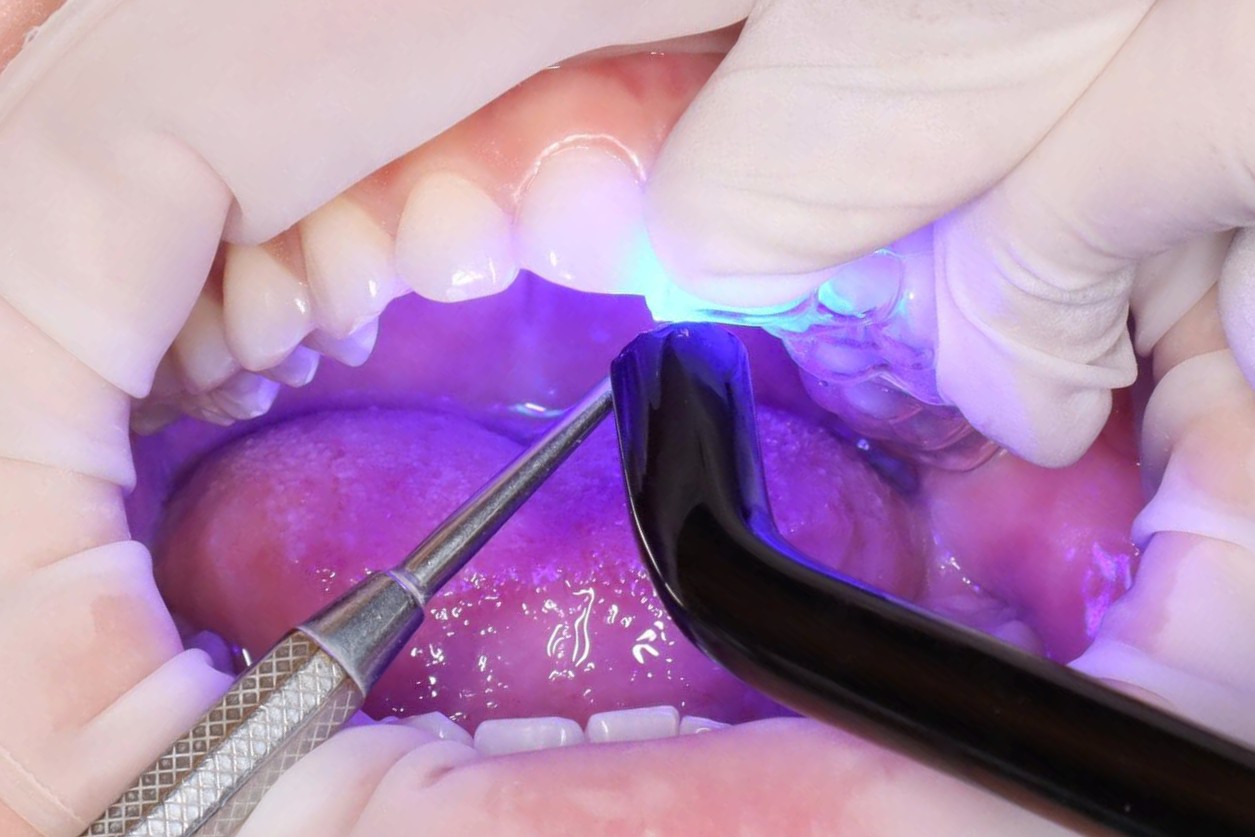
Step 4: Light cure. Maintain seating pressure throughout curing. Cure each bracket for approximately 30 seconds, approaching from suitable directions so the adhesive is fully polymerized around the entire base.
Step 5: Complete bonding of all segments. Seat and cure each segment in sequence until all tray sections are secured across the arch. Recheck the fit of every segment before beginning tray removal.
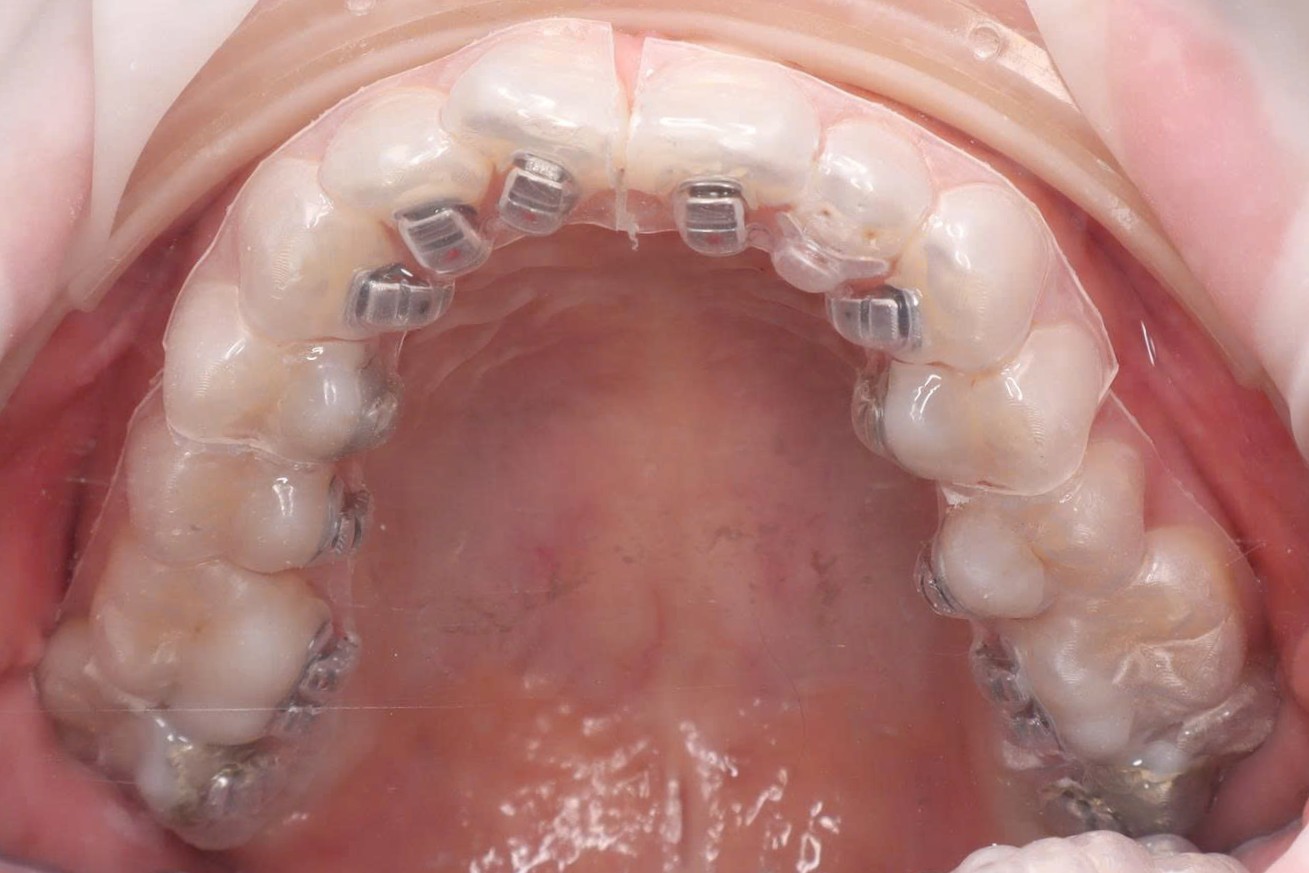
Step 6: Remove the double-layer trays. Remove the rigid outer layer first, then peel away the soft inner layer in short sections. Work slowly and avoid levering against the bracket wings; after removal, verify bond integrity and remove excess adhesive.
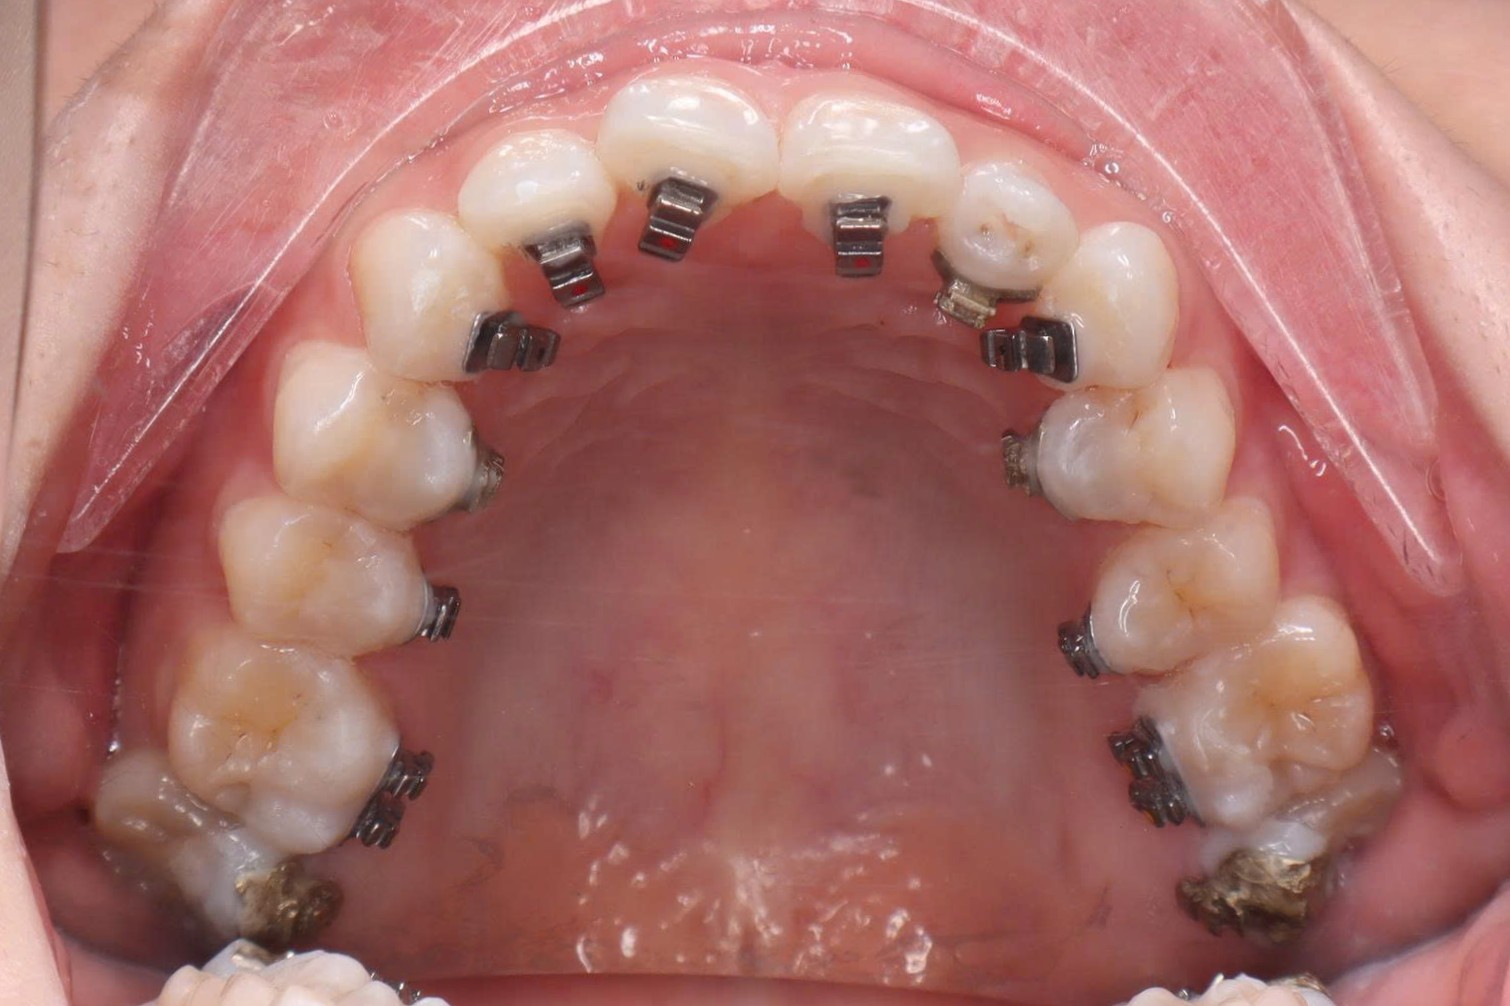
Step 7: Place the archwire. Insert the archwire according to the treatment plan and ligate it to each bracket. Check for occlusal interference, bracket stability, and patient comfort before completing the appointment.
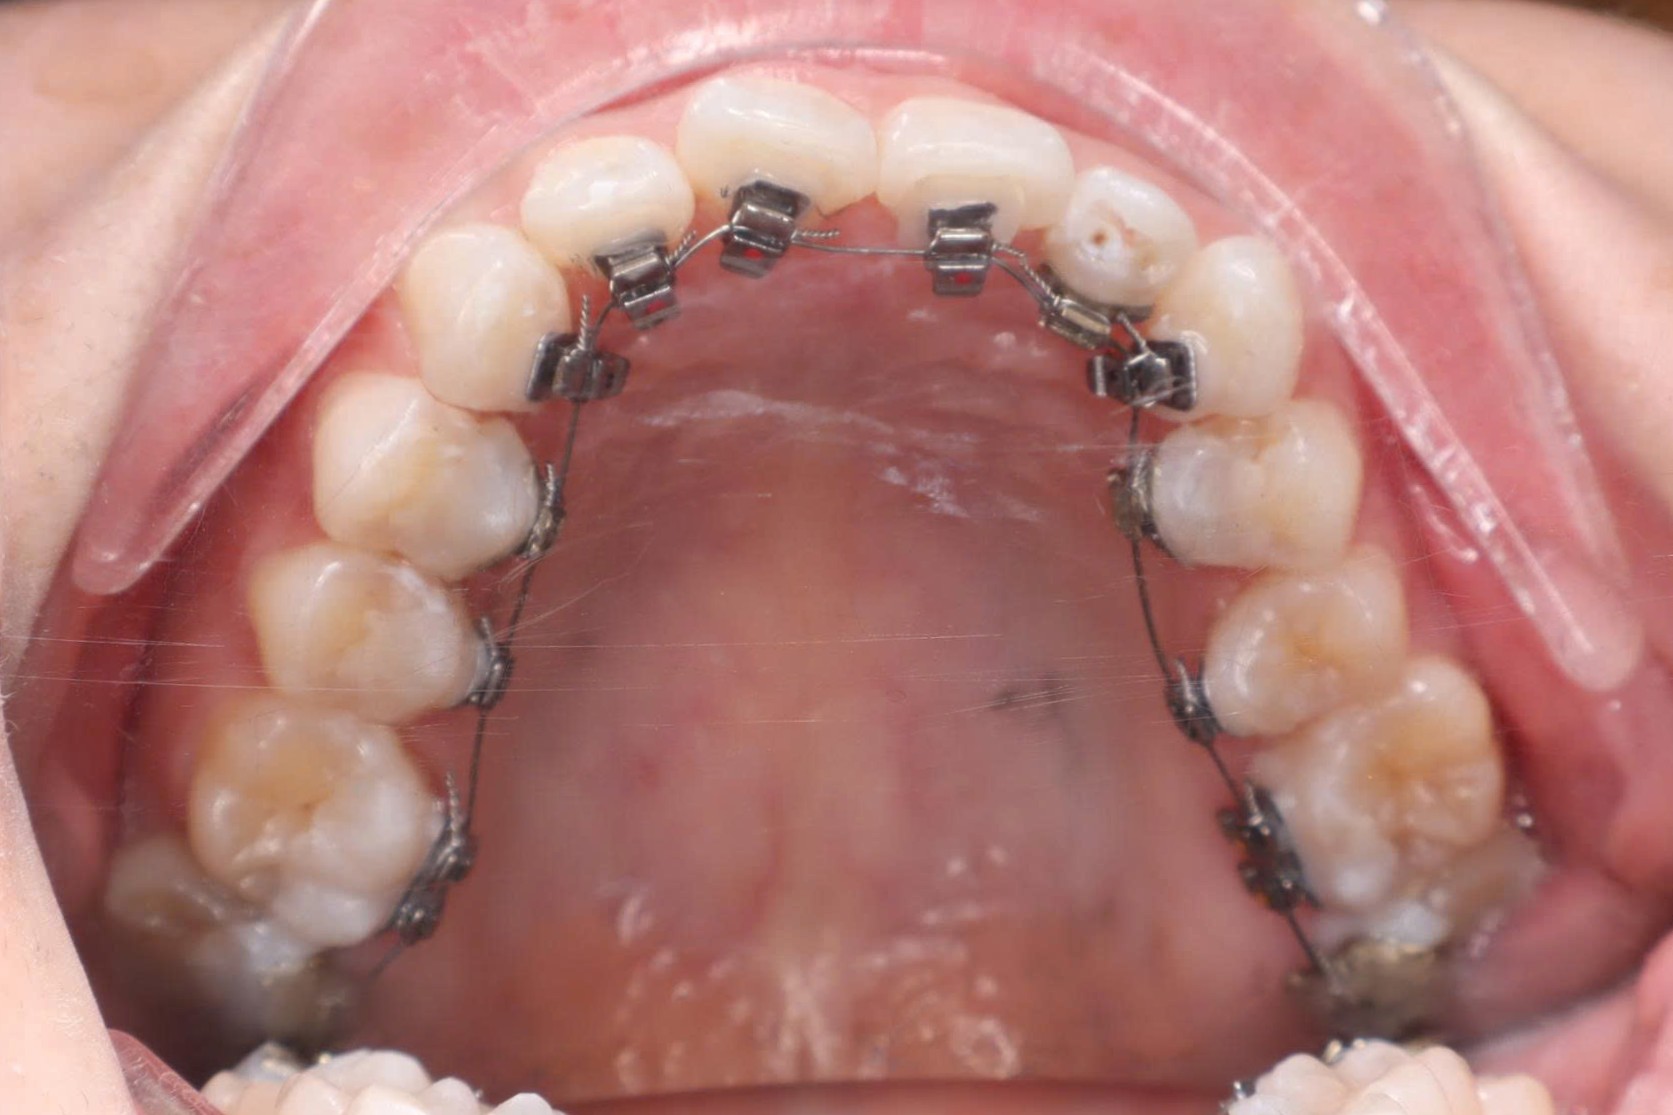
Clinical control
- Maintain isolation and continuous saliva evacuation throughout the procedure.
- If a bracket debonds during tray removal, clean the surfaces and rebond it with the corresponding tray segment.
Final check
- Confirm that every bracket is correctly positioned and no excess adhesive remains around the base.
- Check the occlusion and archwire, then give the patient post-bonding care instructions.